UV Mapping With Wings
Creating Materials
UV Mapping using Materials
UV Mapping using Hard Edges
Creating Textures
Stitching
Custom Unwrapping
Exporting UV Maps
Coloring UV Maps
Step 01
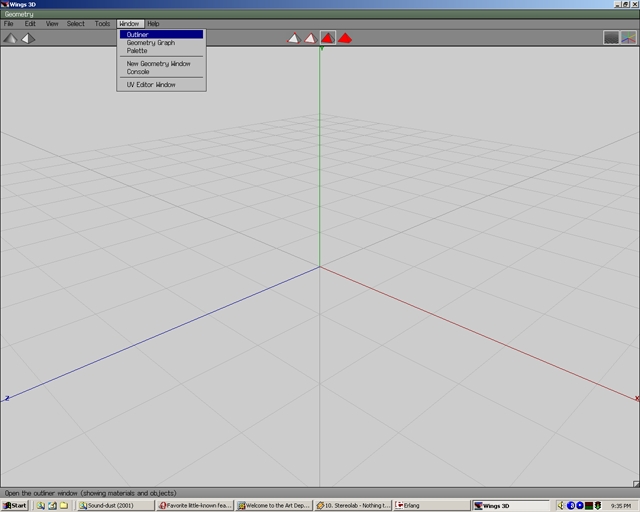
Wings3D's UV Mapping capabilities have matured greatly within the past year. They have improved so much so that another new tutorial is necessary. In this tutorial you will learn basic techniques on UV Mapping with Wings3D. Select Window>Outliner.
Step 02
This will open the Outliner Window. This window can contain materials, uv maps, and textures.To resize this window, hold your left mouse button on the triangular flap in the lower right hand corner of the outliner window and drag. This is how you resize any window in Wings.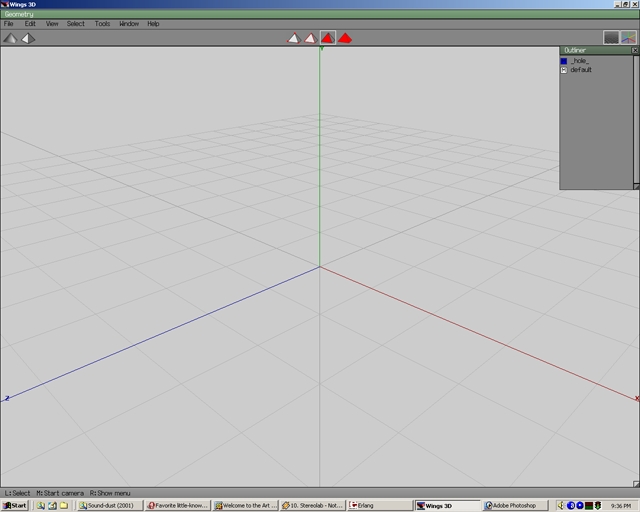
Step 03
Select Window>Geometry Graph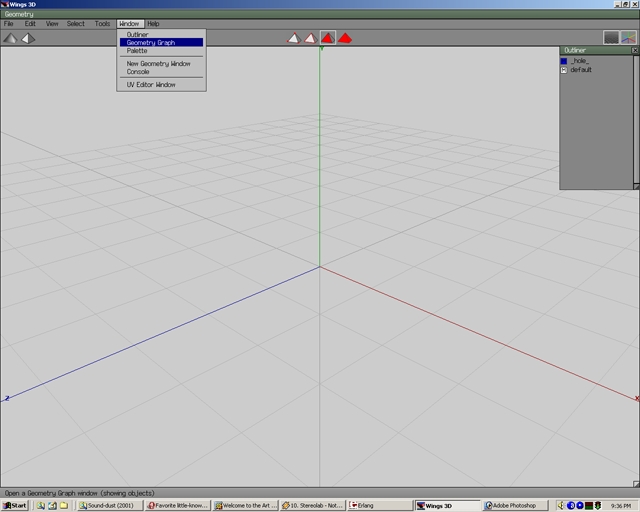
Step 04
This will open the Geometry Graph Window. This window can contain objects and lights. Create a sphere. Notice a "sphere" object has appeared in the Geometry Graph window. To the right of the "sphere" name there is an eye, a lock, and a pyramid. Select the eye the object will be hidden/unhidden. Select the lock and the object will be locked/unlocked. If an object is locked, it will not be able to be manipulated. Select the pyramid to toggle between wireframe/shaded. Select 4 edges on the sphere.
Step 05
Press G to make an edge ring.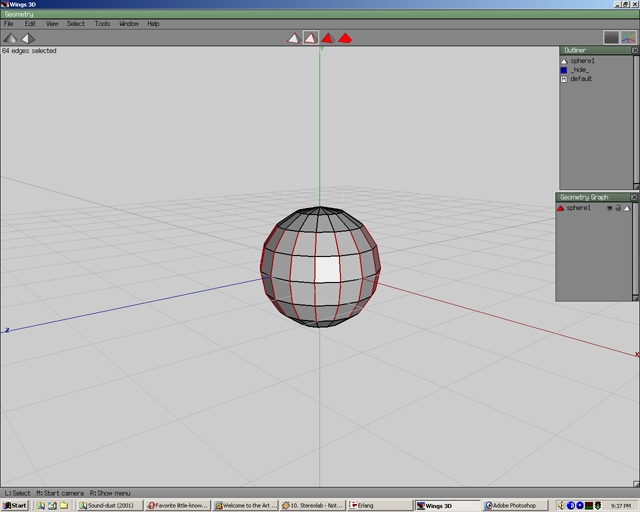
Step 06
Press F to change the edges to faces.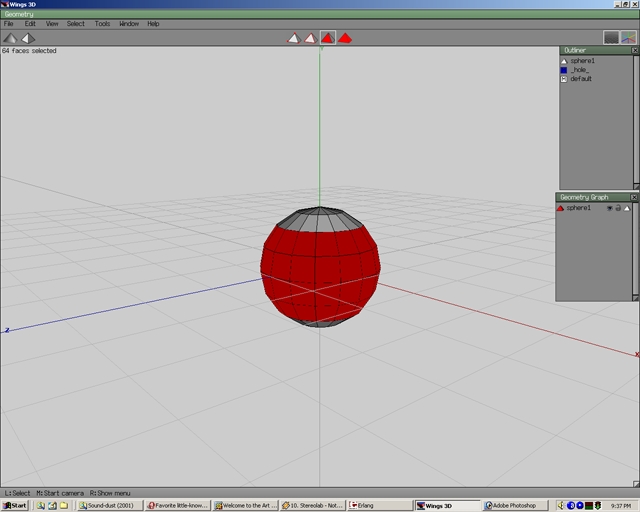
Step 07
Click the right moust button and select Material with the right mouse button as well.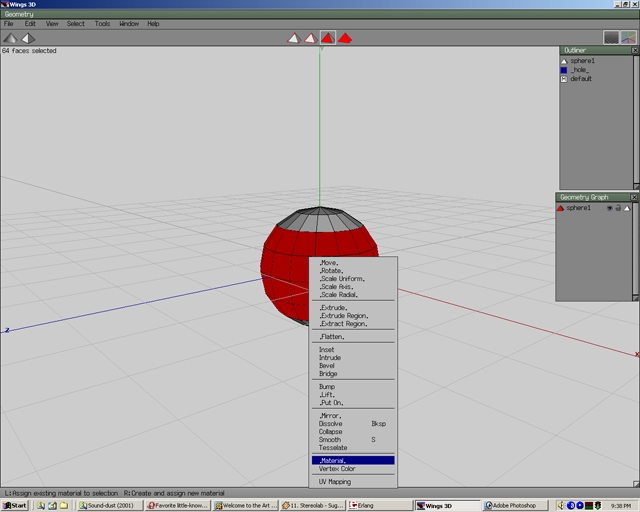
Step 08
This will open the New Material Window. Notice that the word "New Material" is highlighted in blue.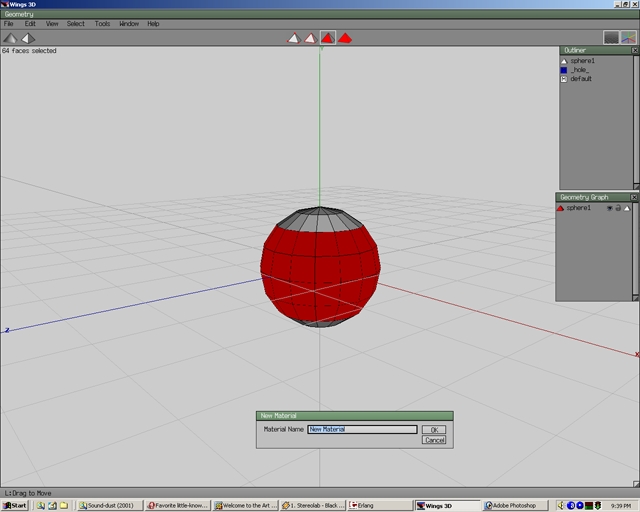
Step 09
Change that name to Middle. Select OK.
Step 10
Now a Material Properties Window has appeared. Select the top white block that is on the diffuse line.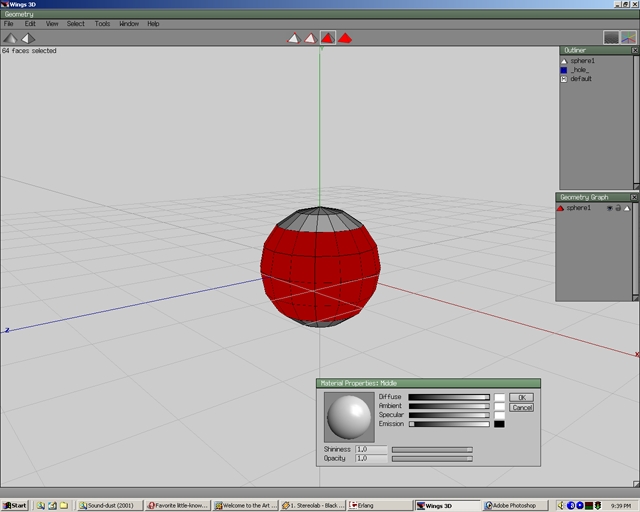
Step 11
Moving the slider bars will change the colors Move the first slider bar all the way left to get a light blue color. Select OK.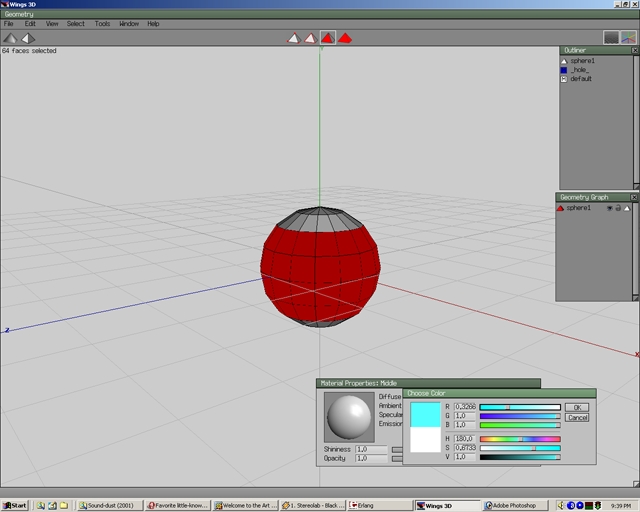
Step 12
Press space to remove the selection and now the area selected will have a blue material called Middle. Middle material is now in the Outliner window also. Materials are used to separate pieces of the UV map.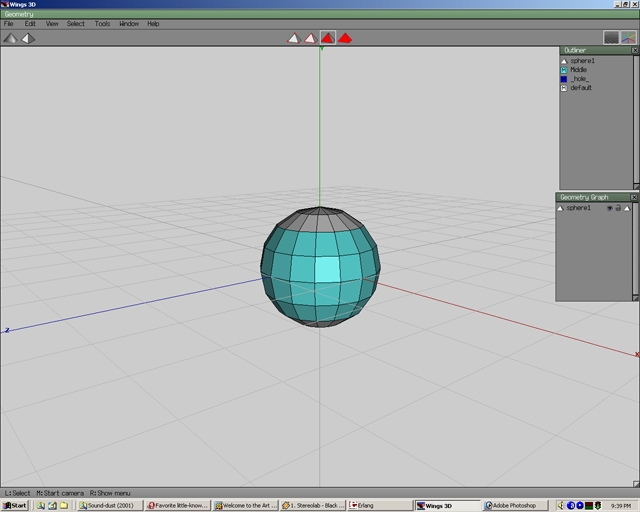
Step 13
Select the top vertice of the sphere as shown in the picture.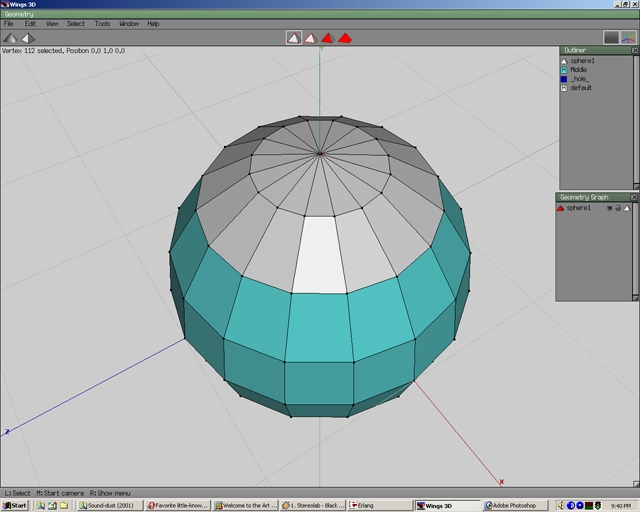
Step 14
Press F to select adjacent faces.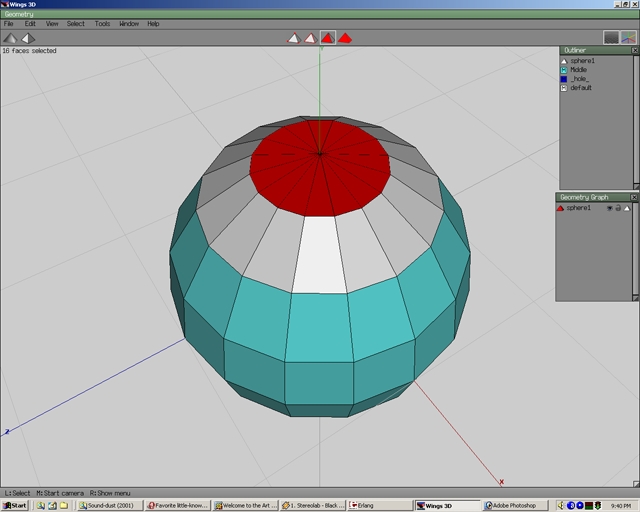
Step 15
Press F or + to select adjacent faces. To get another material repeat the steps as indicated above. This time call the material "Top" and also drag the second from top slider in the color picker to the left.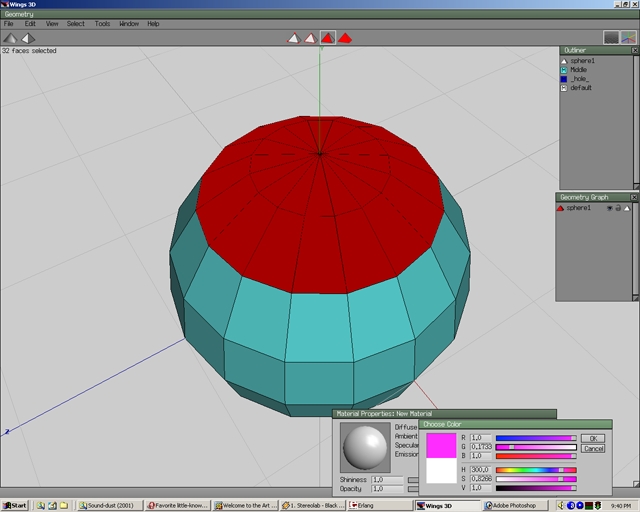
Step 16
If done correctly, you should have a Violet colored Material called "Top"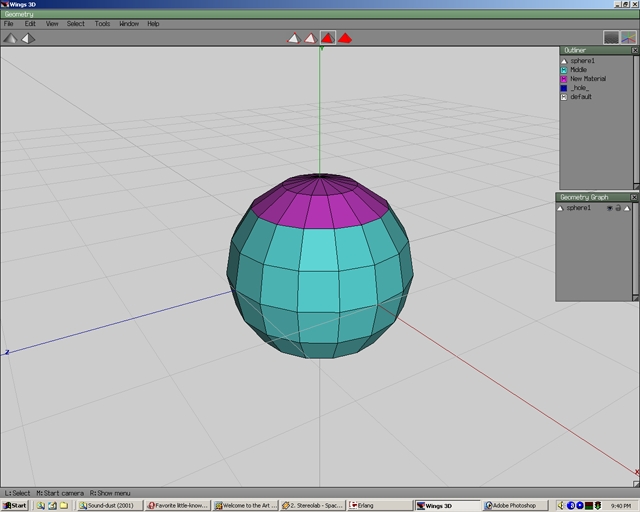
Step 17
Select 4 faces as shown. Right click with the mouse and left click on Materials.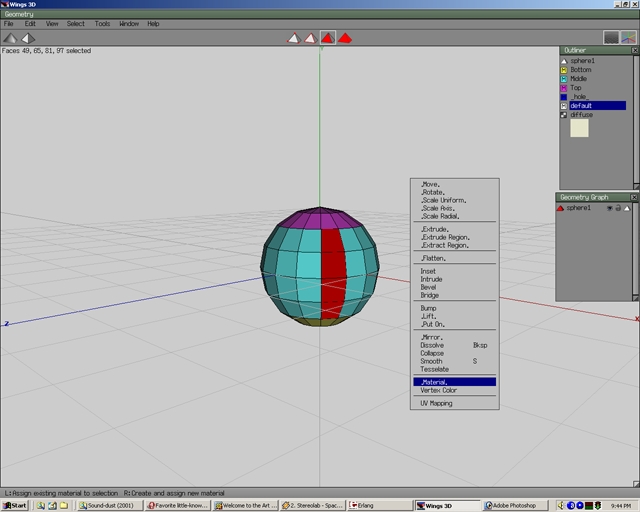
Step 18
Instead of making a new material, you will be able to choose from all the materials in the outliner. Select the violet Top Material.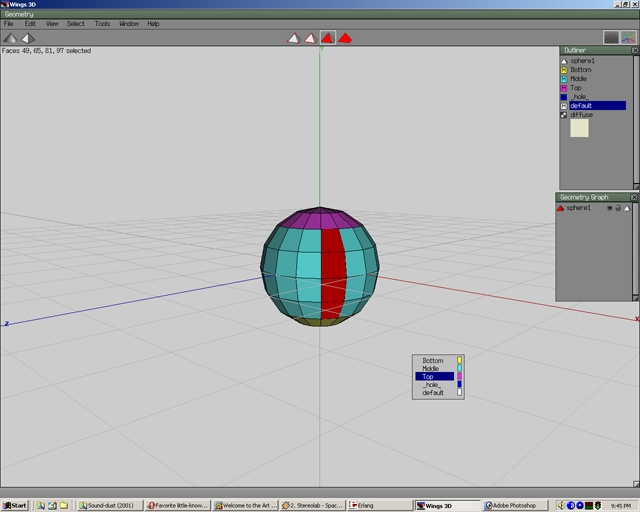
Step 19
Repeat the step for making a new material and make a material for the bottom of the sphere. Call it "Bottom". Make it yellow in the color picker by choosing the third from the top slider and dragging it far left.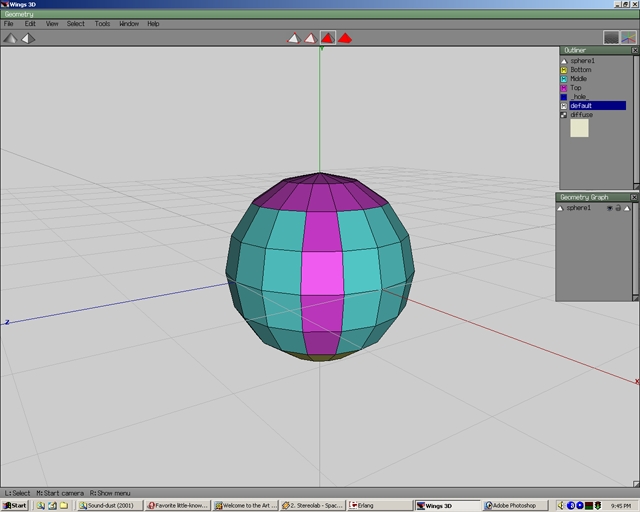
Step 20
Now that there are materials for the entire sphere it is a good idea to save before any UV Maps are made. Sometimes after a UV Map is made all the material information can be lost. By saving you can recover this lost info or revert back for changes. Save the file as Sphere-Colored.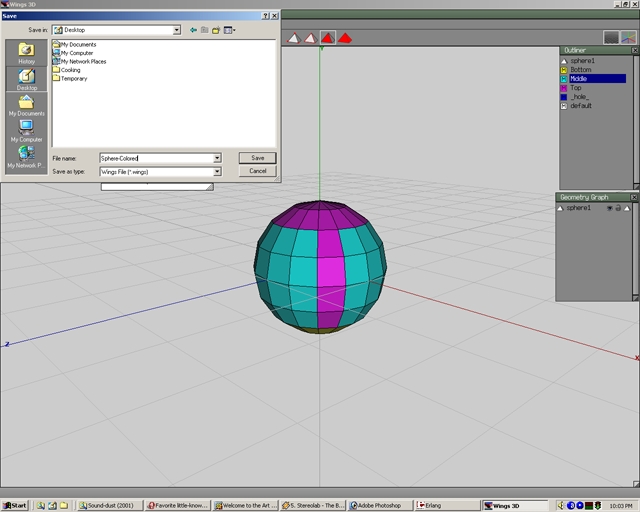
Step 21
Press B and select the body of the sphere. Right click and select UV Mapping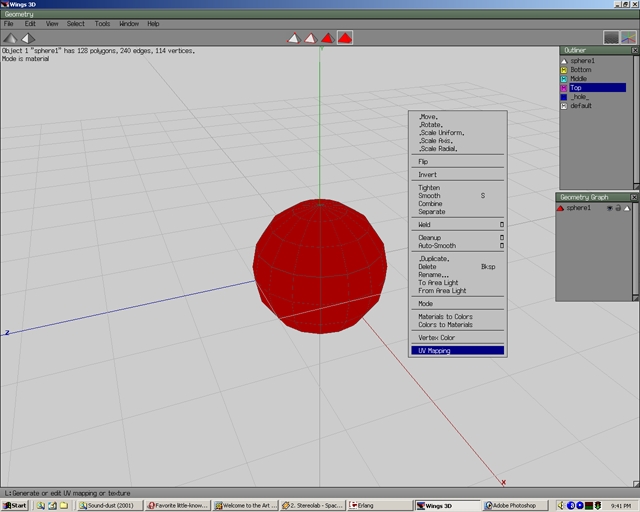
Step 22
An AutoUV Window will appear. Right Click and select Continue.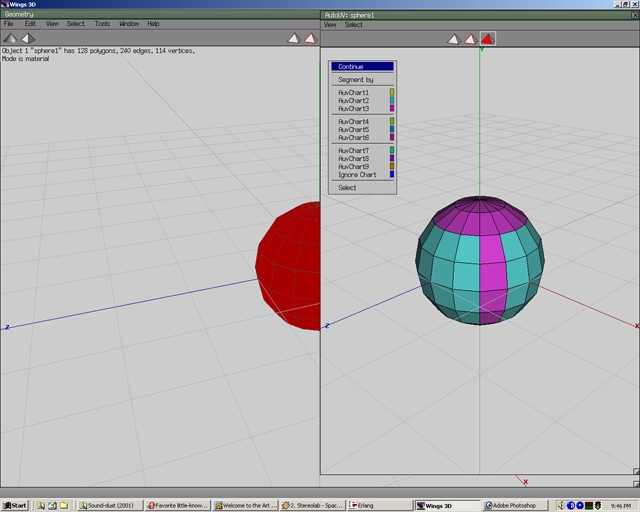
Step 23
Select unfolding.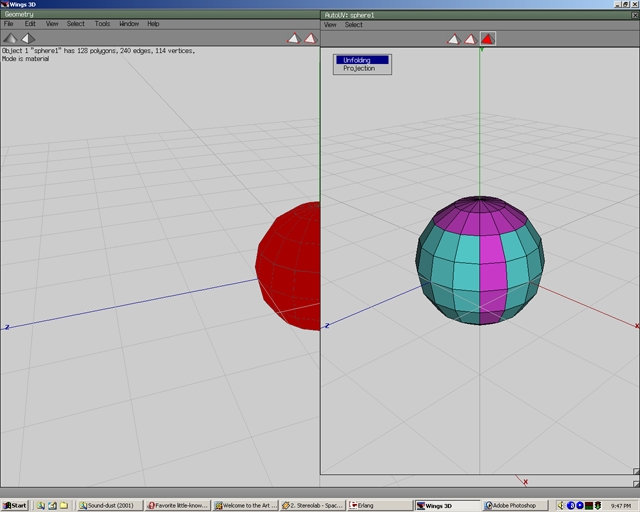
Step 24
Now the AutoUV map will show all the colored materials in 2 dimensional pieces. This is a UV map. Press spacebar do deselect the pieces.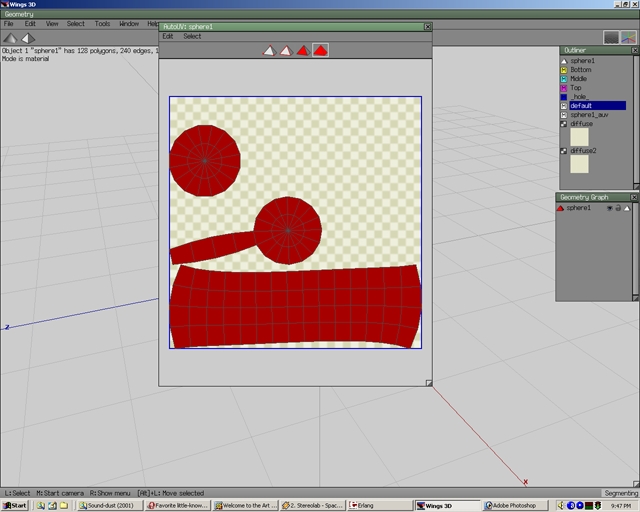
Step 25
To drag the AutoUV window hold the left mouse button on the green bar at the top of the AutoUV window and drag. Similar to when you are moving a model in regular modelling mode you can move the sphere model while still haveing the AutoUV map open. To pan the sphere go into move mode and press Q.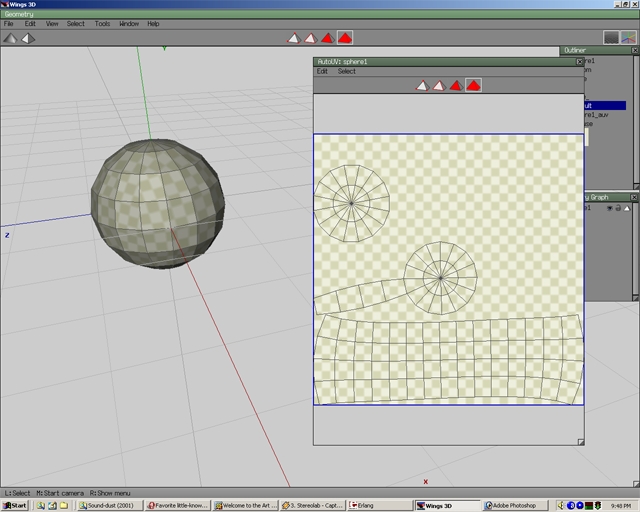
Step 26
Right click and select Create Texture.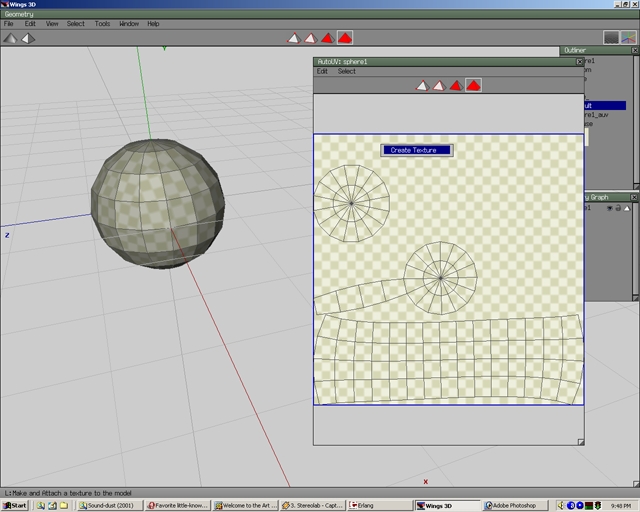
Step 27
Select OK.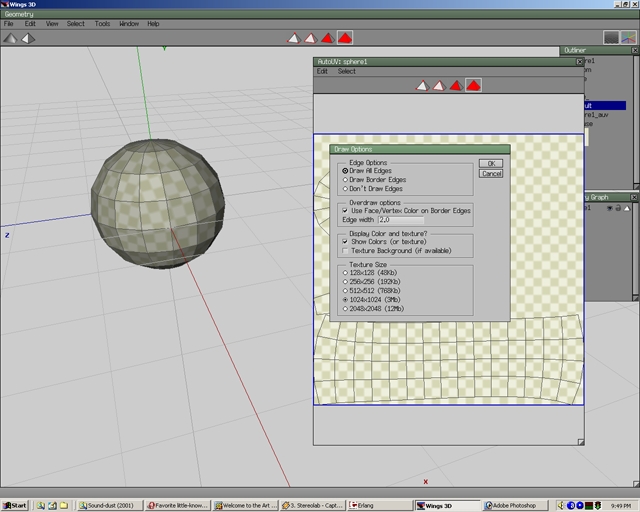
Step 28
Now the Materials will appear in the same place as the mapping information. **Note that you cannot create a new texture too often or the materials will not match the map.**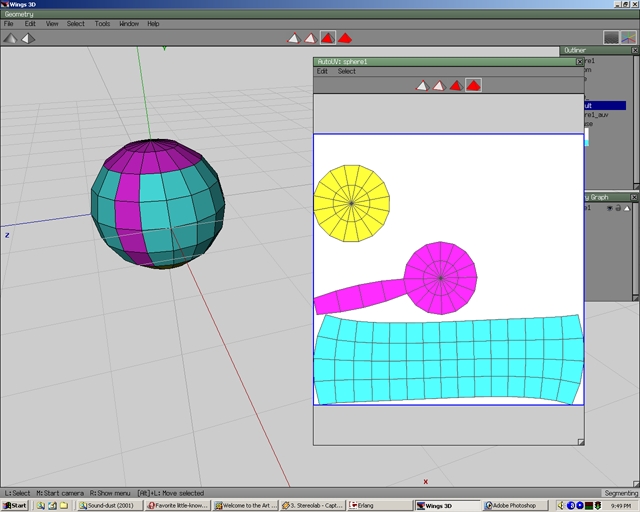
Step 29
Select the body which is of one of the pieces. Notice how the selection on the map corresponds to the selection on the sphere.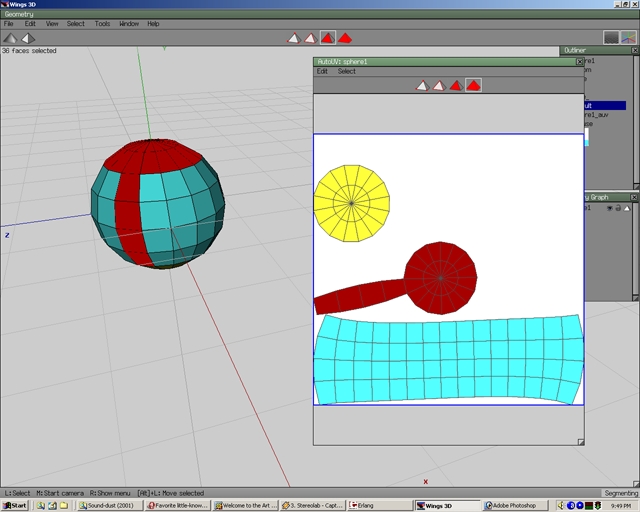
Step 30
Right click and select Rotate>Free. This will rotate the piece of map.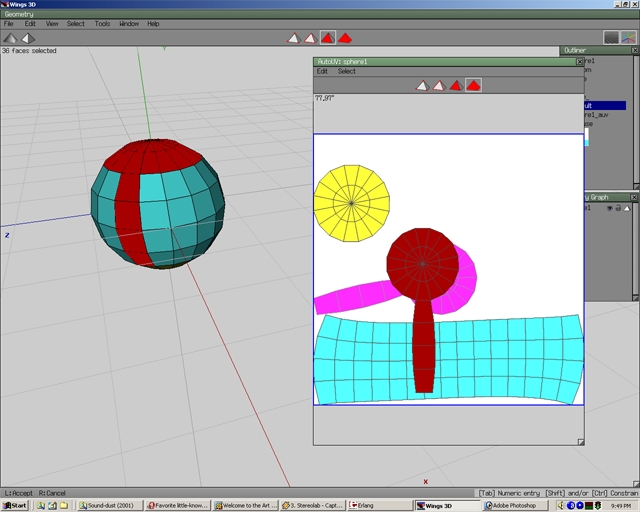
Step 31
Right click and select move. You can move the piece in any location on the Map.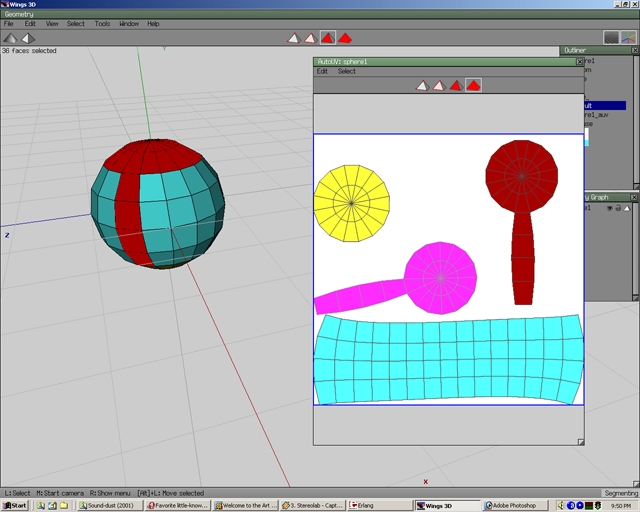
Step 32
Press spacebar. Notice the material color did not move with the mapped piece.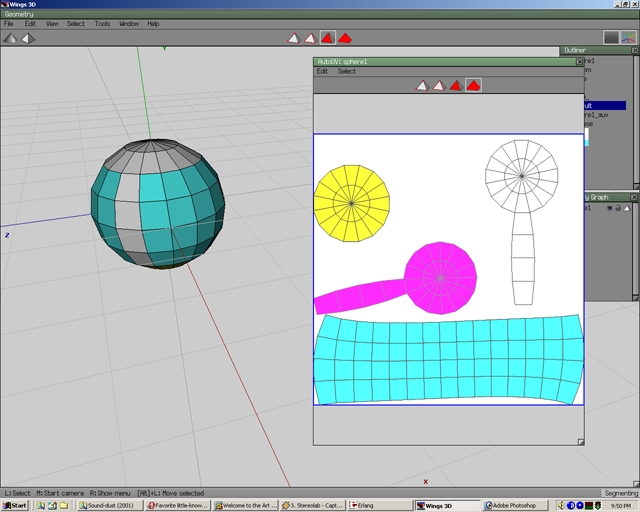
Step 33
Move the Yellow map piece to the location shown.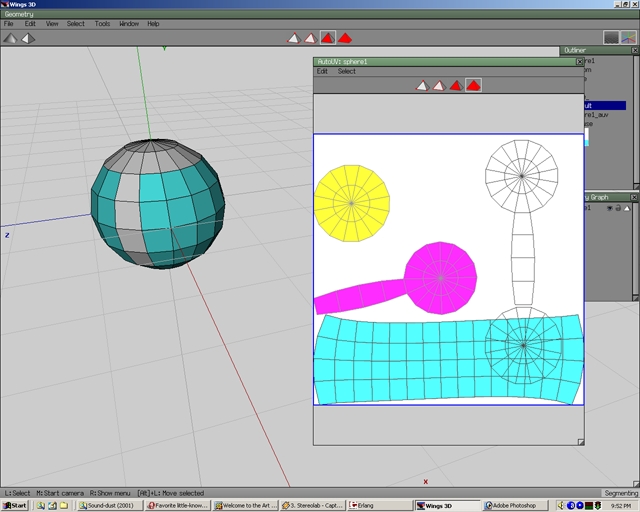
Step 34
Again right click and select create texture. Notice the material colors again correspond with the map pieces.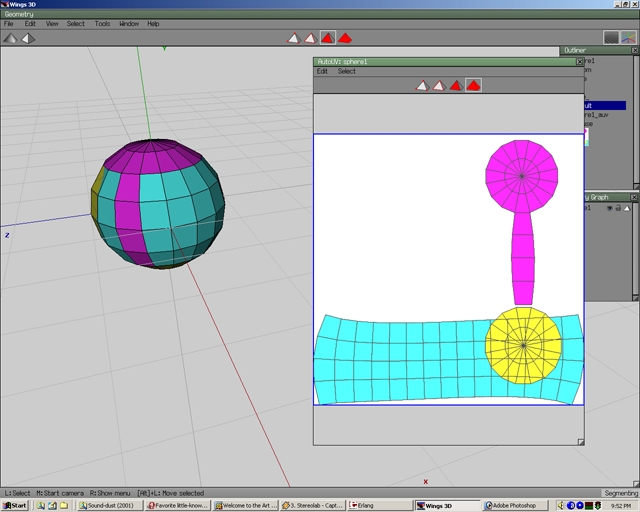
Step 35
Select the Light blue piece. Right click and select Scale.
Step 36
Now select Uniform.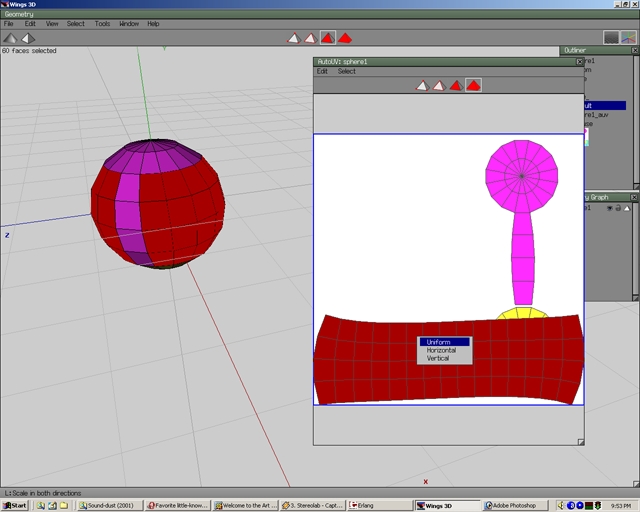
Step 37
Scale to the desired size.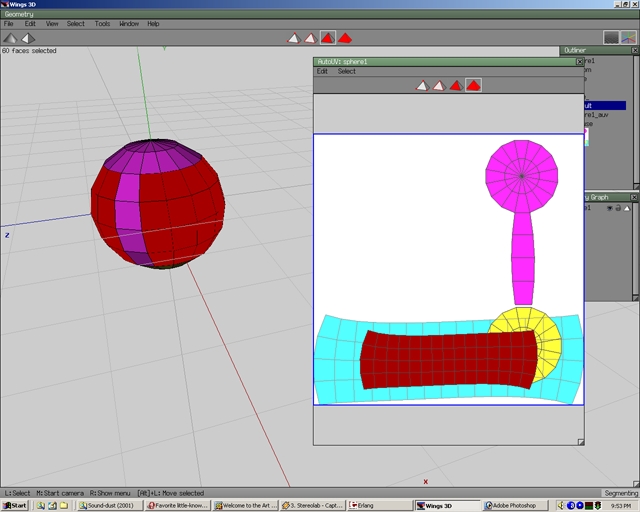
Step 38
Move the blue selection to the area shown in the picture. Press spacebar. Create a texture again. Select Edges. Then select the bottom edge of the violet material. Notice the edge is also selected on the sphere.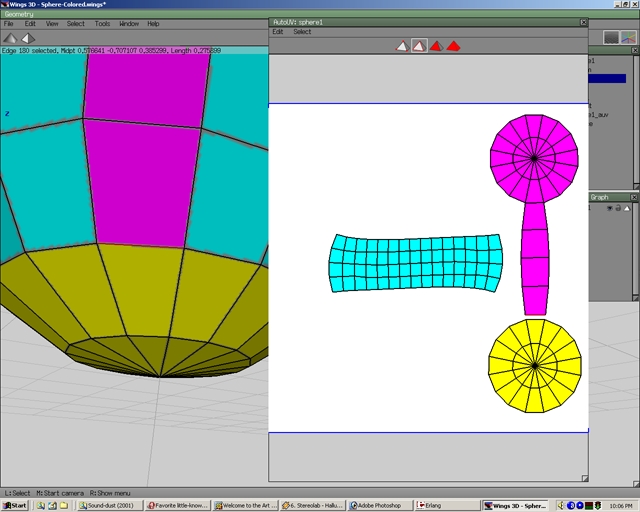
Step 39
Press spacebar. In the map select the circle's yellow edge that is directly below the violet edge that was previously selected. Find on the sphere where that same edge is at.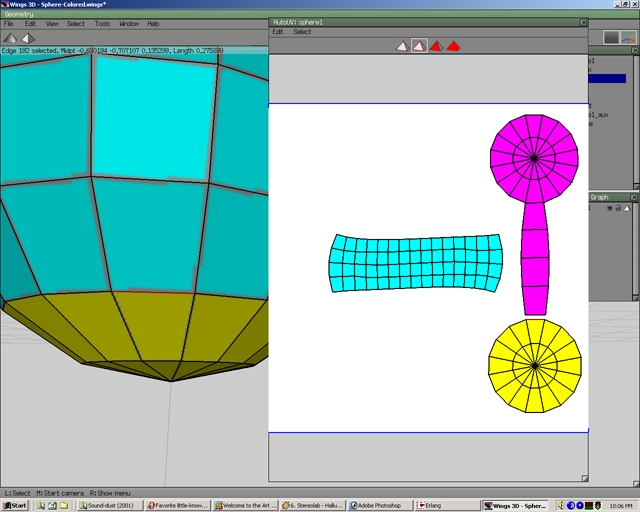
Step 40
To make the map easier to understand select the edge on the circle that matches the one selected for the violet material.(Since both of those edges overlap each other they will be the same edge.) Once the matching edge is found. Rotate the circle map so that edge is directly below the violet edge selected earlier.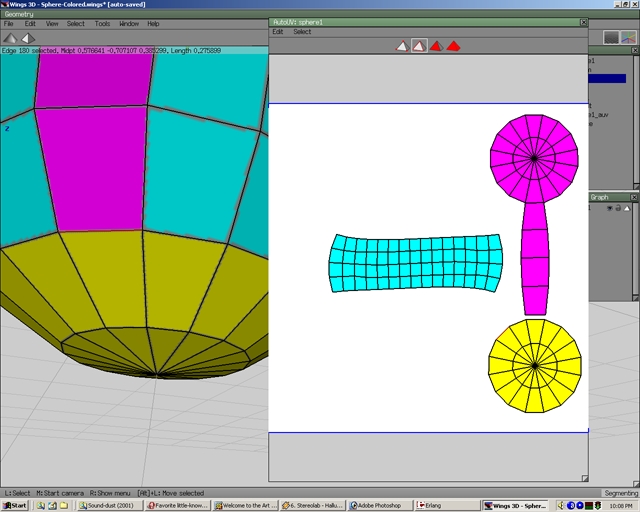
Step 41
Select the bottom violet edge and the top yellow circle edge. Only one edge should show up in the sphere.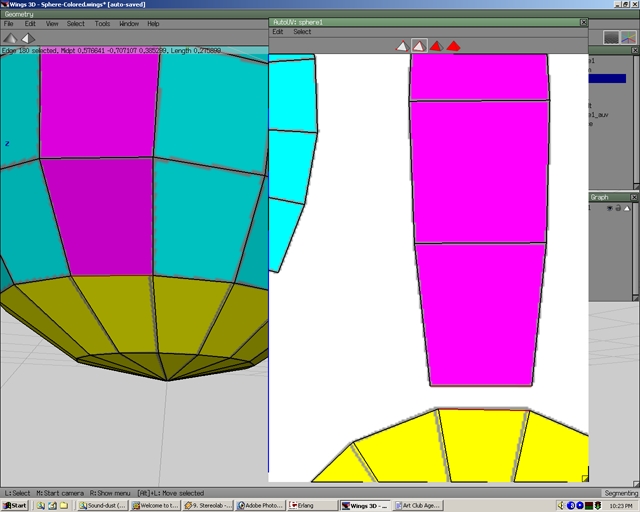
Step 42
Since those pieces share the same edge you can stitch the pieces together. Right click and select stich. Now two pieces are one.
Step 43
Do the same for the light blue map piece and connect it to the violet piece.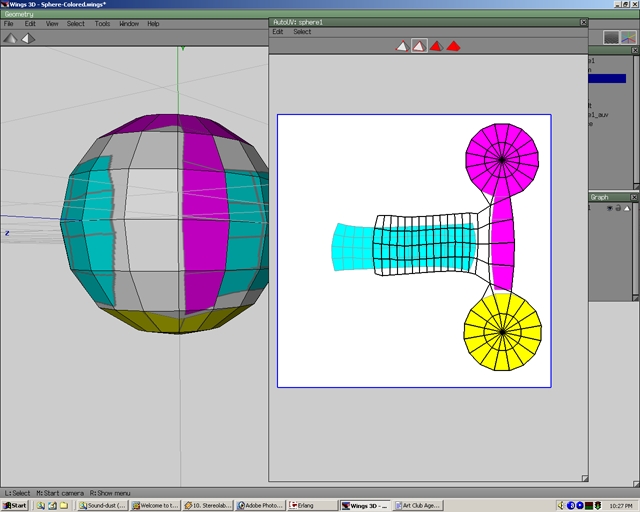
Step 44
Stretch out the blue piece by selecting edges and moving them.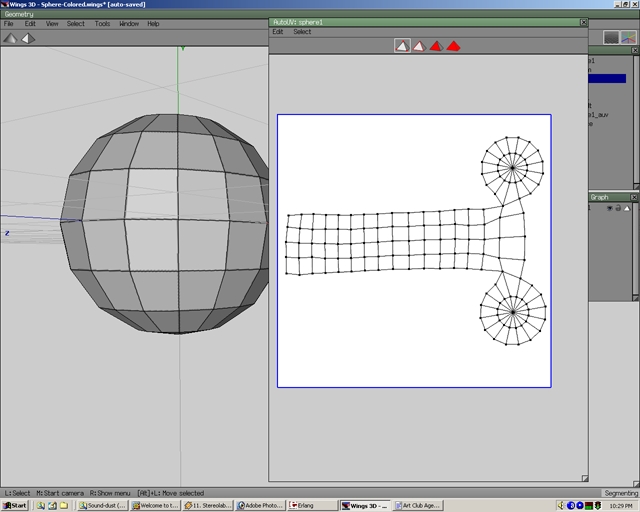
Step 45
Click on the X to close the AutoUV Window. Now two new files will be made in the outliner window: an auv file which has all the mapping information and a picture of the map called diffuse.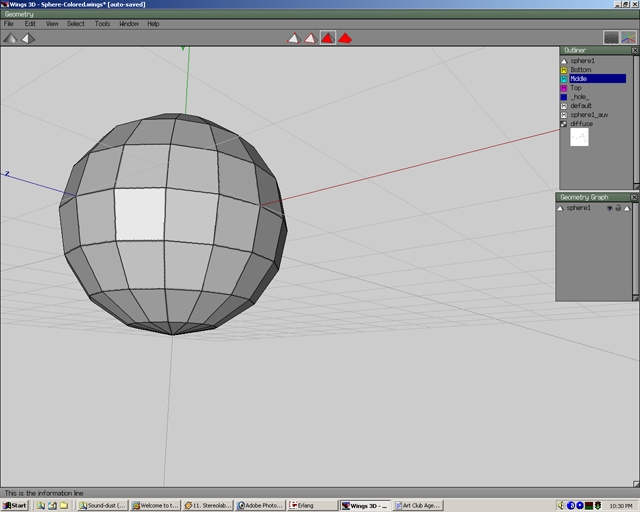
Step 46
Press R. To reset the view.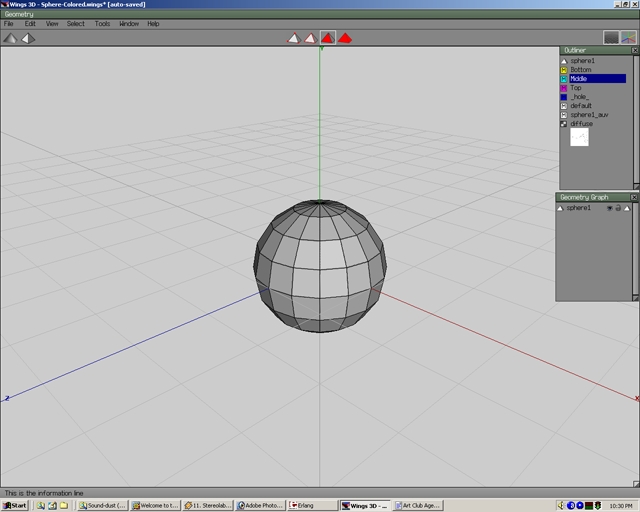
Step 47
In the outliner window right click on the diffuse map. Select Make Eternal...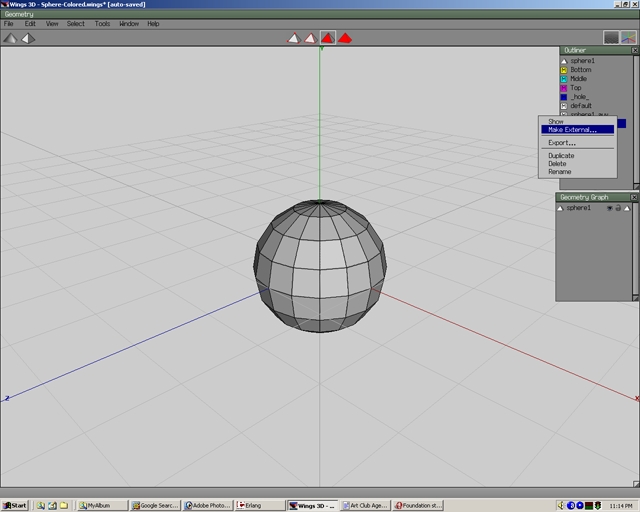
Step 48
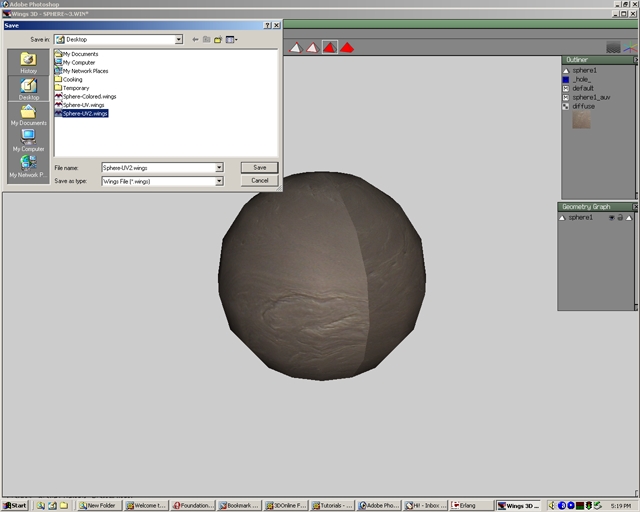
Save the map as a jpg file and name it whatever you like.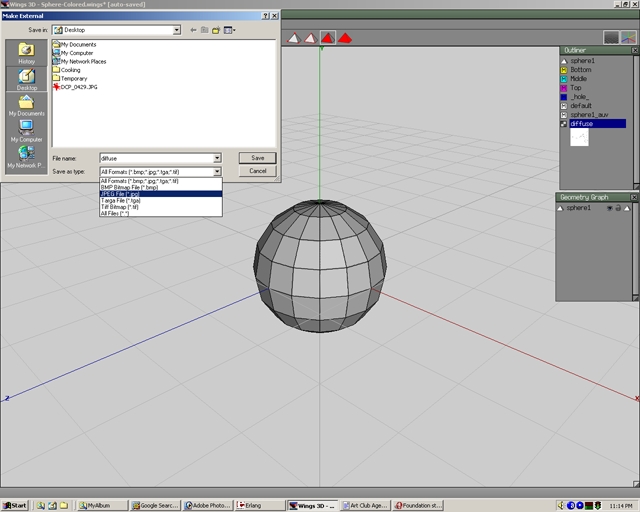
Step 49
Open that jpg file in Gimp.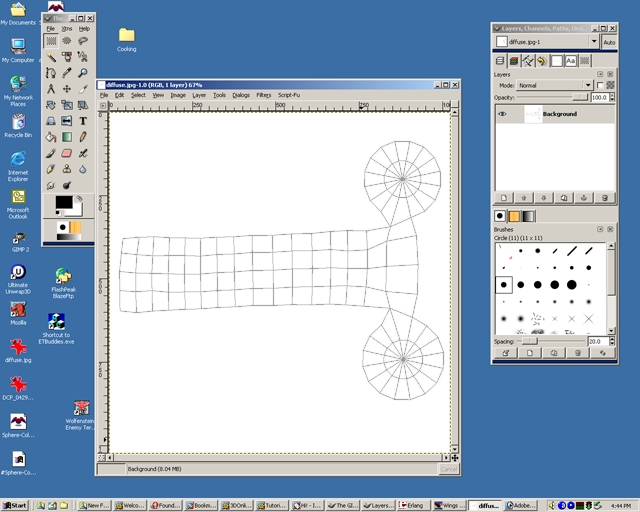
Step 50
Draw on the UV Map and save.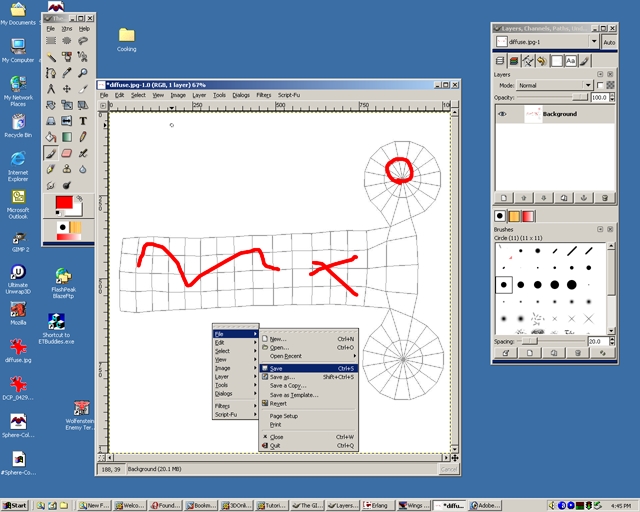
Step 51
In Wings3D go to the outliner. Select the diffuse map, right click, and select Refresh. Now the drawn image will appear on the sphere.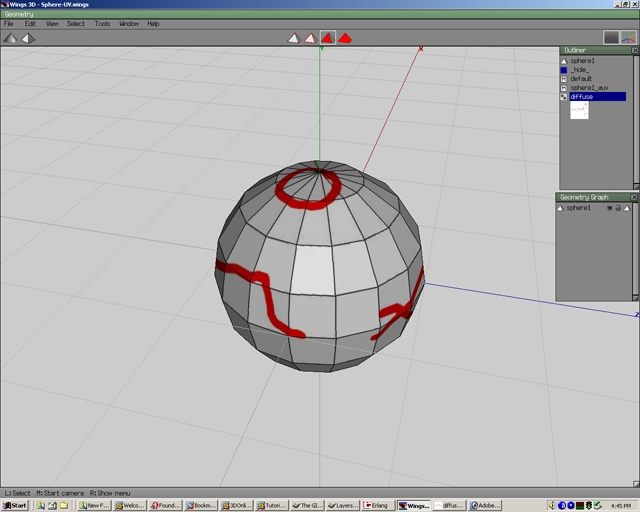
Step 52
Now find a picture on the internet or some such place. I used my digital photo of the ohio river. Open that picture in Gimp.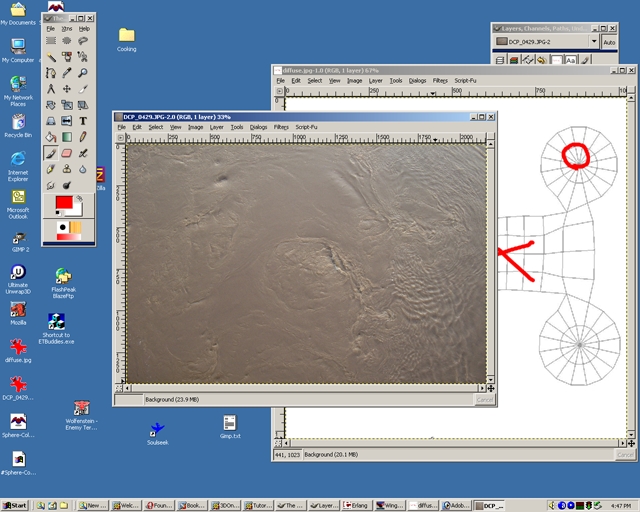
Step 53
Select all for the ohio river pic and copy the picture. Paste the picture on the diffuse map. Deselect everything. Select Save.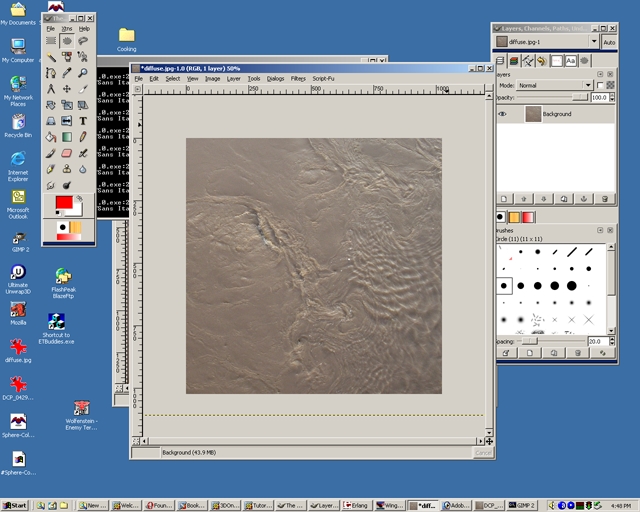
Step 54
A warning message may appear saying that the JPEG file cannot handle transparencies. Ignore this and select export.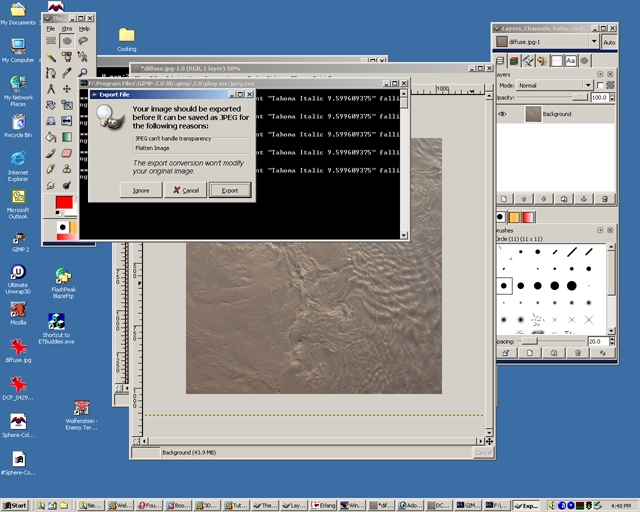
Step 55
Once again in Wings3D refresh the diffuse map. Now the picture of the ohio river is on the sphere.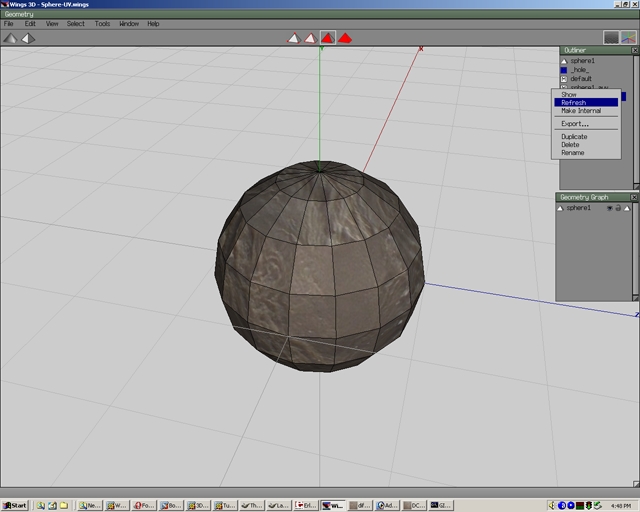
Step 56
Notice the area where the picture wraps around the sphere doesn't match. This is at the seam of the texture(or map). There are two ways to fix these seam blending problems. One is to do it through a better map. The other is to blend the seam areas in a paint program(like Gimp).
Step 57
Lets create a better map a little different way. Open Sphere-Colored.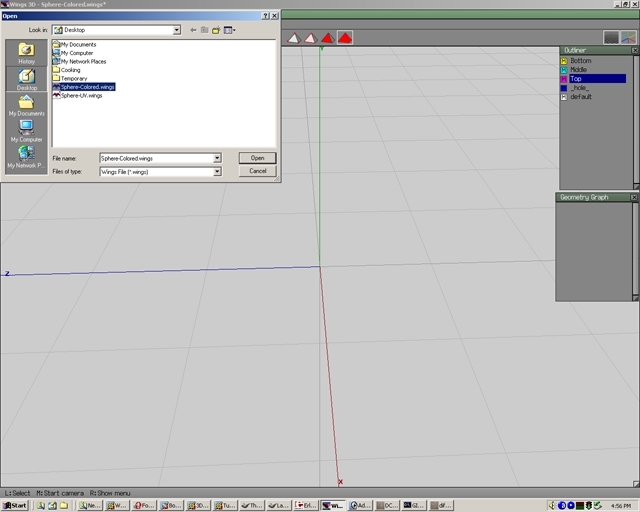
Step 58
It will ask if you want to open the autosaved file instead. Select NO.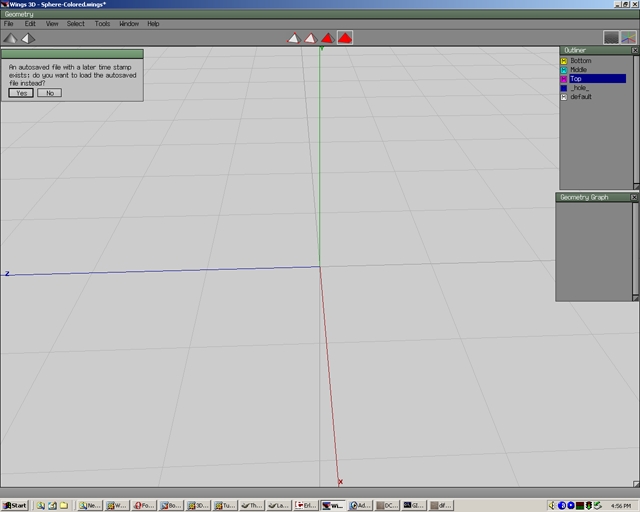
Step 59
select the body of the sphere. Then press F to select all the faces of the sphere. Right click and select Material with the left mouse button.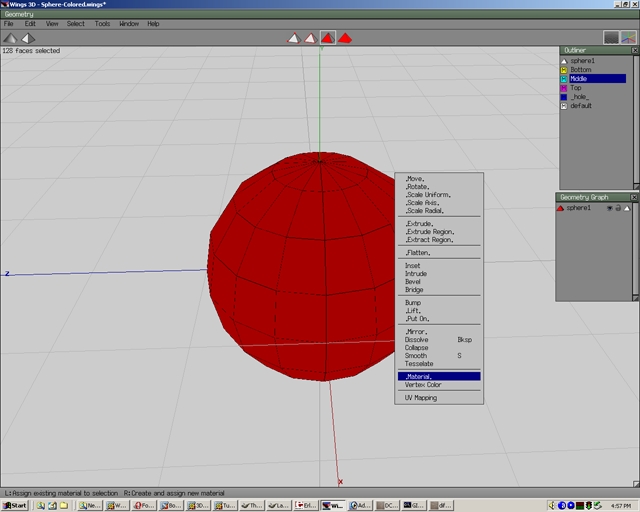
Step 60
Select the yellow Bottom material.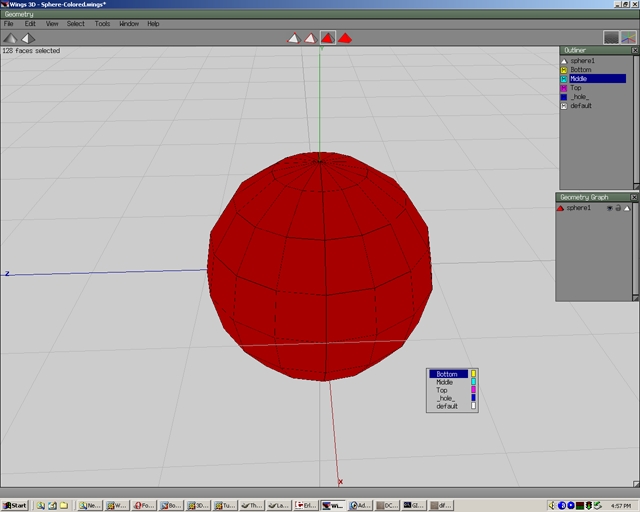
Step 61
Press space. Now the entire sphere has the yellow Bottom material.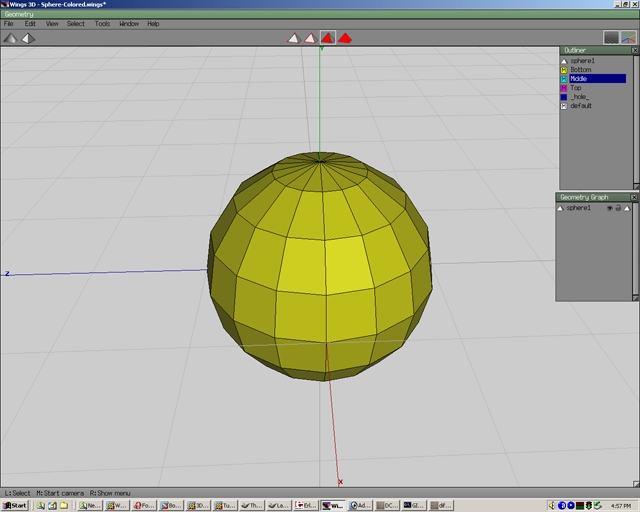
Step 62
Select an edge.
Step 63
press L to select an edge loop. Right click and select Hardness.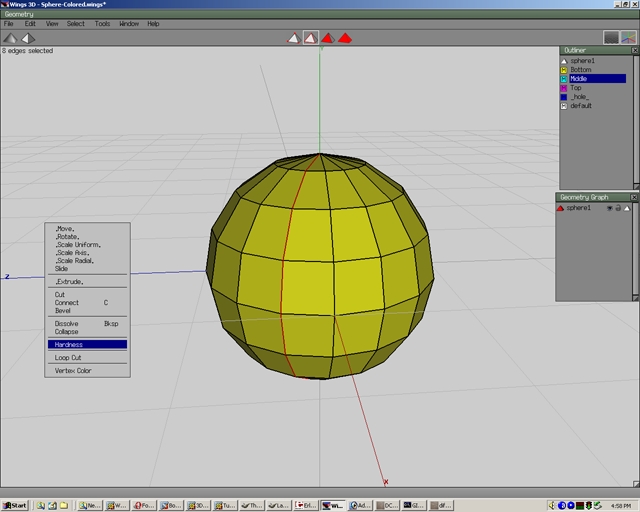
Step 64
Choose hard.
Step 65
Now the edges will appear green. This means you have a hard edge.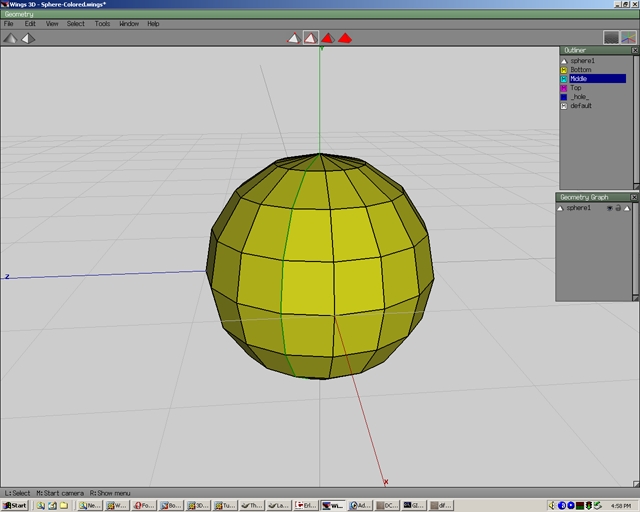
Step 66
Go to AutoUV as indicated before in the tutorial. Notice the map is much more simple. The line had basically cut the sphere.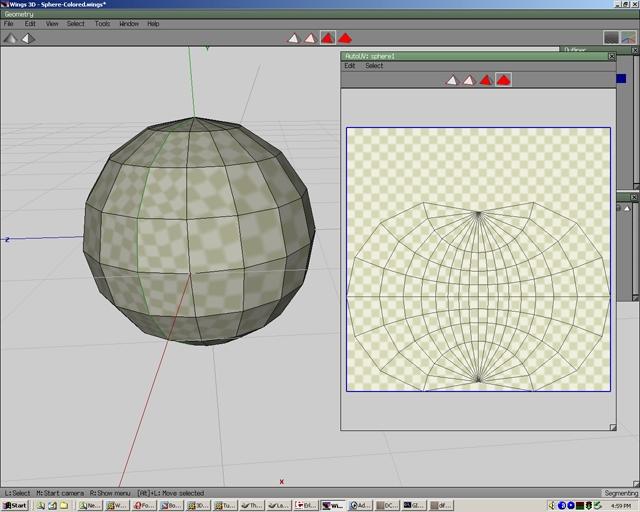
Step 67
Select the map piece and move it to the middle of the map. I also scaled it slightly.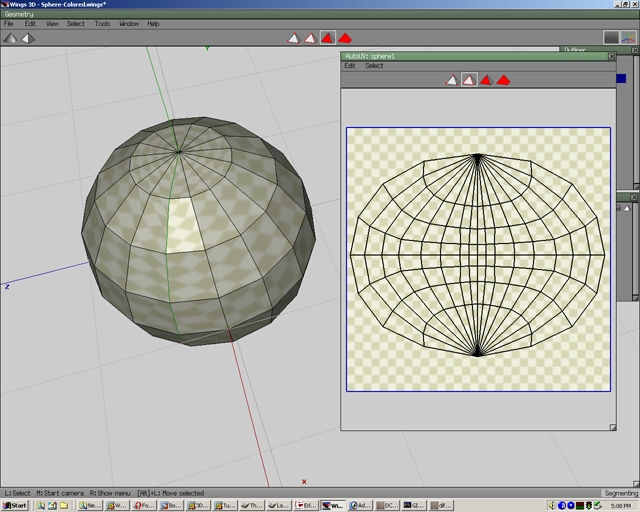
Step 68
Create a texture and close the AutoUV window.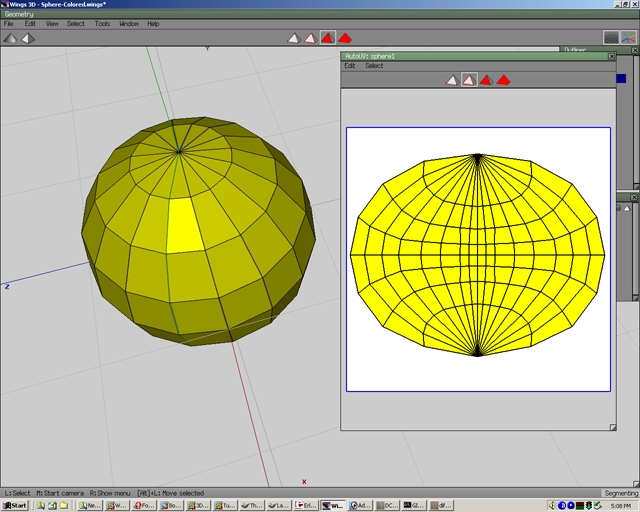
Step 69
Make external the diffuse map and open the map in Gimp.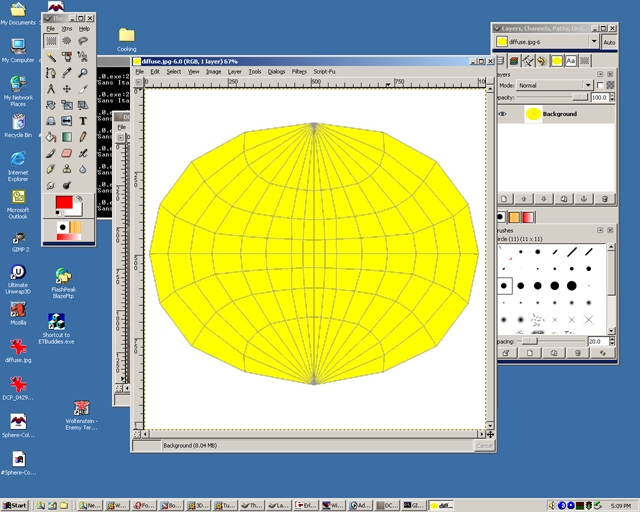
Step 70
Select another texture again(I used the ohio river again). Select all and paste it onto the diffuse map. In the layers dialog box the opacity of the pasted layer can be changed. That way you can to move the picture around on the map and see exactly what part will be on a specific area of the map.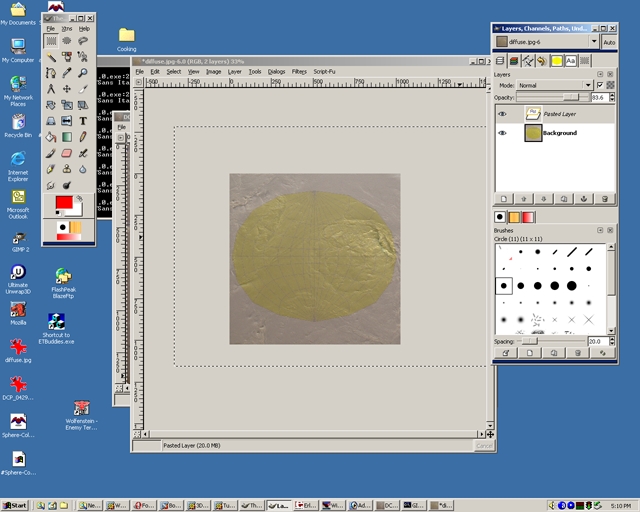
Step 71
Once satisfied with the placement, change the opacity back to 100% and deselect the pasted layer. Save the file.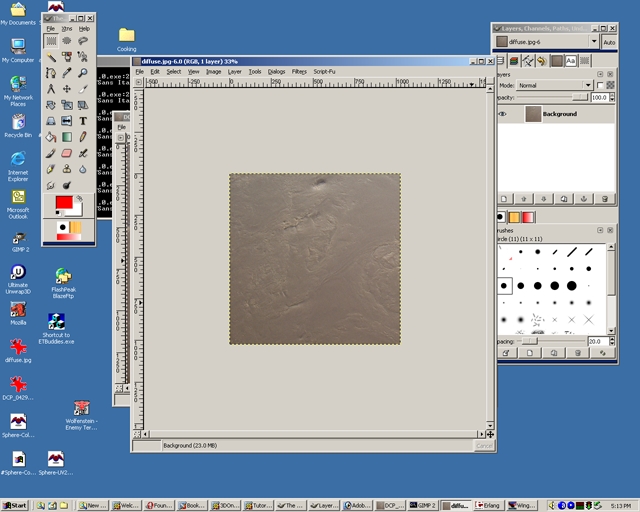
Step 72
Refresh the diffuse map.
Step 73
Notice the seams look better than before.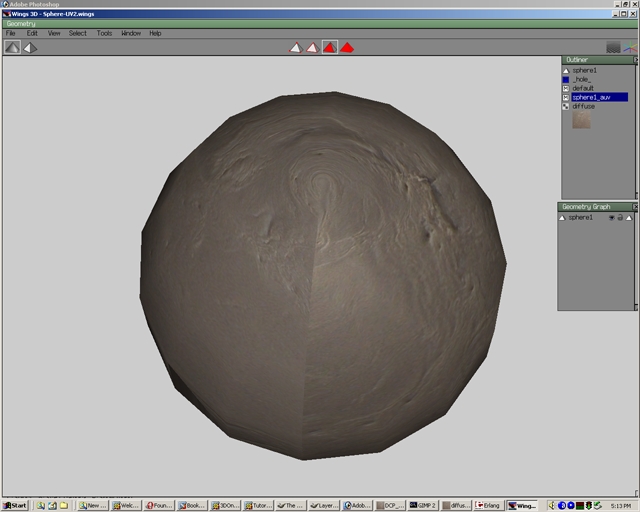
Step 74
Save the file as Sphere-UV.