Box Modeling With Wings
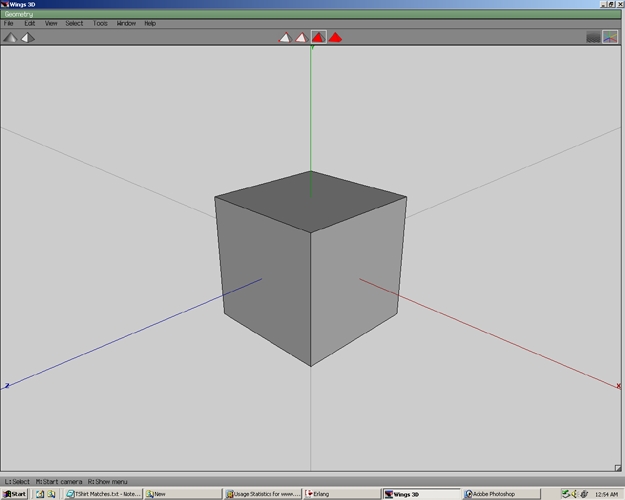
Step 01
Right Click select Cube.
Step 02
Select the top face, right click, and select Extrude>Normal.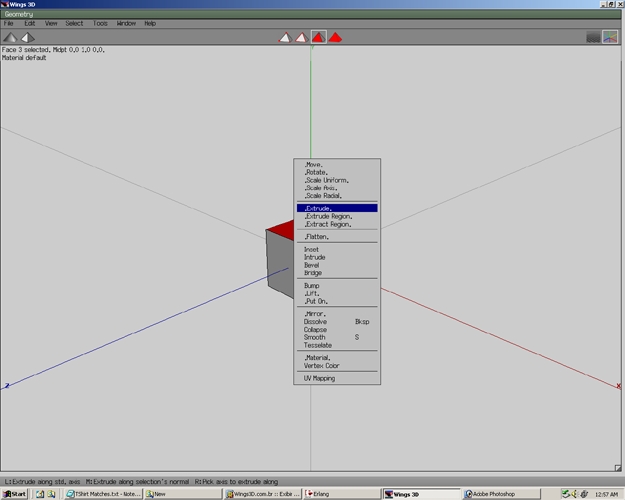
Step 03
Move face to desired point. Press D. D is a special hotkey that allows you to repeat a previous fuction(ie. Extrude>Normal).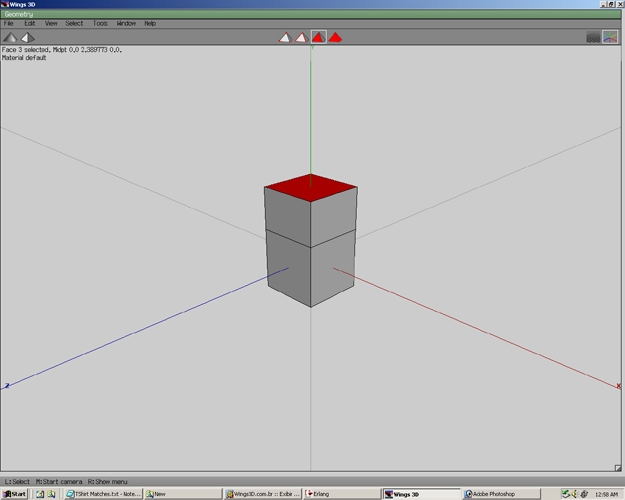
Step 04
Move face to desire point. Then press space.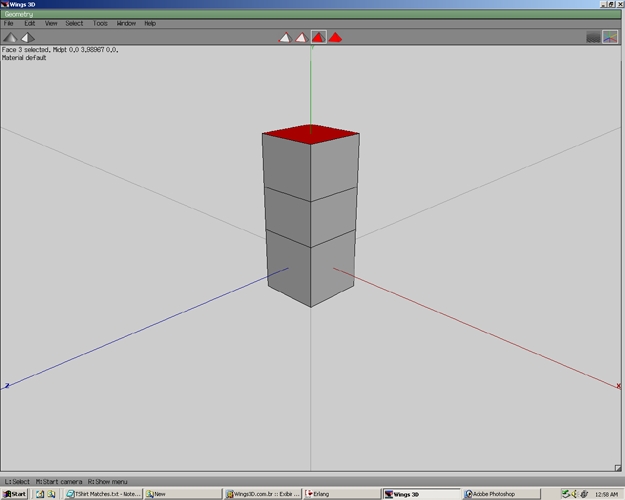
Step 05
Select the edge shown in the picture. Press L.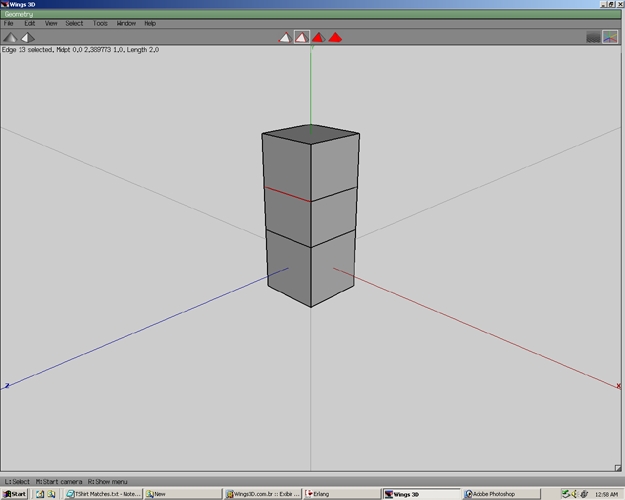
Step 06
Now you have an edge loop.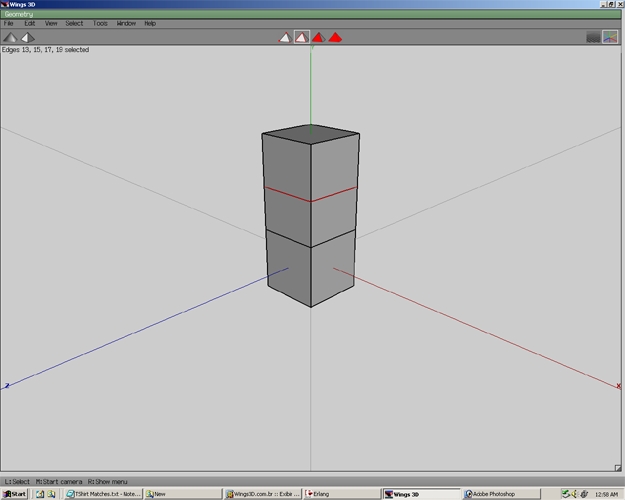
Step 07
Right click and select Scale Uniform.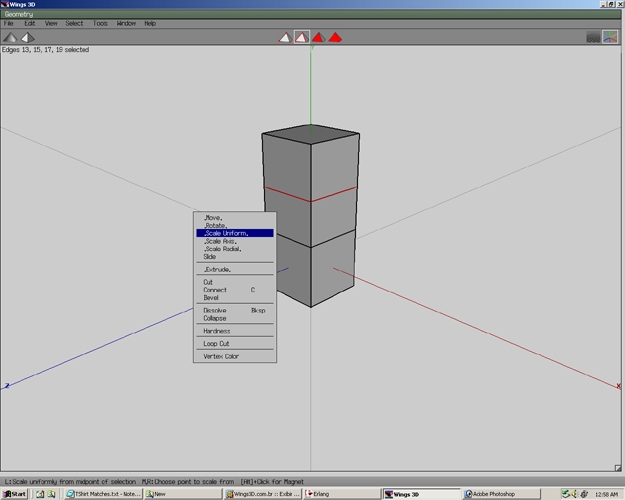
Step 08
Scale area until it looks like the picture.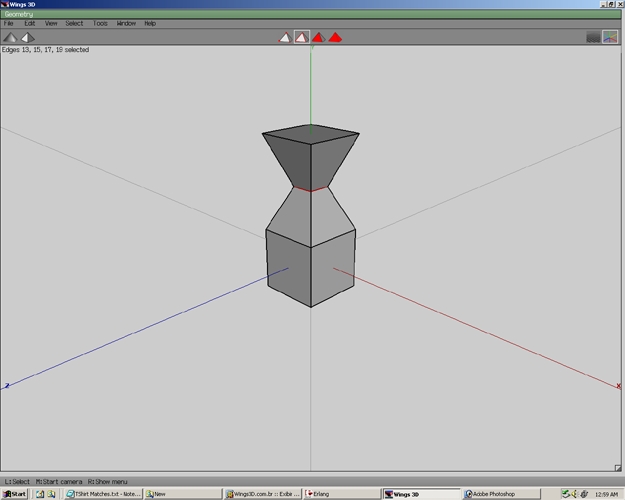
Step 09
Select the bottom face and scale uniform.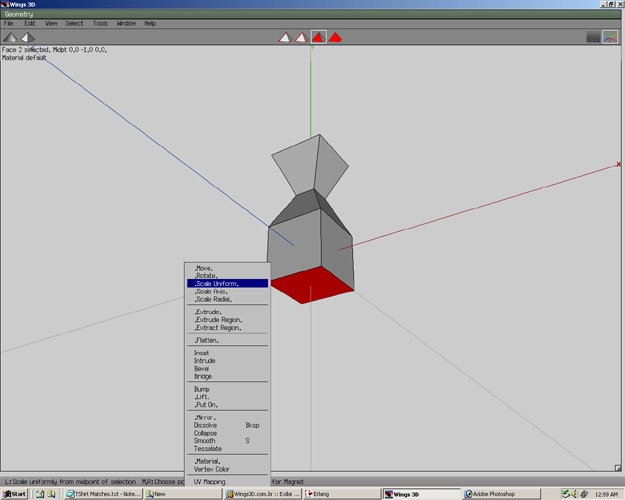
Step 10
Now the bottom should look as shown in the picture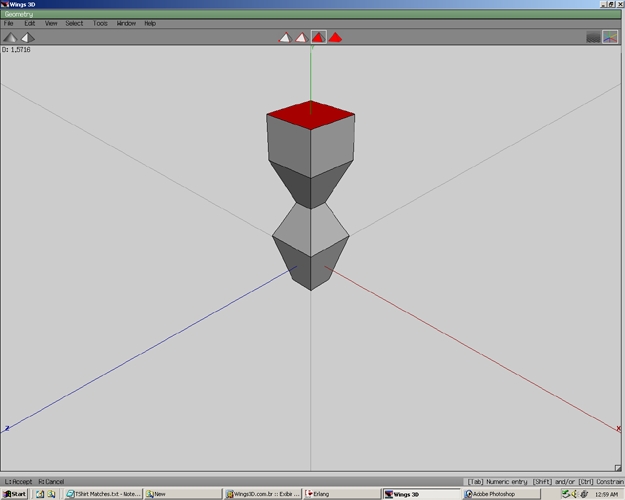
Step 11
Select both faces. Right click and select Inset.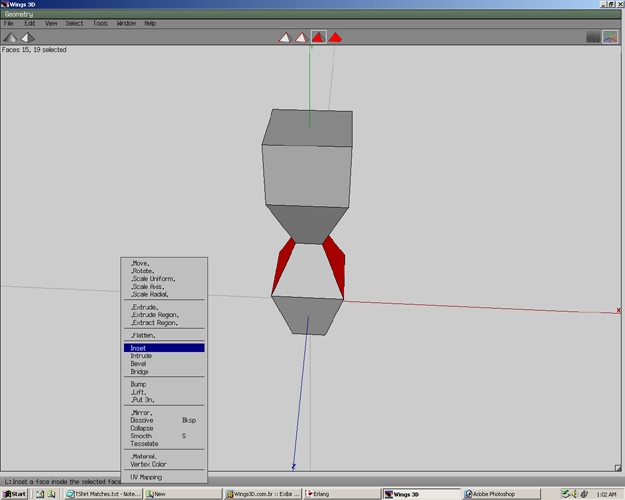
Step 12
Inset the faces to the area shown in the picture.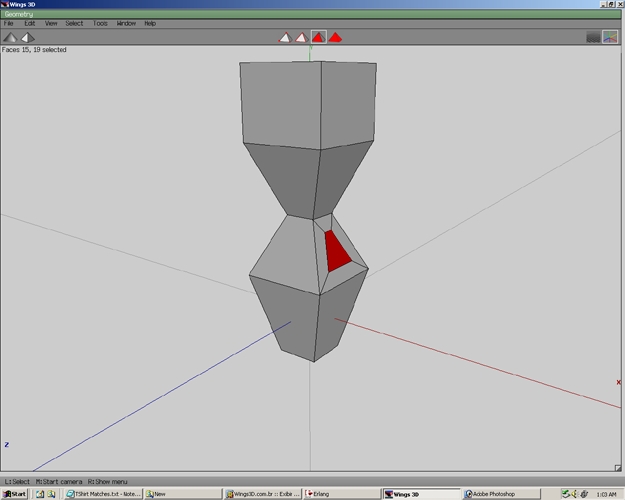
Step 13
Select Move.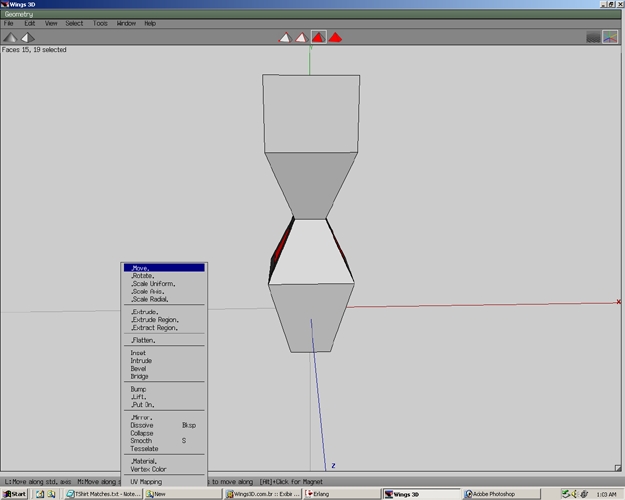
Step 14
Then select Normal.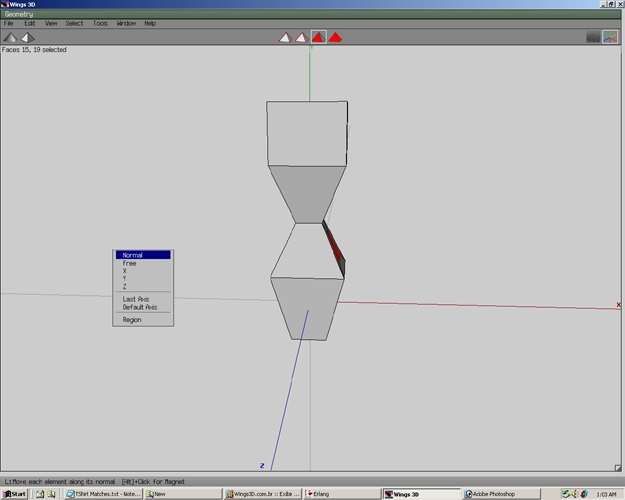
Step 15
The newly moved faces should look similar to the example shown. This method describe(ie. Inset>Move>Normal) is identical to Extrude>Normal>Scale Uniform.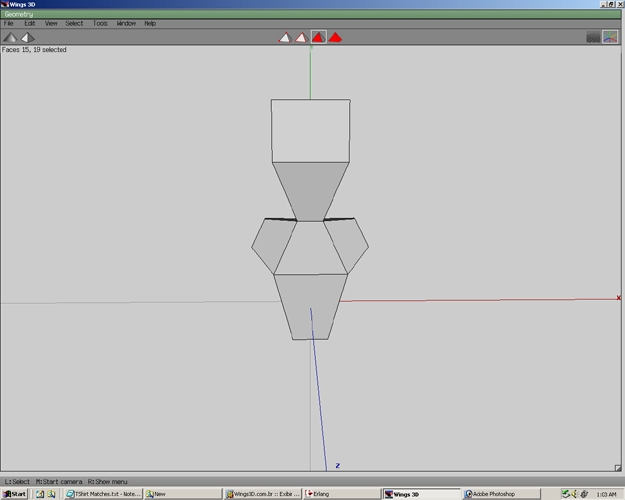
Step 16
Right click and select Flatten.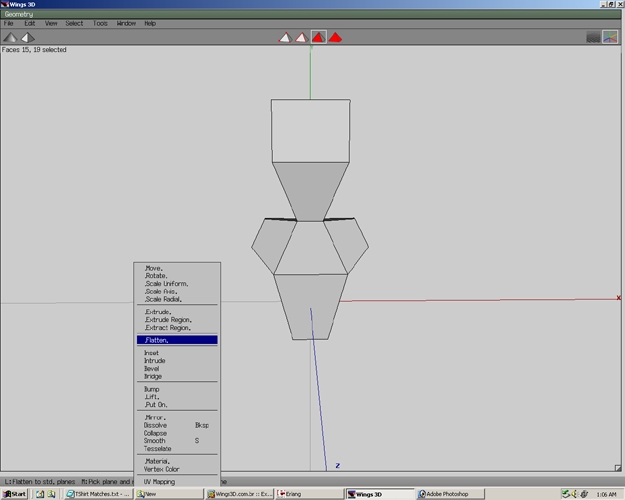
Step 17
Select X.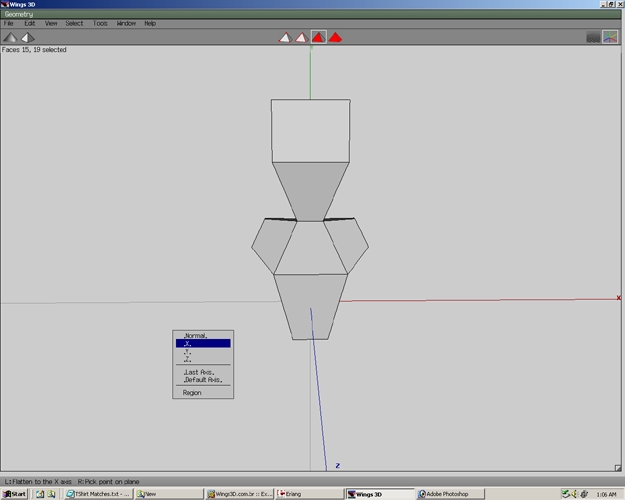
Step 18
Now the faces will be parallel to the x axis.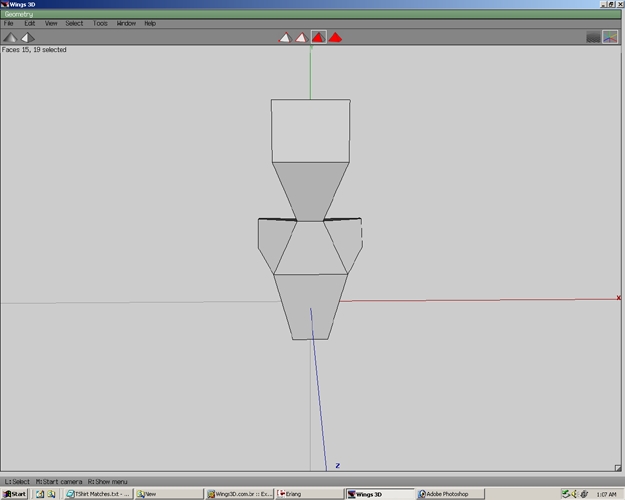
Step 19
Select Move>Y. The faces should now be in the same position as shown in the example.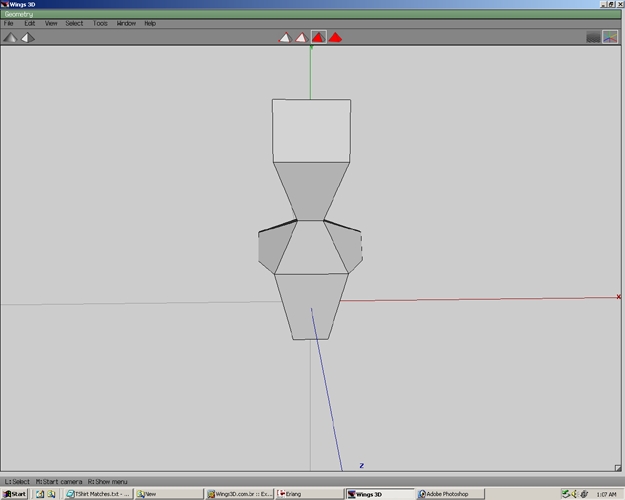
Step 20
With the faces still highlighted. Select Scale Uniform and scale the faces to the desired size.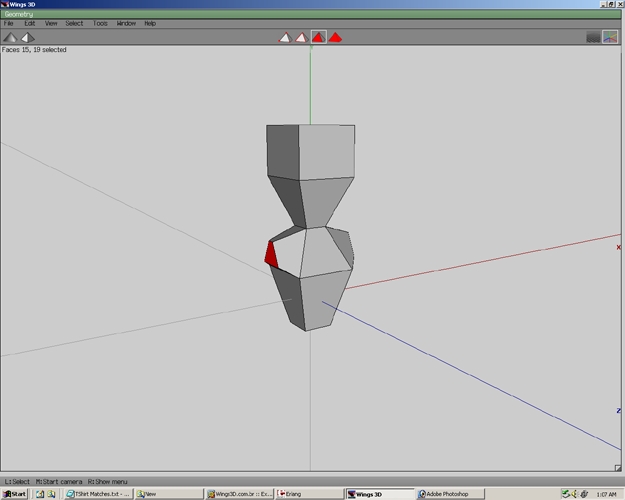
Step 21
Right Click and select Extrude>Normal.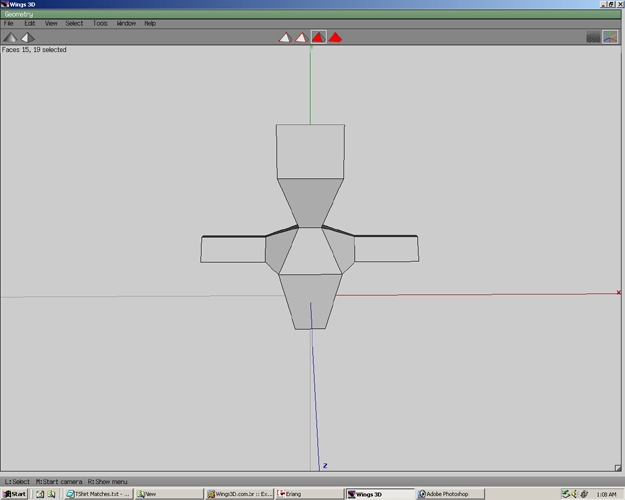
Step 22
Press D to repeat the process.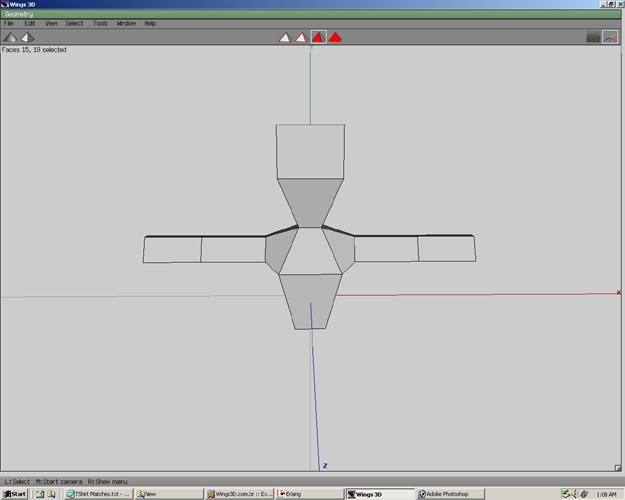
Step 23
Repeat the previous step.
Step 24
Select the edges shown and press L.
Step 25
To shrink the arm area right click and select Scale>Uniform.
Step 26
Select the edges shown.
Step 27
Press G to select an edge ring.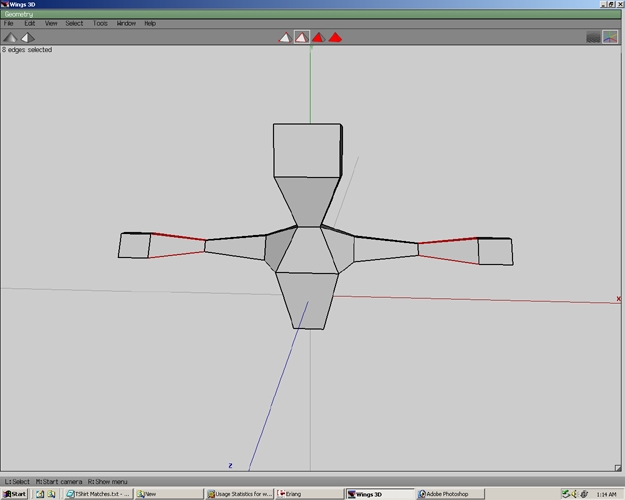
Step 28
Press C to connect the edges. This will create two edge loops.
Step 29
Deselect one of the edge loops. With one edge loops selected right click and select slide.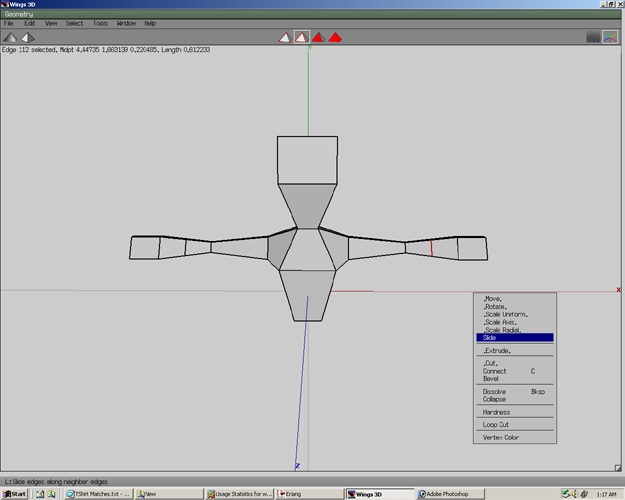
Step 30
Slide the edge loop to the area shown.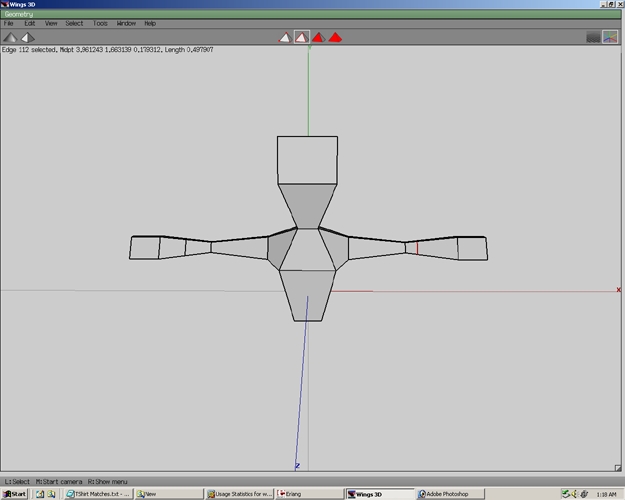
Step 31
Slide the edge loop on the other side and then press spacebar.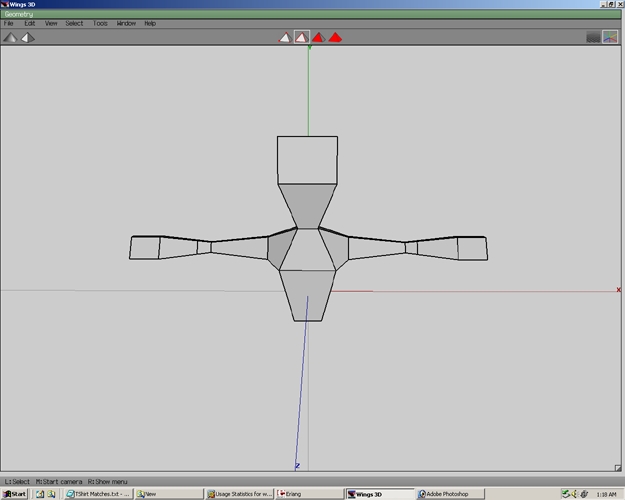
Step 32
Select both edge loops again.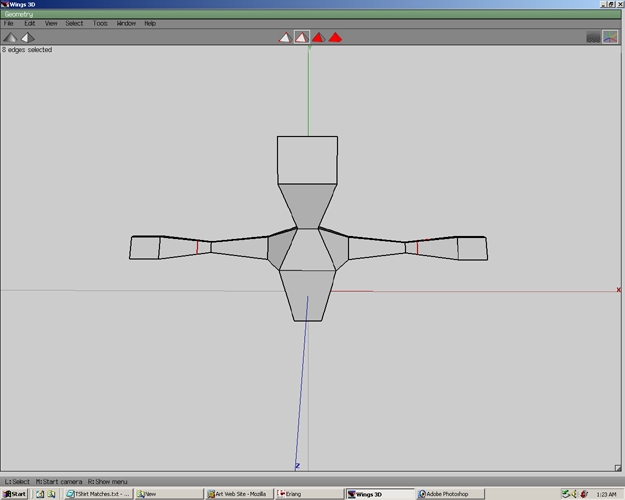
Step 33
Scale>Uniform these edge loops.
Step 34
Select the next set of edge loops as shown.
Step 35
Scale>Uniform these edge loops.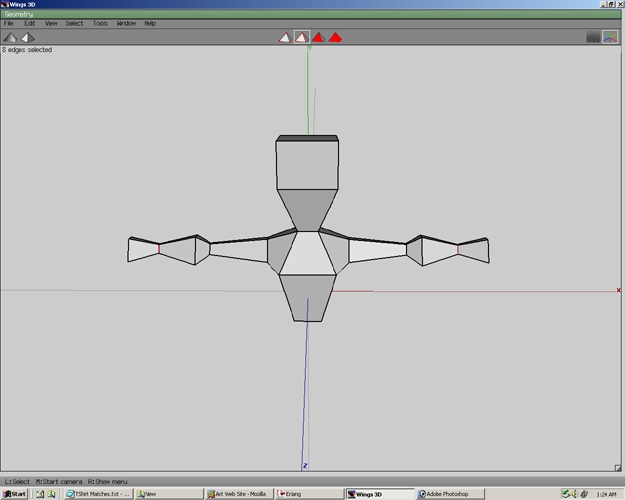
Step 36
Select both faces on the end of the hands.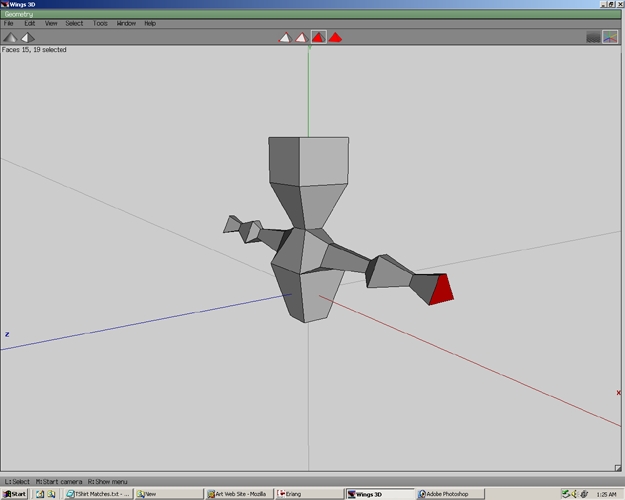
Step 37
Right click and select Scale Axis.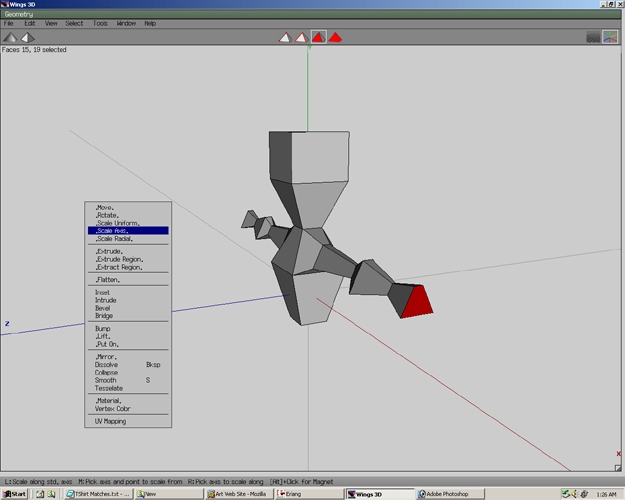
Step 38
Select Y.
Step 39
Both faces will Scale on the y axis. Scale the faces to the desired size.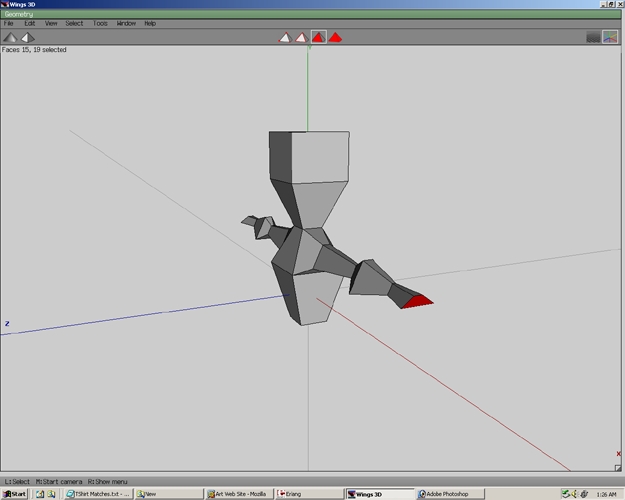
Step 40
Select both edge loops.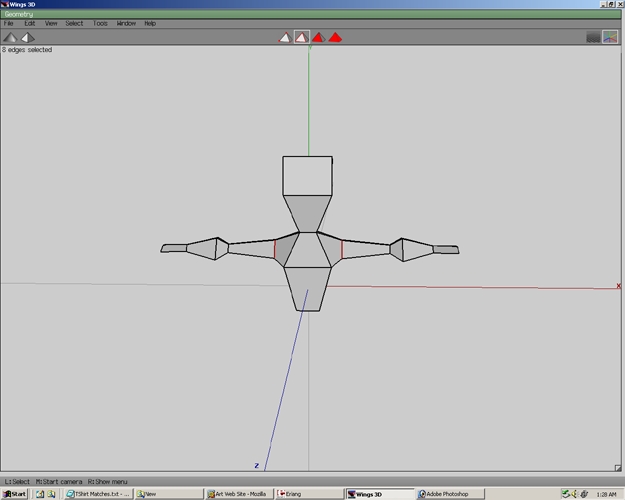
Step 41
Right click and select Move>Y. Move the edge loops as shown. Press spacebar.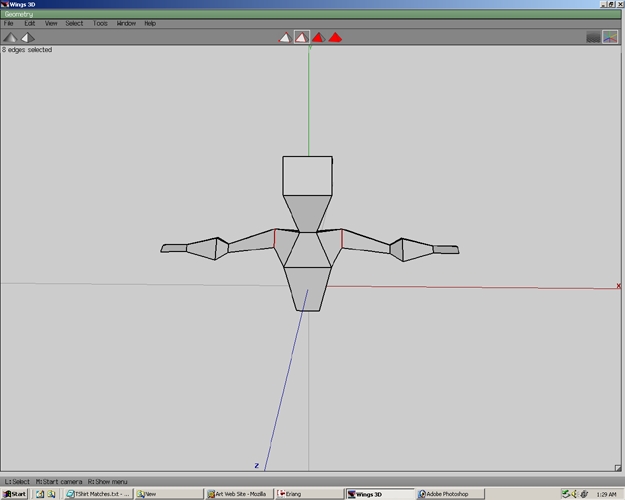
Step 42
Select both edges.
Step 43
Select Move>Y these edges. Press spacebar.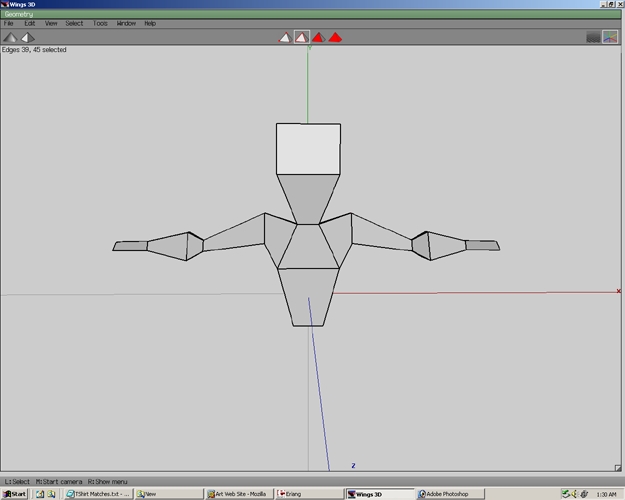
Step 44
Select both edges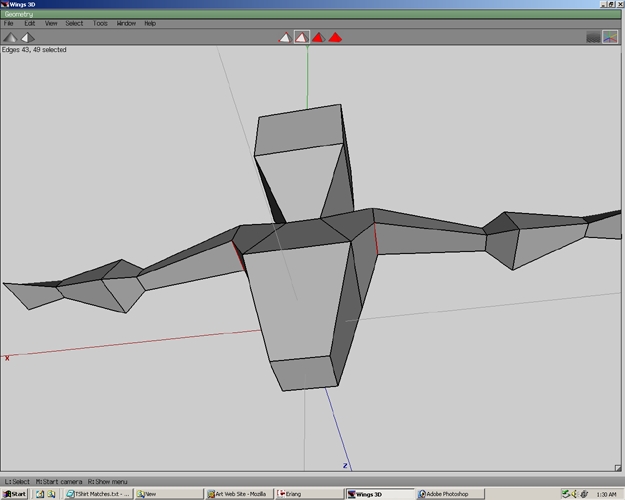
Step 45
Select Move>Y these edges. Press spacebar.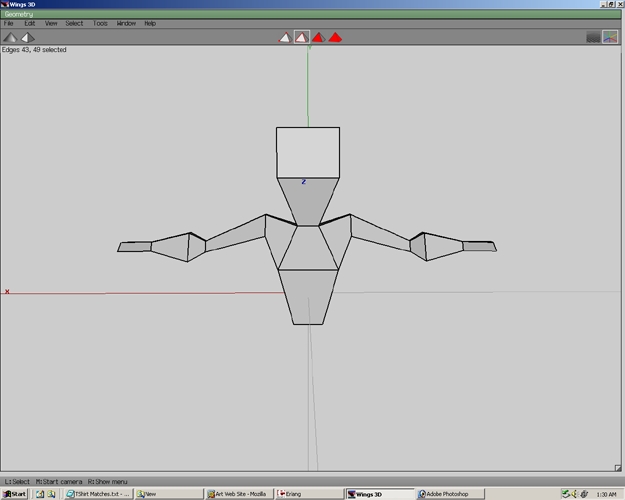
Step 46
Select the bottom face of the body.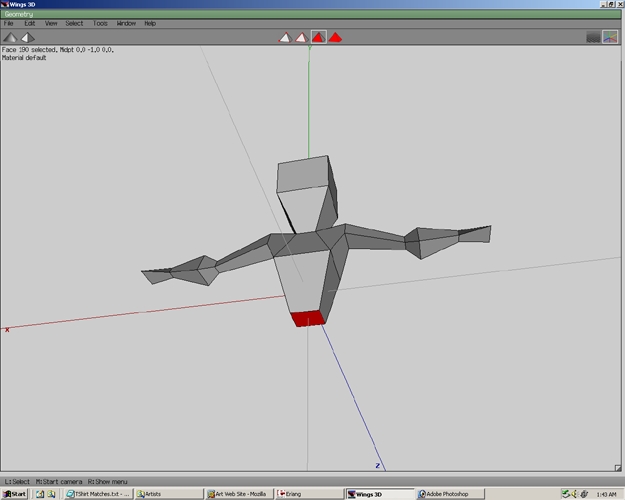
Step 47
Right click then select Extrude>Normal.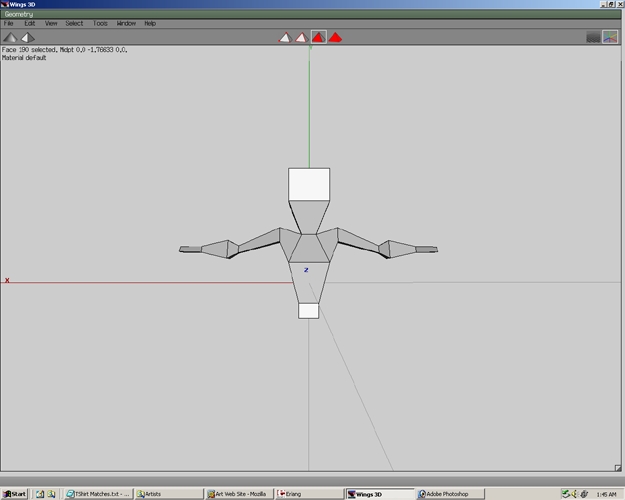
Step 48
Press D to repeat this action.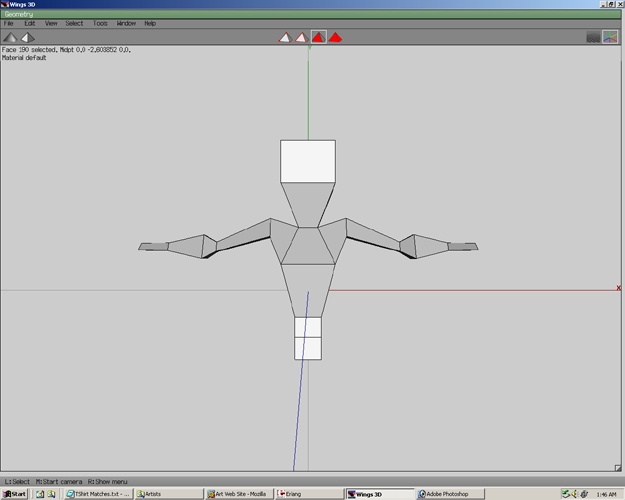
Step 49
To make the still selected face larger SCale>Uniform the face.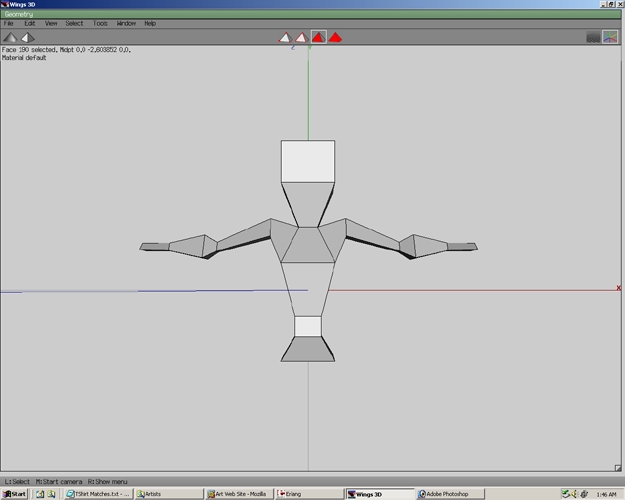
Step 50
Again select Extrude>Normal.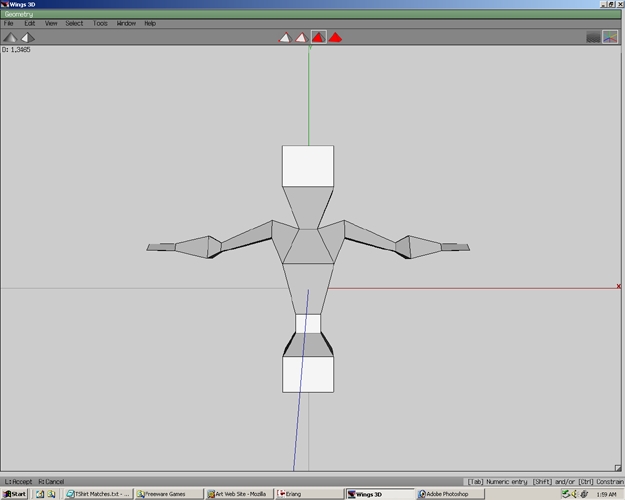
Step 51
Right click and select Scale Uniform.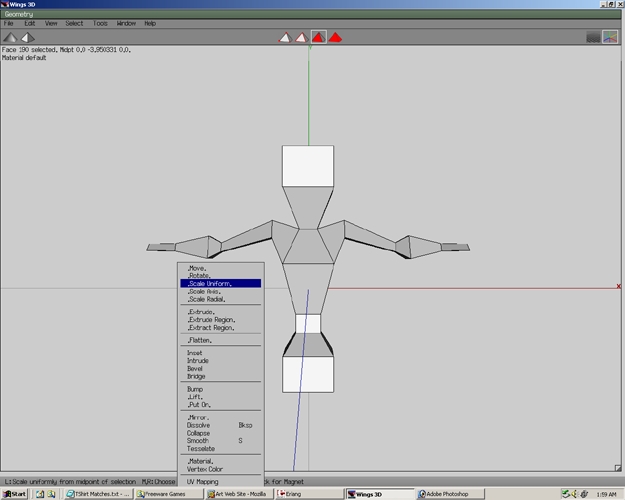
Step 52
Scale to the desired size.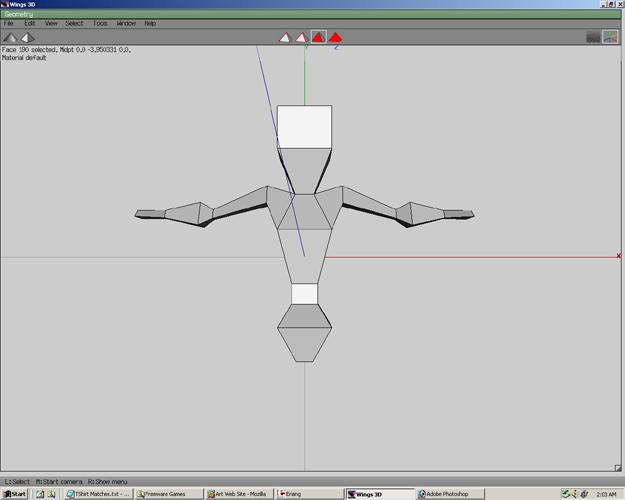
Step 53
Select both faces.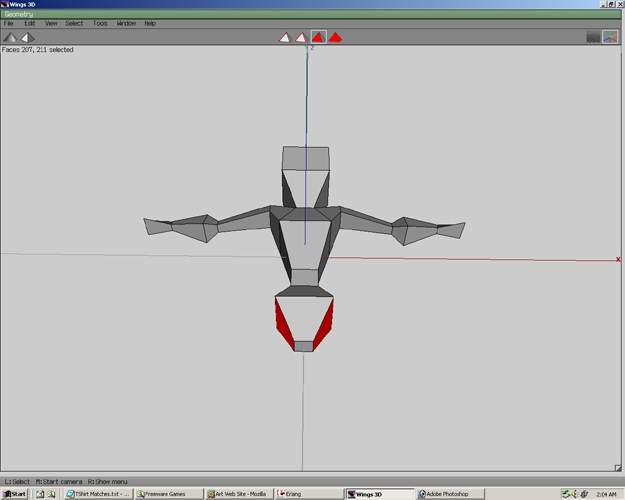
Step 54
Extrude>Normal these faces.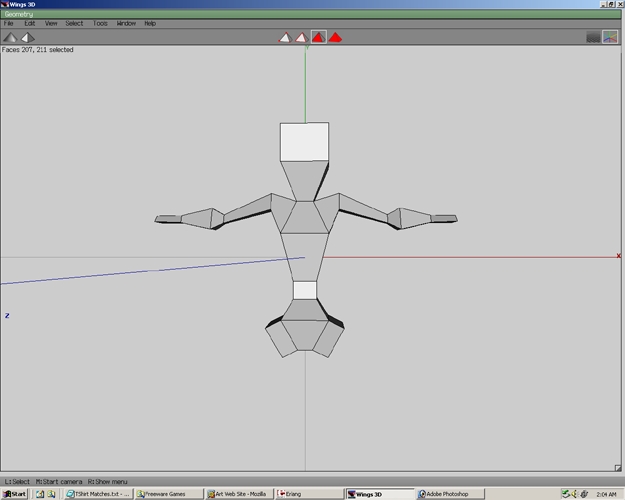
Step 55
Right click and select Move.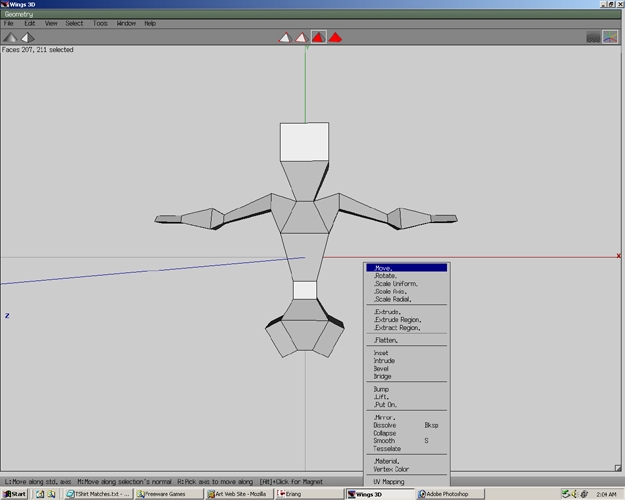
Step 56
Select Y.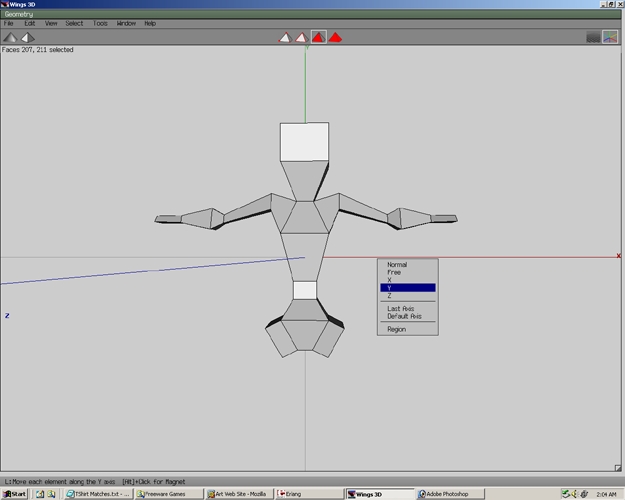
Step 57
Move the faces Y similar to the picture shown.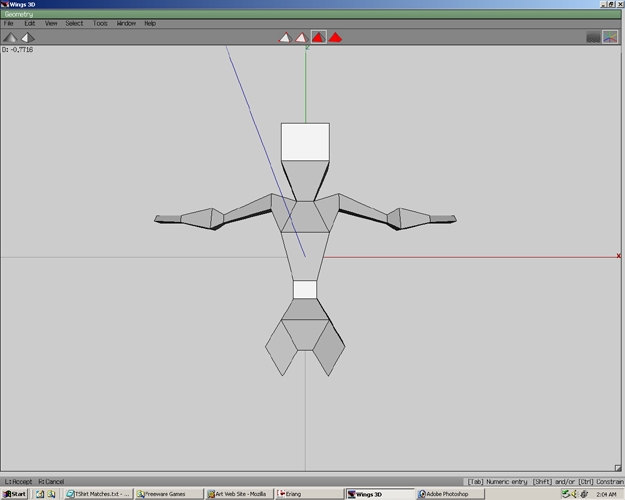
Step 58
Right click and select Flatten.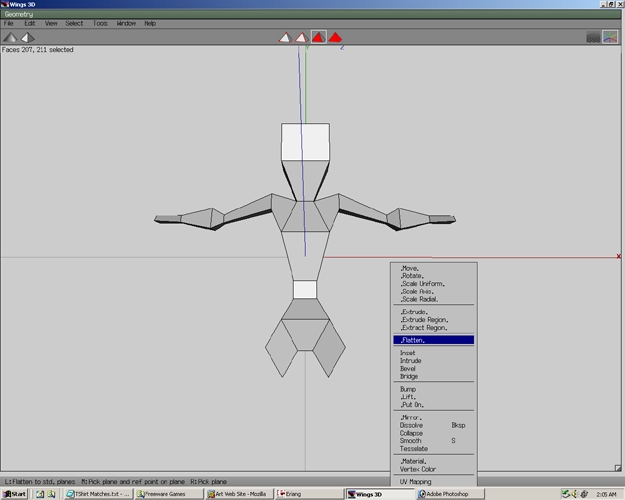
Step 59
Select Y.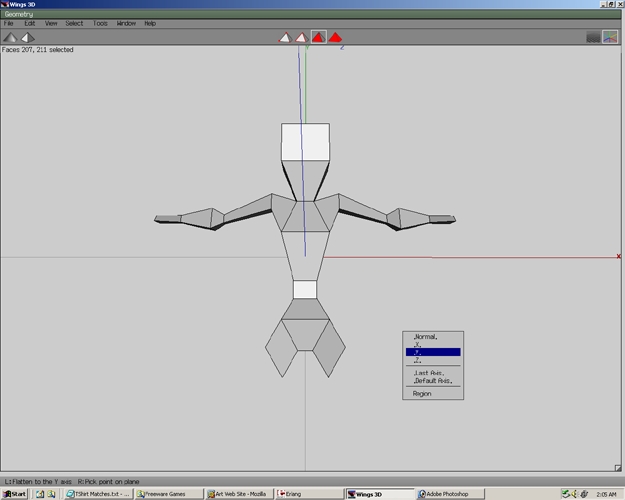
Step 60
This will flatten the faces towards the Y axis.
Step 61
Extrude>Normal these same faces.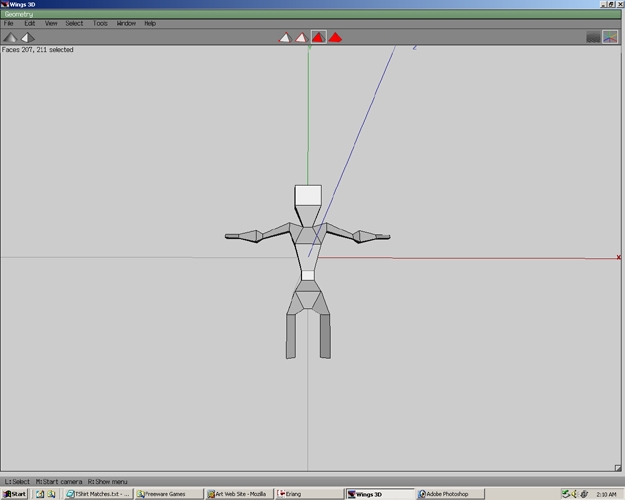
Step 62
Press D to repeat the action.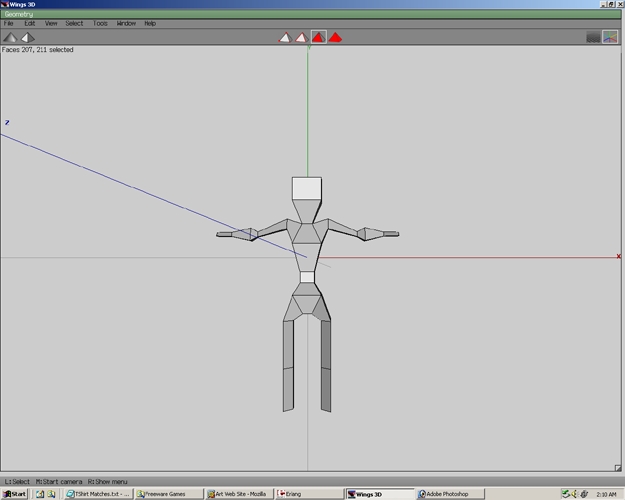
Step 63
Again, press D to repeat the action.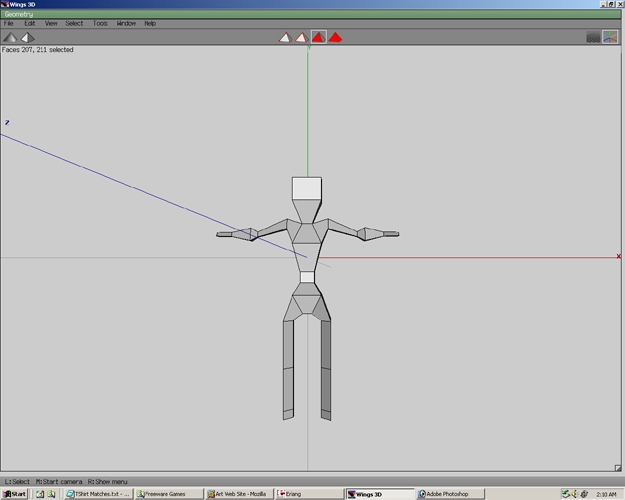
Step 64
And again, press D to repeat the action.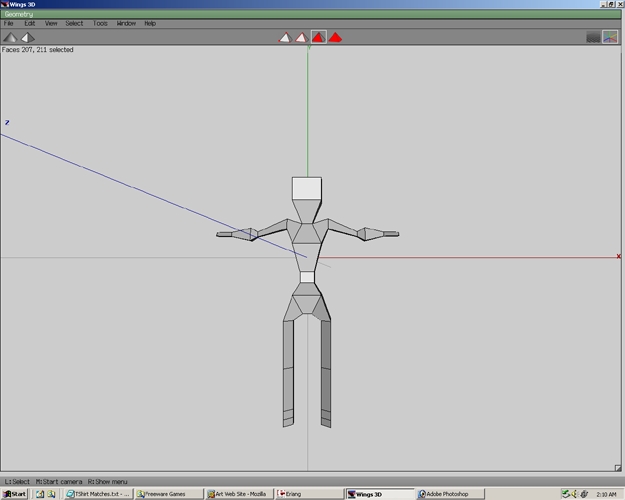
Step 65
With the faces still selected press F 4 times. This will select all the parts shown.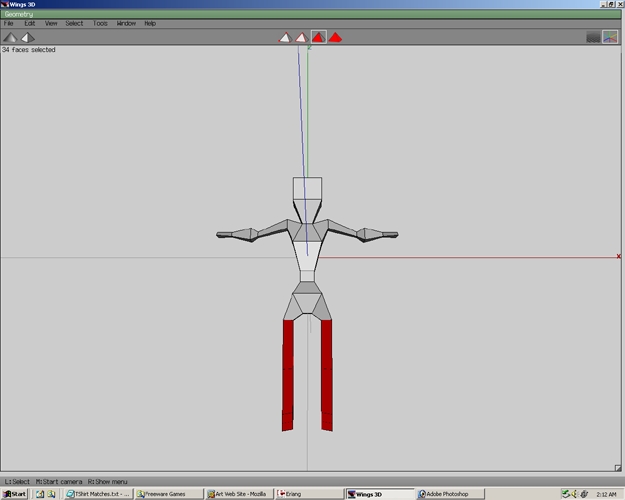
Step 66
Select Scale Axis.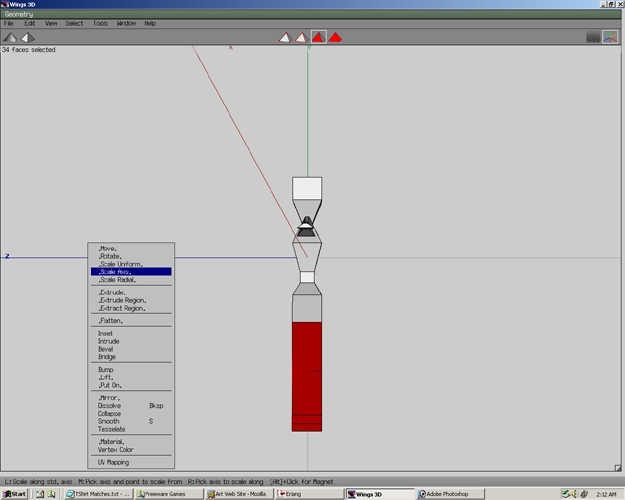
Step 67
Select Z.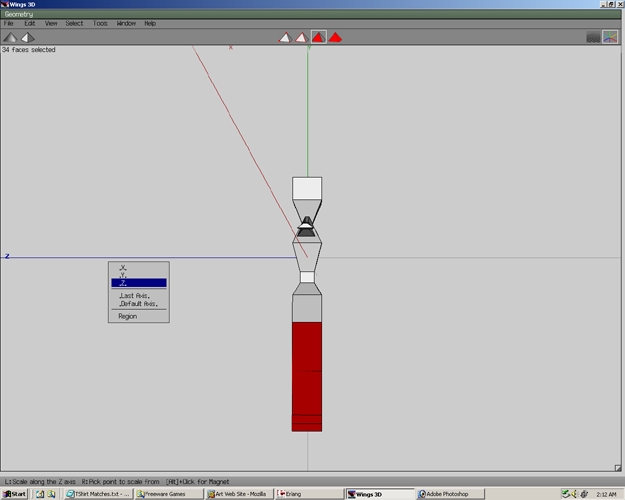
Step 68
Scale the parts similar to the given example. Press space.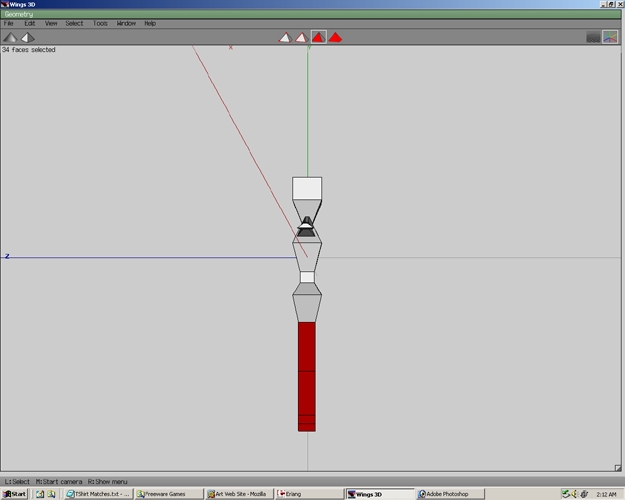
Step 69
Select the bottom two faces as shown.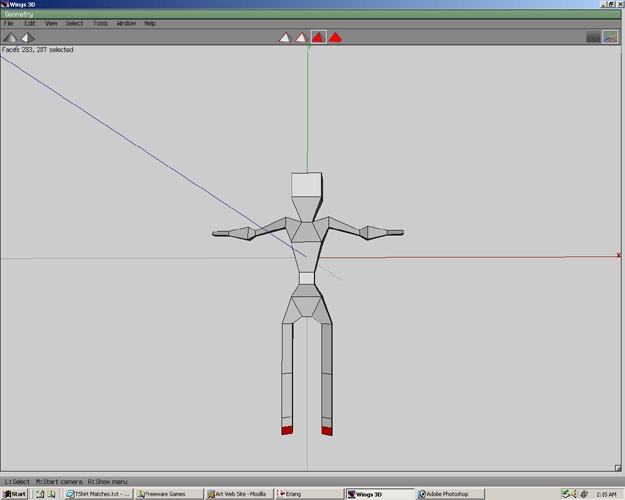
Step 70
Select Flatten>Z. Now the faces will be flatten towards the Z axis.
Step 71
Select the Bottom edges.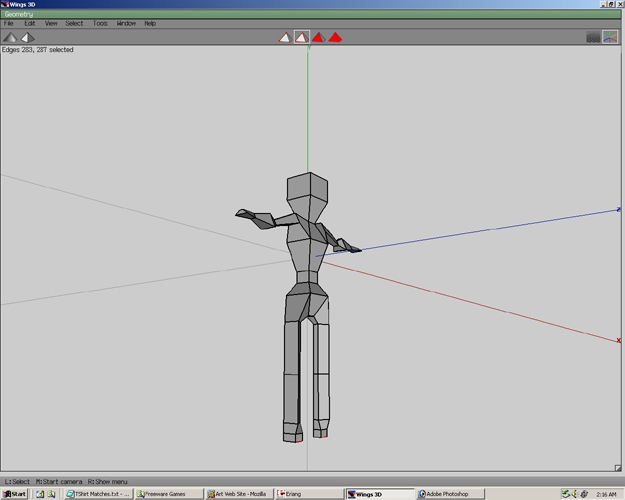
Step 72
Right click and select Move.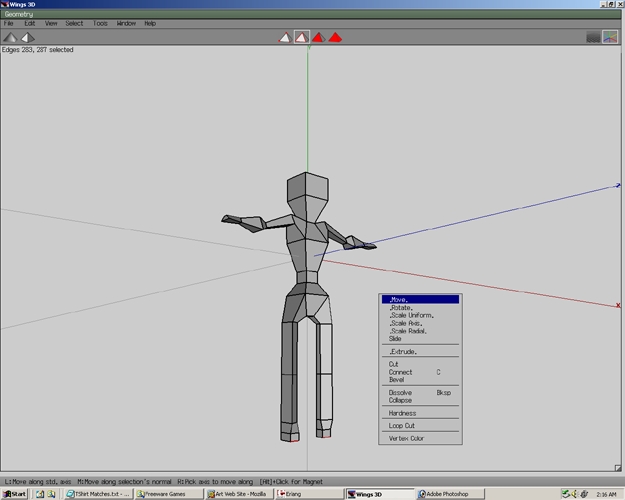
Step 73
Then select Z.
Step 74
Move the edges as shown in the example.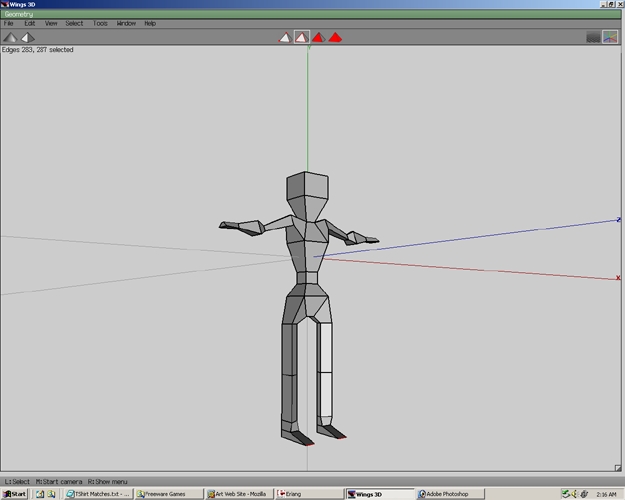
Step 75
Select the edge loops.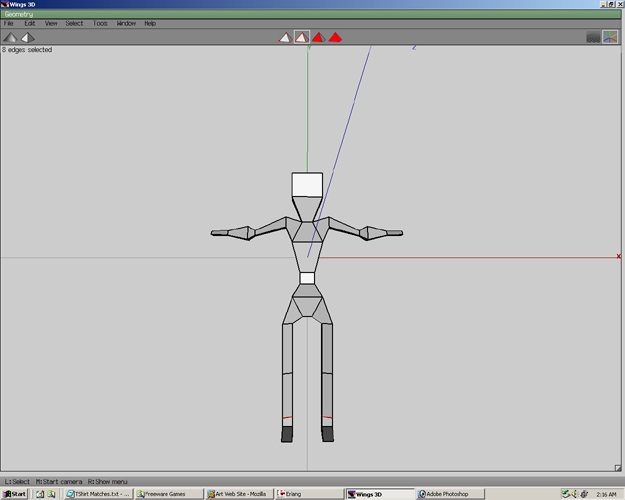
Step 76
Scale Uniform the edge loops.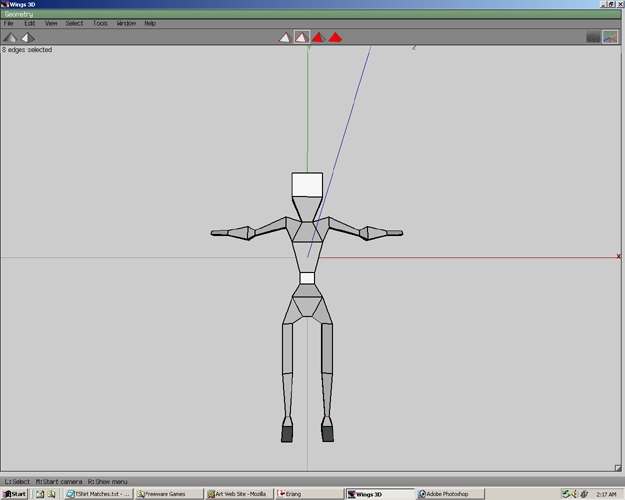
Step 77
Select another set of edges.
Step 78
Create the edge loops.
Step 79
With the edge loops selected Move>Z.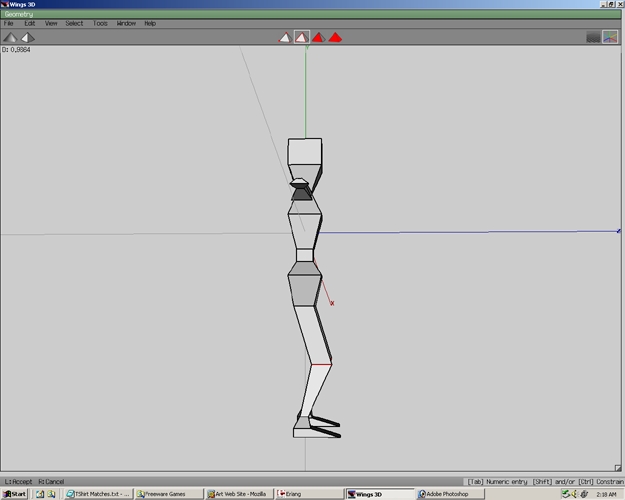
Step 80
Select the edges.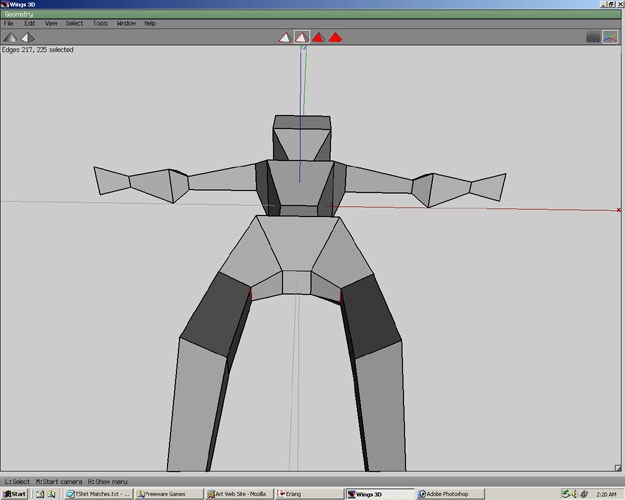
Step 81
Right click and select Move.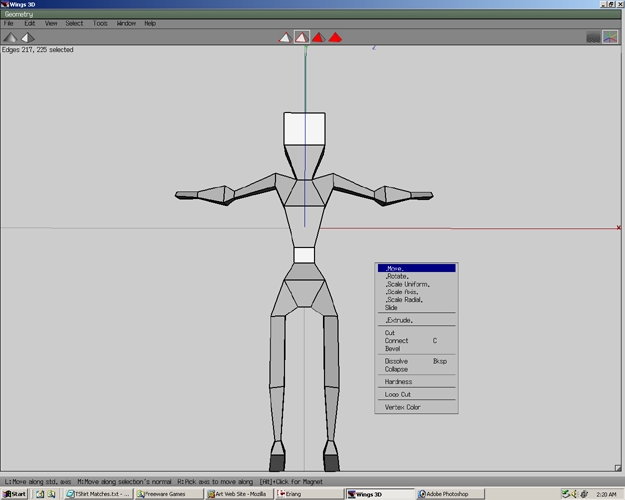
Step 82
Then select Normal.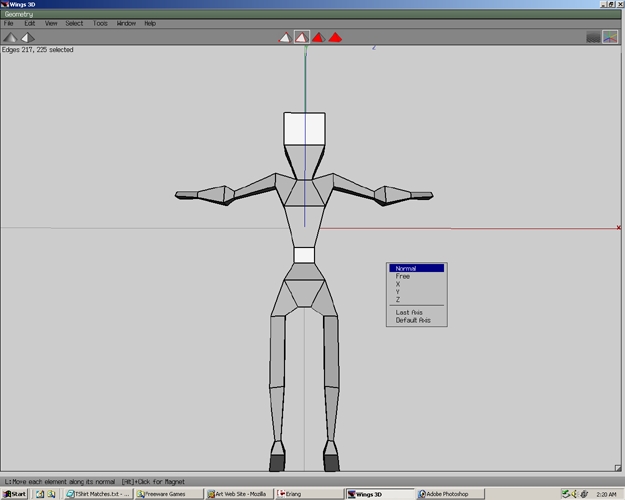
Step 83
Now the inner thighs look somewhat better.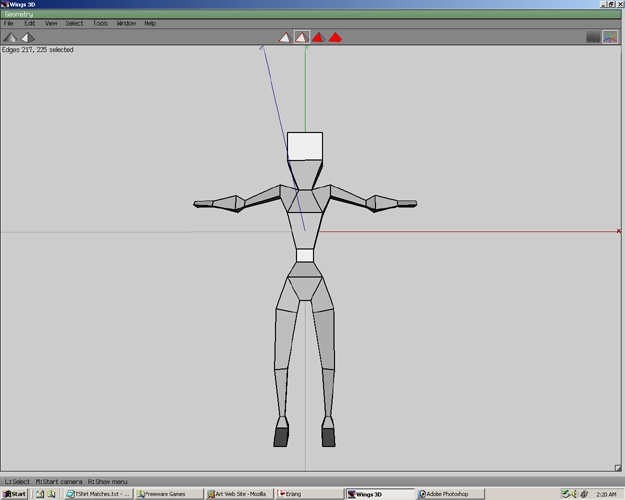
Step 84
Select the face.
Step 85
Right click and select Scale Axis.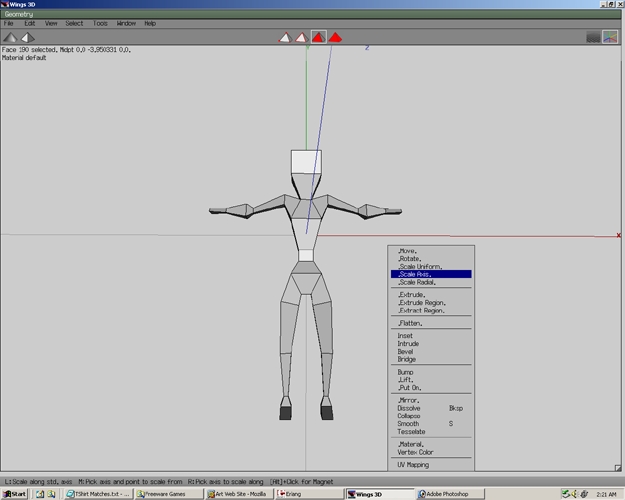
Step 86
Then select X.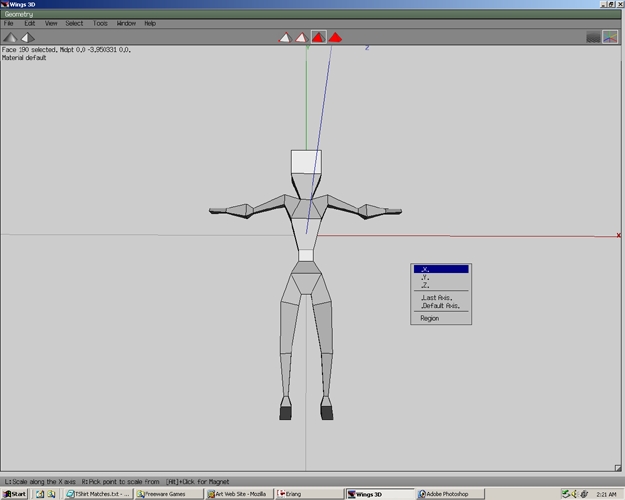
Step 87
The face should look similar to the example.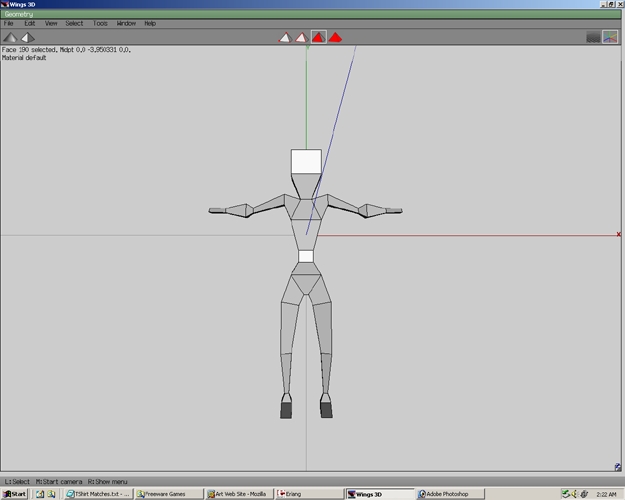
Step 88
A basic human model is now finished.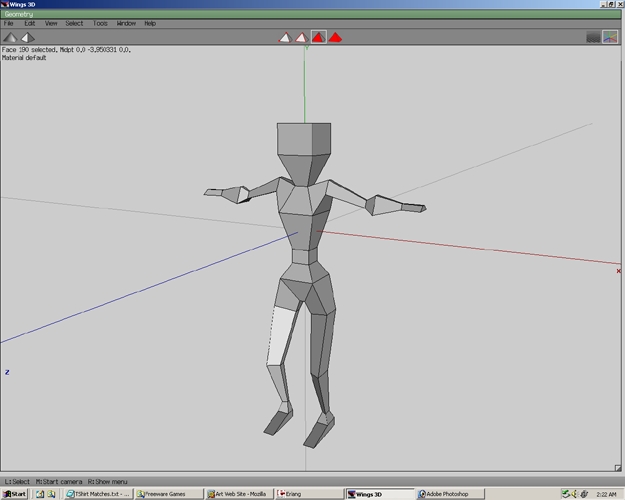
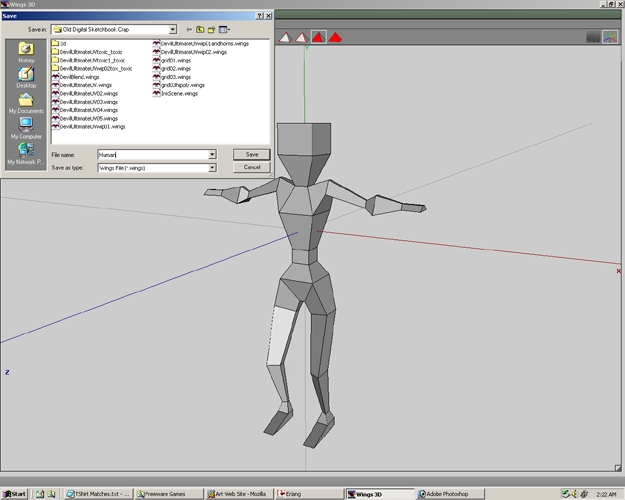
Step 89
Save the file as human by going to File>Save As.