Understanding Painchat
Keyboard Shortcuts
right click = eyedropper(color picker)
right click while drawing = undo
e = changes palette color to white
space = hand/move tool
ctrl + left click or alt + left click = eyedropper(color picker)
in chat: crtl + s or enter = send message
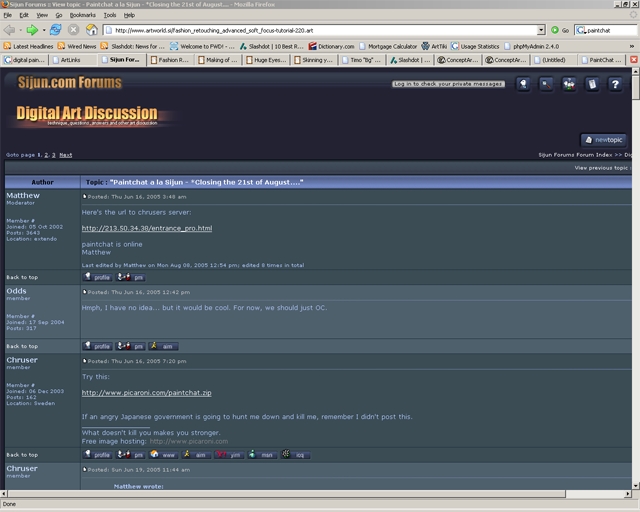
Step 01
Paint Chat is an amazing program that has a lot of potential for learning. The basic premise (if you do not already know) is chat with people and also paint together in on software program. To get started all you need is a browser. Either do a googlesearch for a paintchat server or select a url someone gave you. I found mine on a sijun forum. It is the link that says entrance_pro.html at the end
Step 02
The following page will appear and say "PaintChatClient v3.63" and a percentage of how much is done loading. Note: Sometimes the page will stay locked up at 70%. If this happens, close the browser window, reopen it, and try again.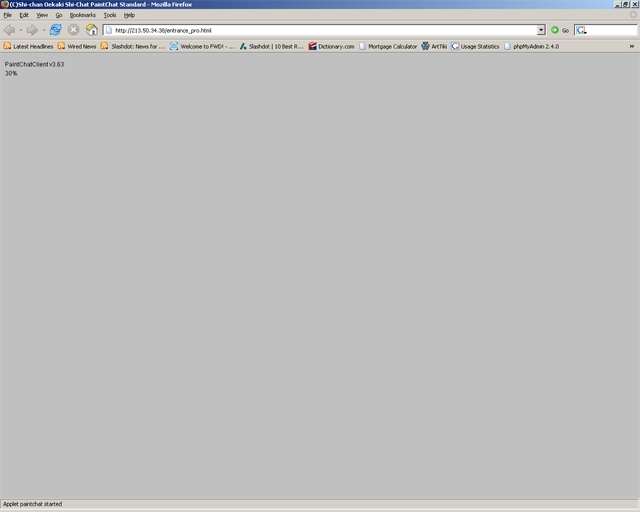
Step 03
A pop up window with say "Your Handle" type a name and hit enter. The will be your paintchat screen name.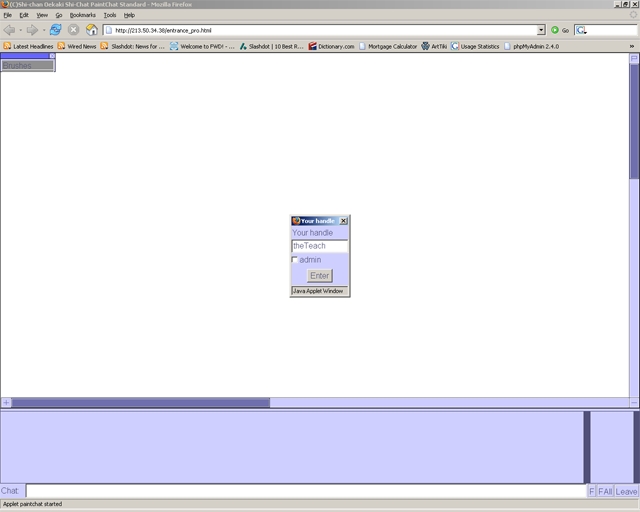
Step 04
The paintchat program will load through both the past conversations and past paintings in order by which they were created. Once that is done you will be able to use the program.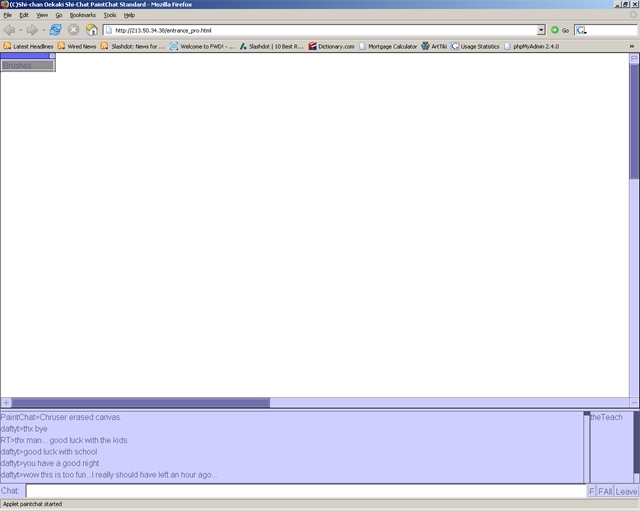
Step 05
At the bottom part of the screen is where chatting takes place. In the entry box next to Chat: type some words. Hit ENTER or CTRL + S to send the message to the people in the chat room.
Step 06
Now the text will appear for everyone to see.
Step 07
In the upper left hand corner of the browser window there should be a dialog box with the words: Brushes, Retouch, Size & Palette, etc...) To move that dialog box place the mouse cursor to the blue top bar above that dialog box. Hold down the left mouse button over it and drag the box.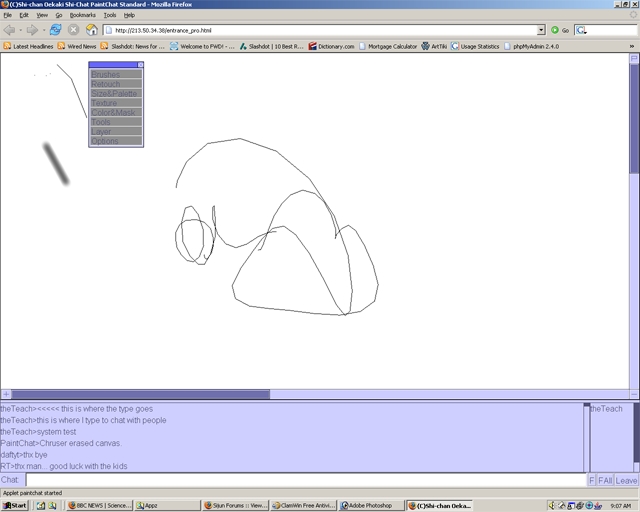
Step 08
Select the Brushes button in the dialog box. The word Brushes should now be highlighted and the toolbar should appear.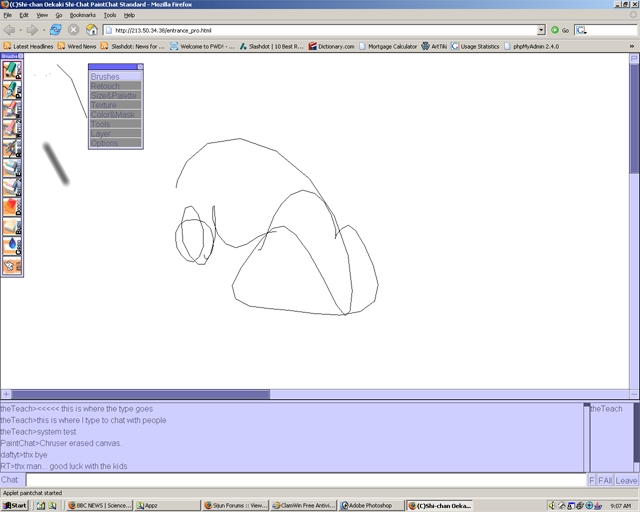
Step 09
If you click on each one of the words in the dialog box. The working space becomes a little jumbled.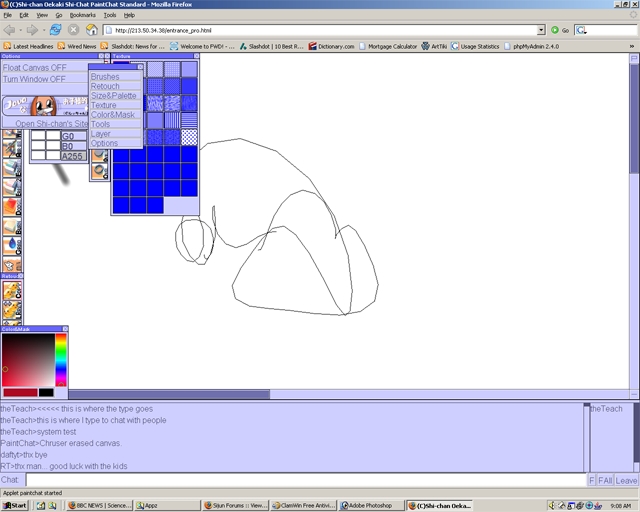
Step 10
Just like the main dialog box drag the toolbars and dialog boxes around to make it easier to see them. To hide dialog boxes that you may not be using much select on the word again in the main box dialog box. On the right side of the Size&Palette dialog box move the vertical bar up to change the brush size to one pixel. Draw a line.(make sure you have Pencil tool selected in the Brush toolbox.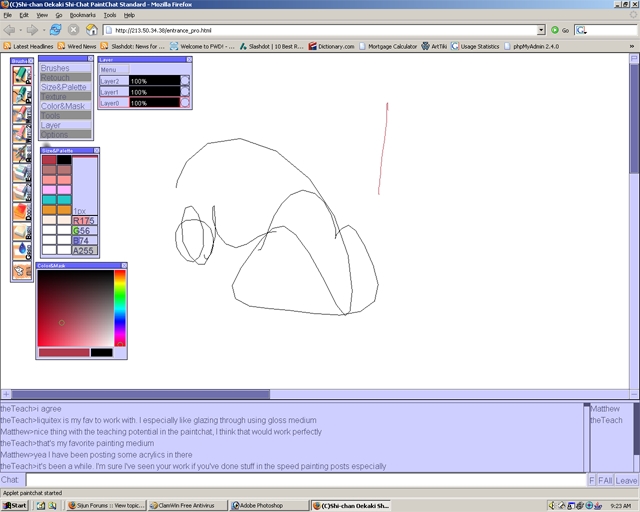
Step 11
Change the brush to 9 pixels by dragging the rectangle downward vertically. Draw another line.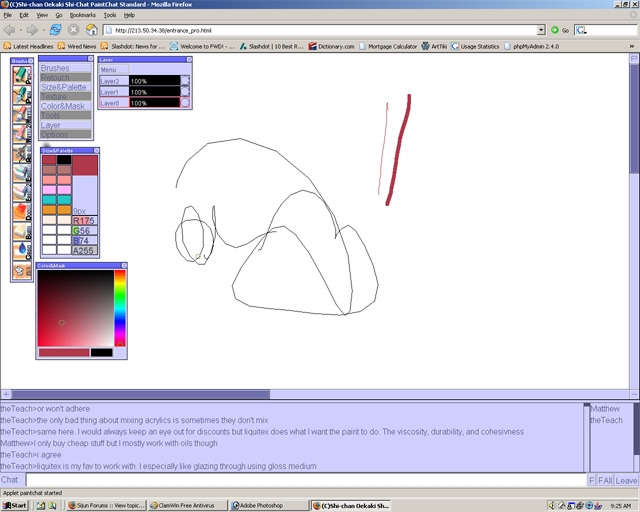
Step 12
Change the brush to 128 pixels by dragging the rectangle downward vertically. Draw another line.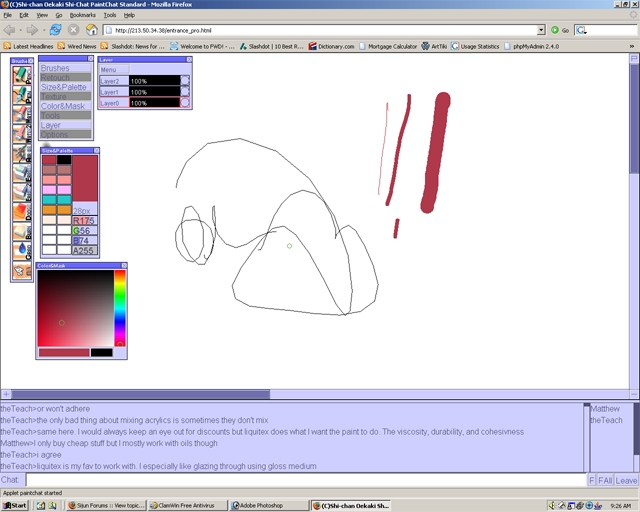
Step 13
Change the brush to 146? pixels by dragging the rectangle downward vertically. Draw another line.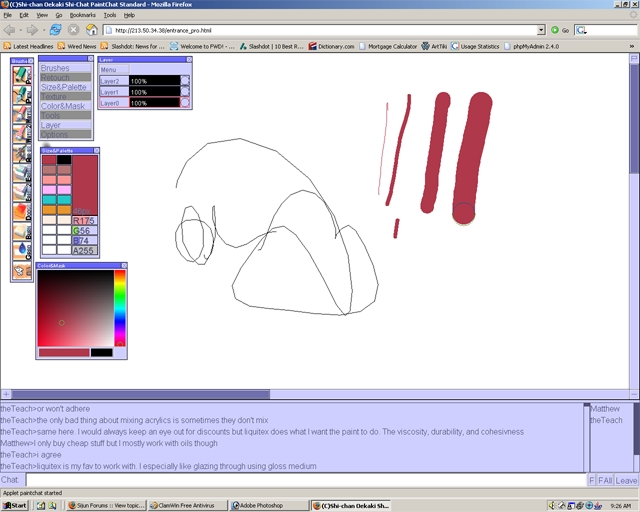
Step 14
Each vertical line drawn has the pixel brush size written below. Note: the far right line size is actually 246?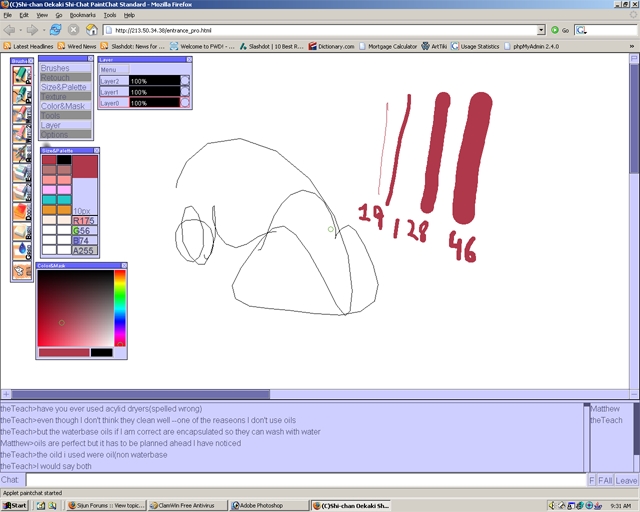
Step 15
While still in the Size&Palette box there shold be a few bars each on saying, R, G, B, and A. In the Color&Mask dialog box drag the mouse holding the left mouse button to pick a new color. Draw a line over some other objects. Notice the line was completely opaque(not see through). This is because the Alpha bar(or A) was set to 255.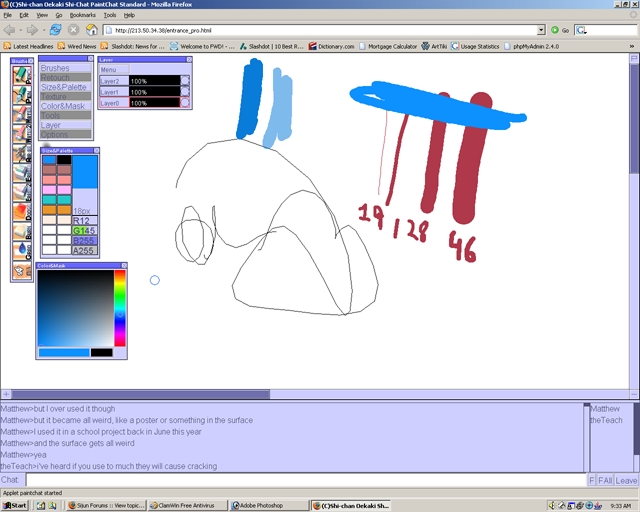
Step 16
Change the Alpha value to 112 and draw another line. Notice that the line is transparent.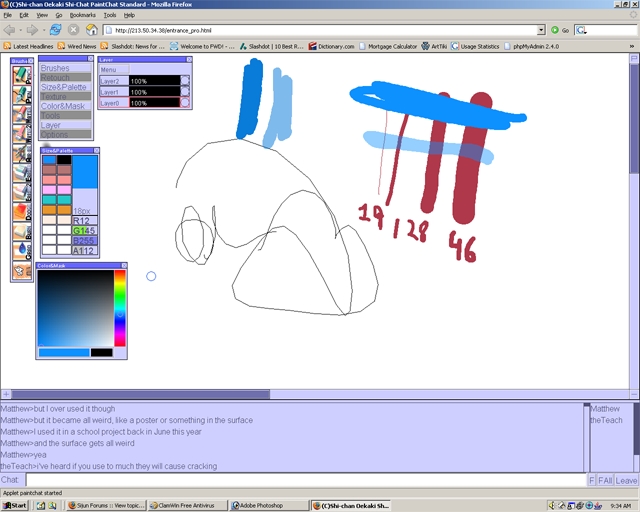
Step 17
Change the Alpha value to 39 and draw another line. Notice that the line is even more transparent.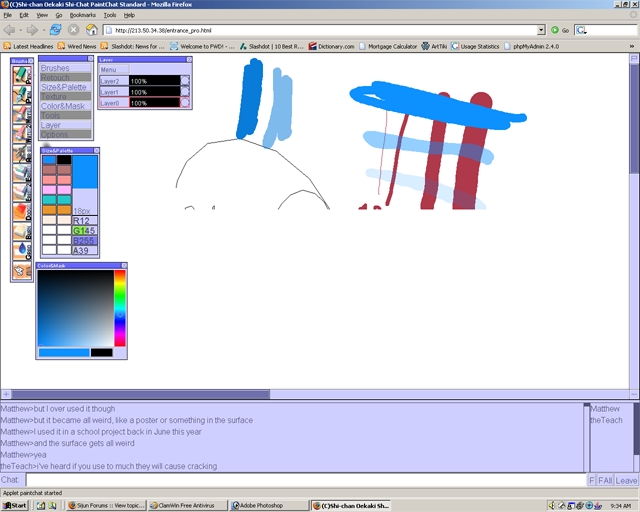
Step 18
Each horizontal line drawn has the alpha value written beside it.
Step 19
Change the color of your brush and paint an area. So far we have been painting on layer 1. Layer 1 should be highlighted red when you are using that layer.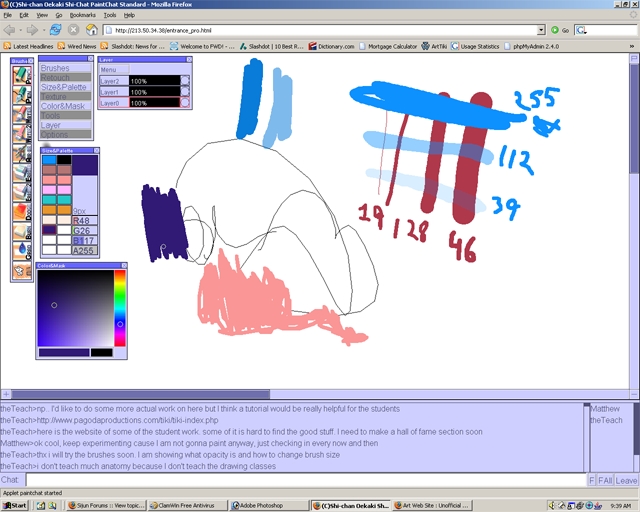
Step 20
Left click your mouse on layer 2 so that it is highlighted in red. Chose a different color and draw over the previous drawing.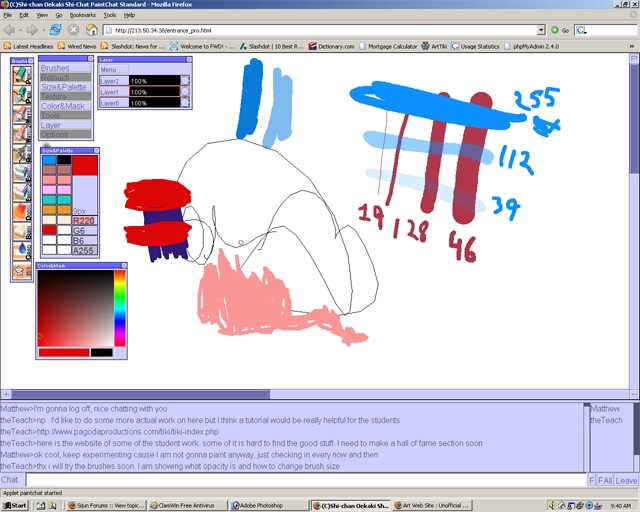
Step 21
Each layer is made up of a row with 3 sections. The left side is the layer name(ie. layer 1, layer 2, etc..), the middle the opacity(ie. 100%), and right a on/off button that is a circle within a square. Select that circle. Now the whole row should be highlighted. Also there should be a slash through layer and the circle The new drawing should now be hidden.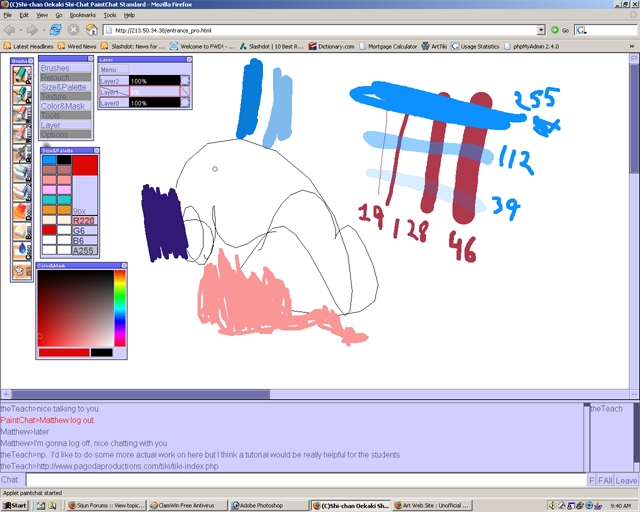
Step 22
Drag layer 2's bar to 45%. Notice that the opacity of this layer has changed.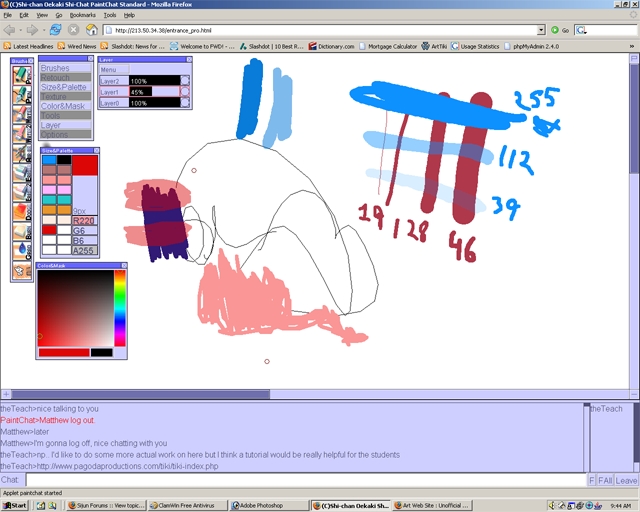
Step 23
Change the layer's opacity back to 100%. Now move the cursor over a part of the painting. Right click your mouse over that color(You can also hold CTRL+Left Mouse Click or ALT+Left Mouse Click. Now that exact color is selected in the palette. I right clicked on a blue shape.
Step 24
One of the advantages of this color selection is you can draw with exact colors quickly.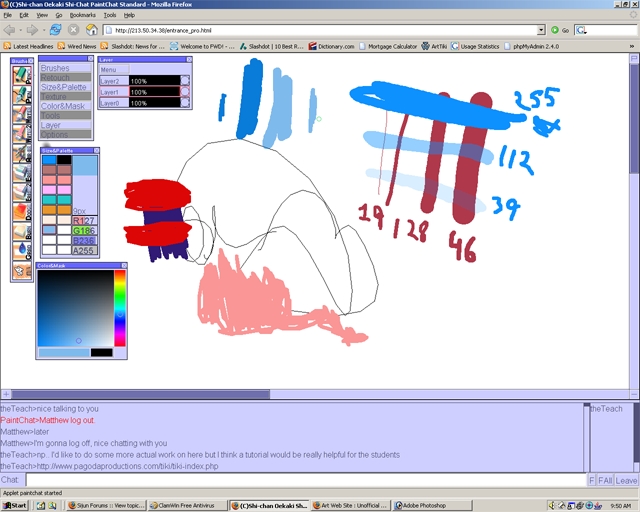
Step 25
Different brushes have different looks.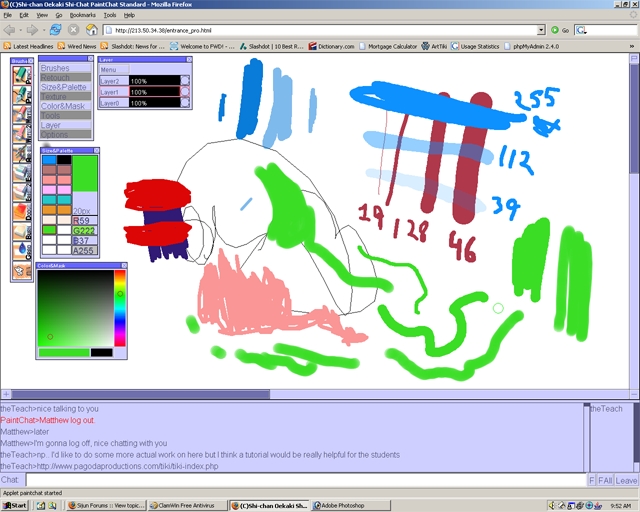
Step 26
Some are more obvious than others.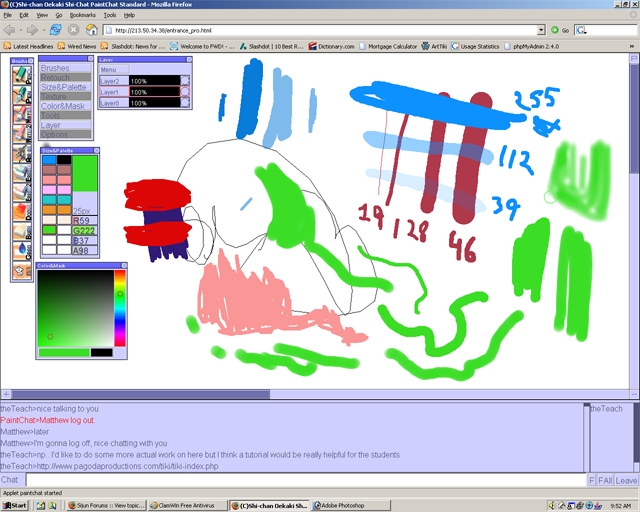
Step 27
This is a example of all the brush tools and what they look like from the brush toolbar.
Step 28
To zoom in click on the plus sign(+) near the left bottom part of the screen.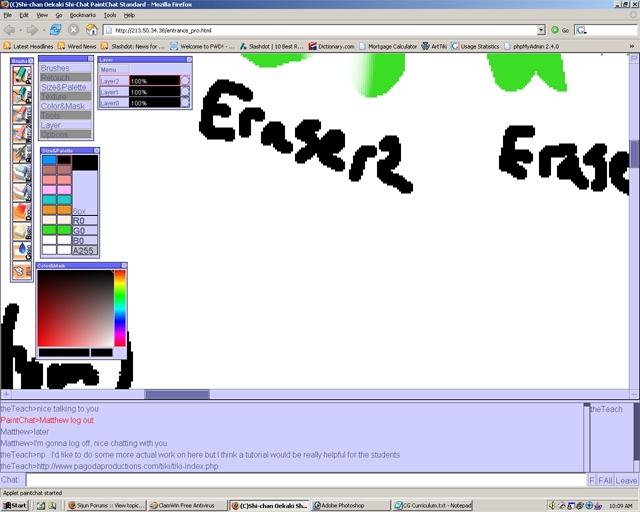
Step 29
To zoom out select the minus sign(-) near the right bottom part of the screen.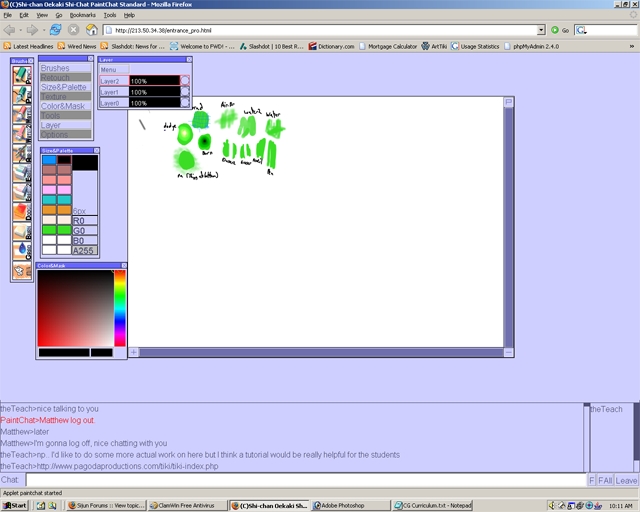
Step 30
Open the Retouch toolbar by selecting it from the main toolbar. In the Retouch toolbar select copy. Hold the left mouse button and drag your mouse cursor over a painted area.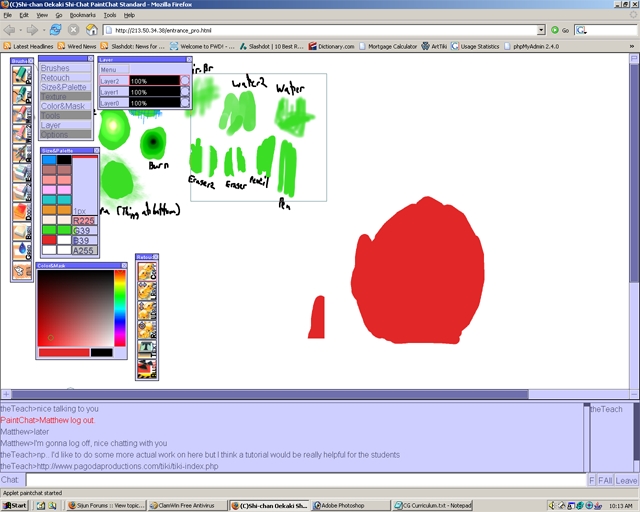
Step 31
Once you let go of the mouse button move your cursor to move the copied selected area.
Step 32
In the Retouch toolbar select LRrev and drag you mouse over an painted are just like you had done in the previous steps. Hold the left mouse button and drag your mouse cursor over a painted area.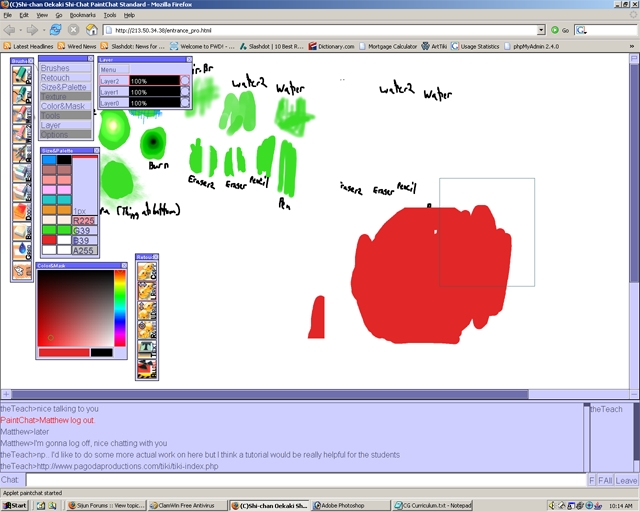
Step 33
Notice the selected area has been flipped horizontally.
Step 34
In the Retouch toolbar select UDrev and drag you mouse over an painted are just like you had done in the previous steps.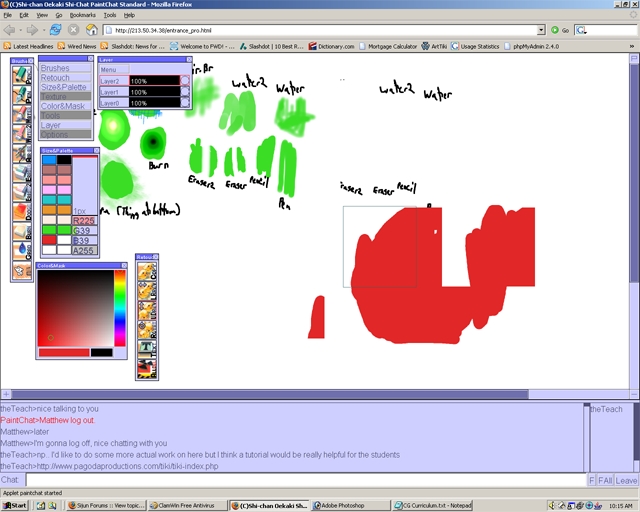
Step 35
Notice the selected area has been flipped vertically.
Step 36
In the Retouch toolbar select Rotat and drag you mouse over an painted are just like you had done in the previous steps.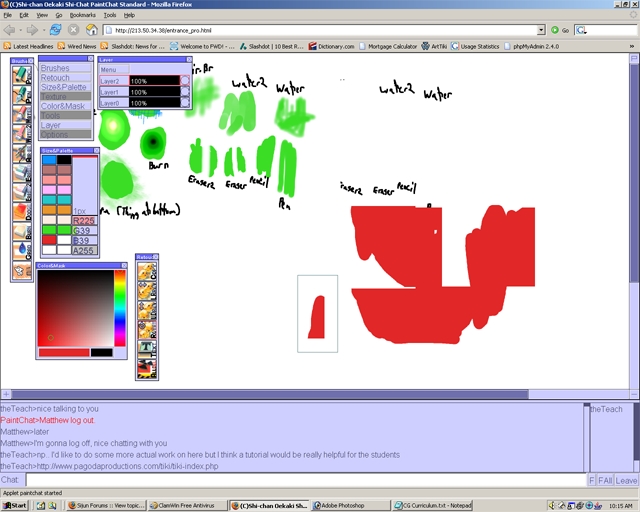
Step 37
Notice the selected area has been rotated.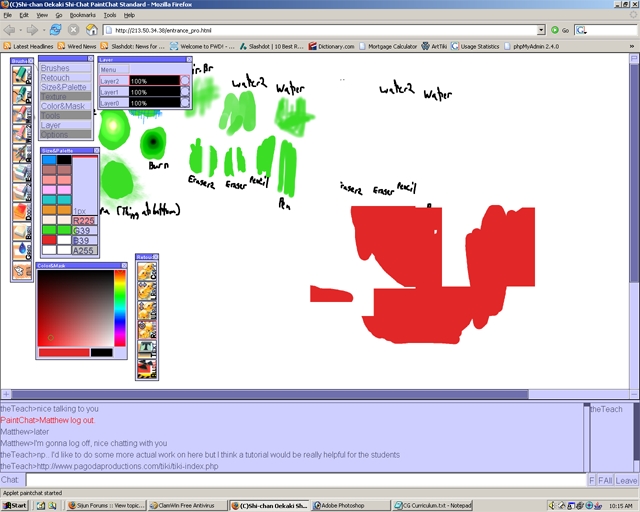
Step 38
In the Retouch toolbar select Text and left click your mouse in an area. A box will appear where you can write in text.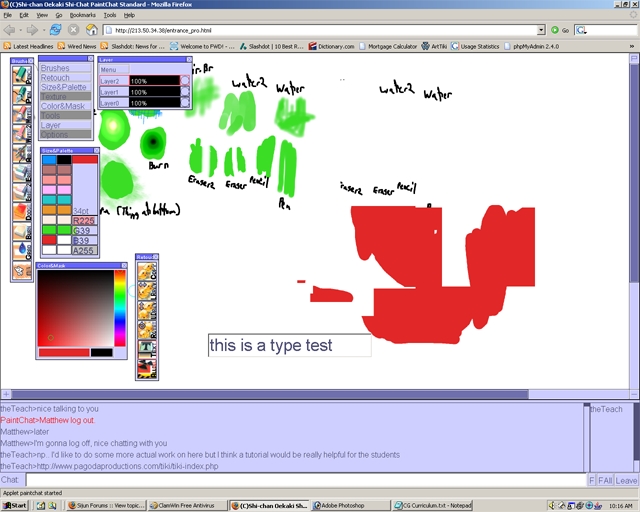
Step 39
When finished hit enter and the type will appear in the color and size based on the what was chosen in the Size&Palette bar.
Step 40
In the Retouch toolbar select AllDel and left click your mouse in an area. A window will ask if you want to clear the canvas. Select no.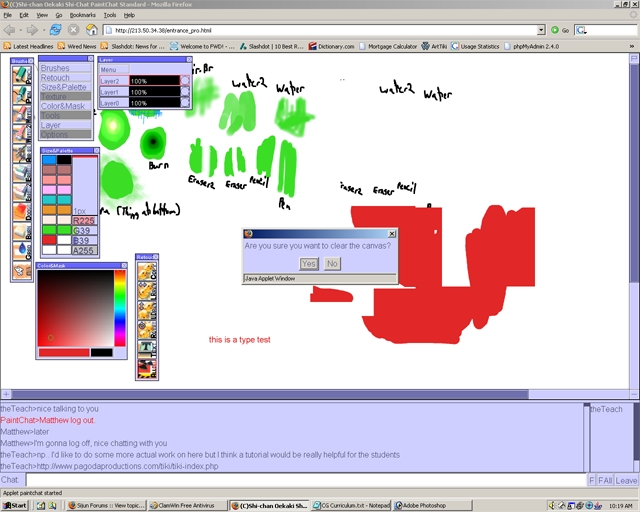
Step 41
In the main toolbar select Texture. In the texture toolbar there are many textures to chose from. I chose a white color and some examples of these textures are shown in white on the red shapes.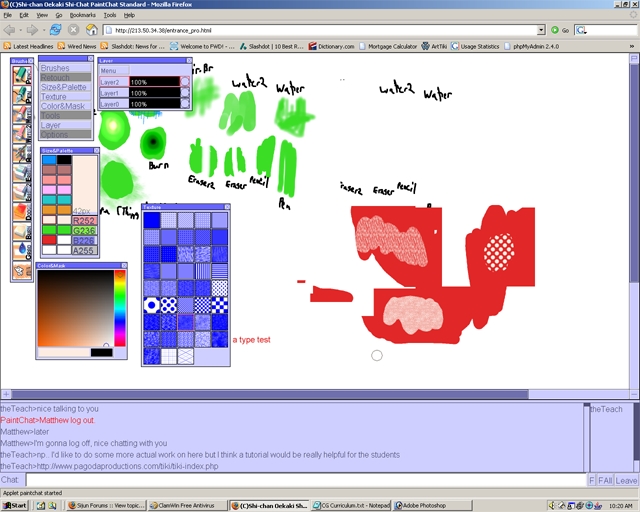
Step 42
Make sure the brush selected is pencil then in the main toolbar select Tools. Select free and draw. This is a freehand drawing tool.
Step 43
In the Tool toolbar select line. This is a line drawing tool.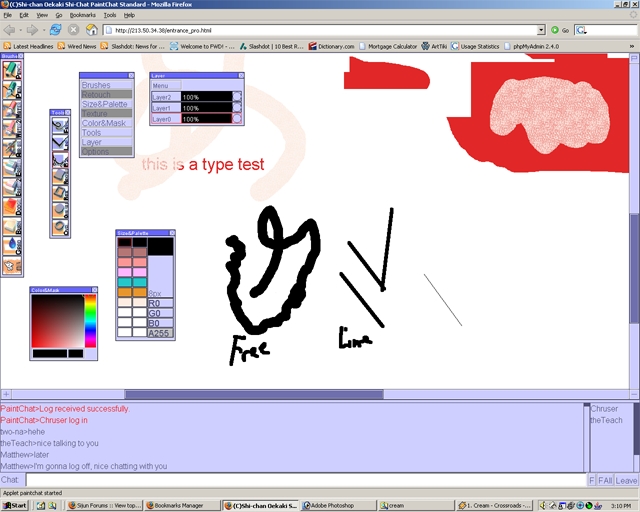
Step 44
In the Tool toolbar select Bz. This is a Bezier line drawing tool. When you draw with it there will be a control bar that allows you to curve the line.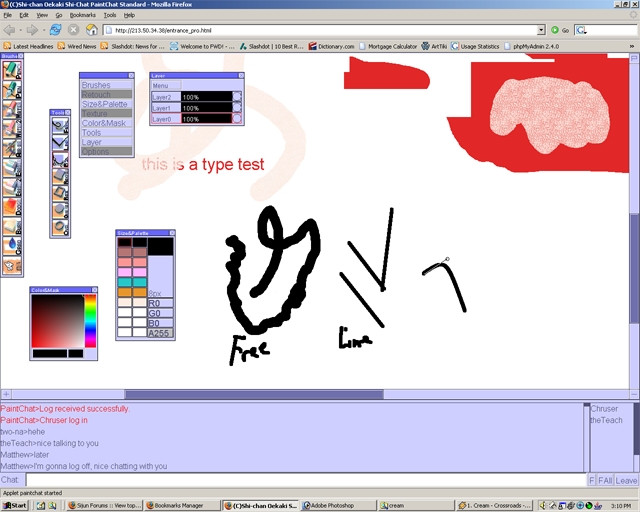
Step 45
You are also able to curve the line one more time.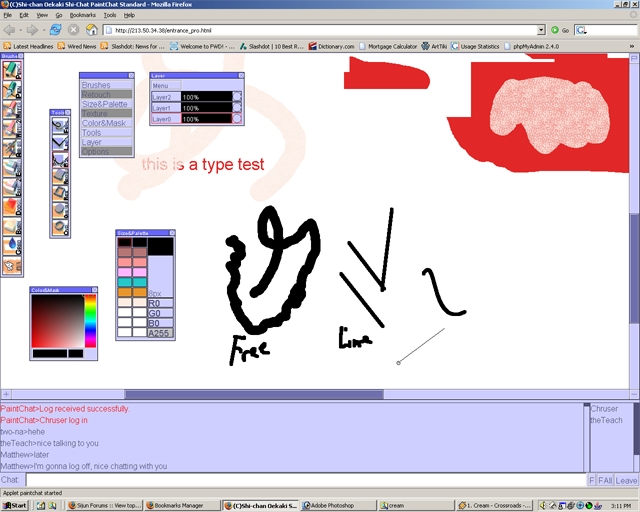
Step 46
In the Tool toolbar select Box. This is a Box or Square drawing tool.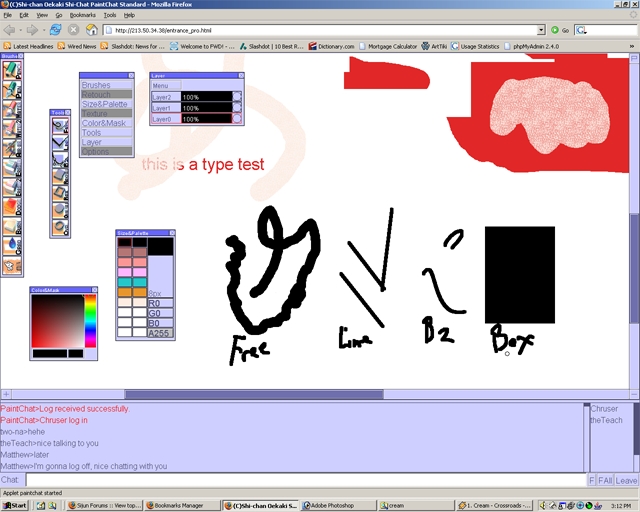
Step 47
This is a example of all the Tool tools and what they look like from the brush toolbar.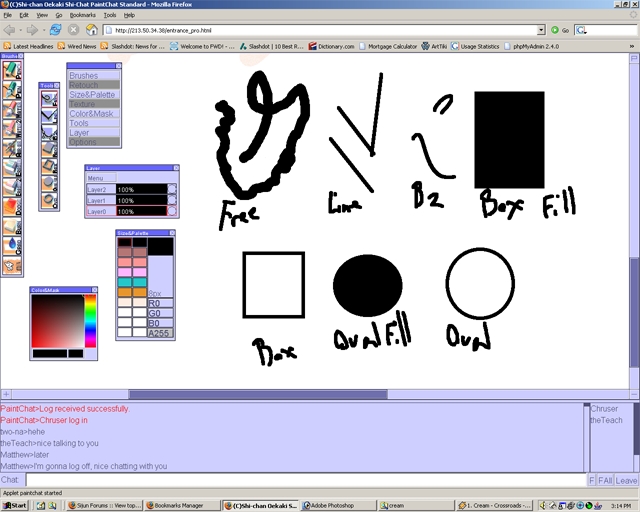
Step 48
ONce again make sure the Brush toolbar is open.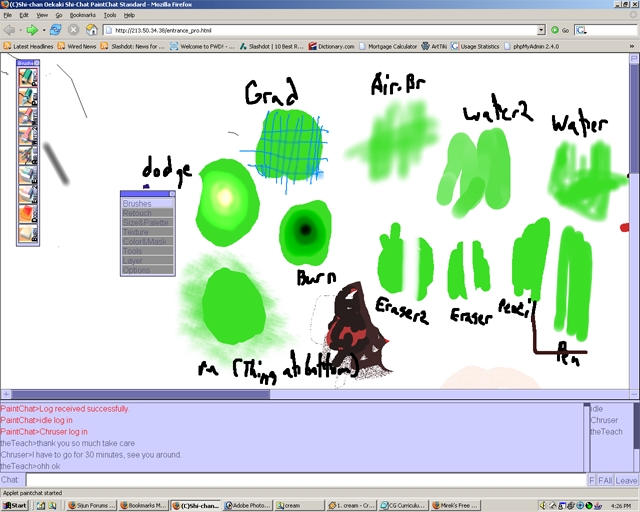
Step 49
Double click with the left mouse button on the blue bar at the top of the Brush toolbar. Notice the toolbar has changed shape.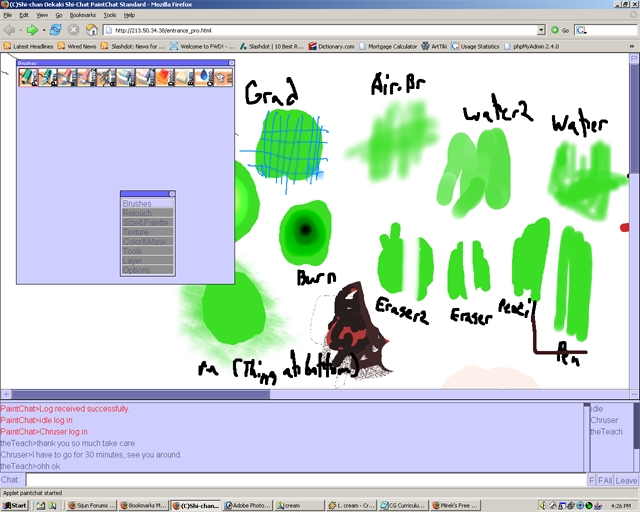
Step 50
Move the mouse cursor to the exact corner of the stretched brush toolbar and the pointer should change to a diagonal double arrow. Hold the left mouse button and drag the brush toolbar window to a desired size. Note: If the toolbar is not large enough to accomodate all of the options then some will not be shown.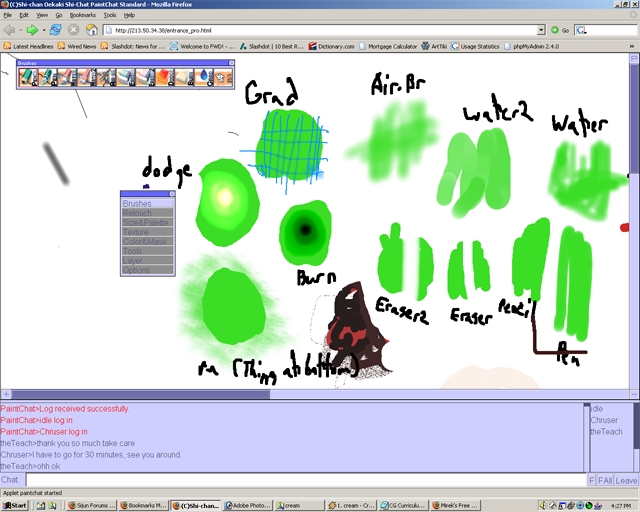
Step 51
A not so obvious feature is when the layer dialog box is open right click(the same as selecting the menu button). The options Add layer, Delete layer, and Visible layers merge will be available.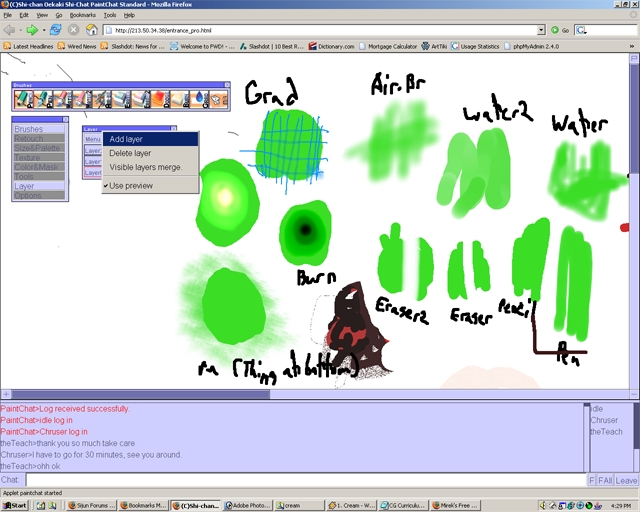
Step 52
Selecting the Options dialog box from the Main toolbar offers a few options. The bottom button will take you to paintchats website. Select the top button to turn Canvas ON.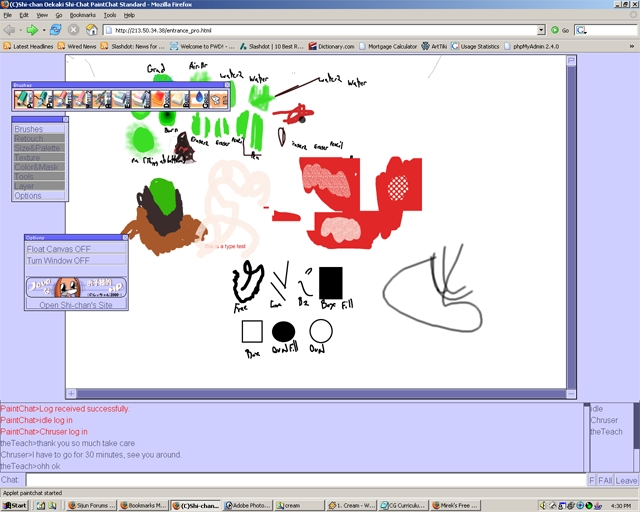
Step 53
This allows you to move the canvas(drawing area) by holding the left mouse button on the top edge of the canvas while dragging the mouse.
Step 54
Selecting "F" from the lower right hand area causes the chat window to be put in a separate Java window.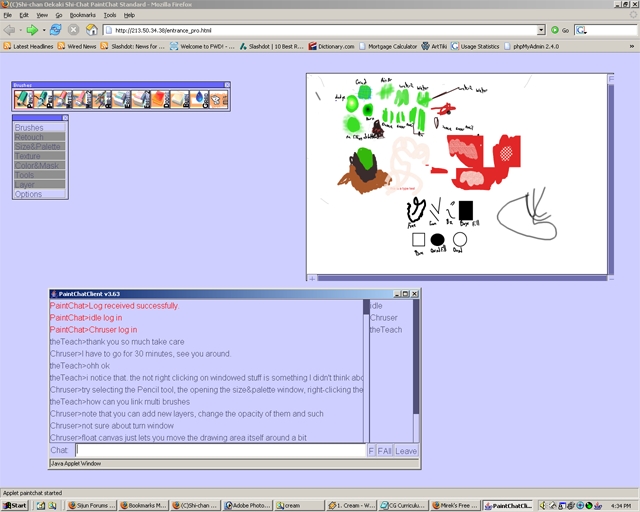
Step 55
Selecting "FALL" from the lower right hand area causes the drawing whole program(chat and painting) to be put in a separate Java window.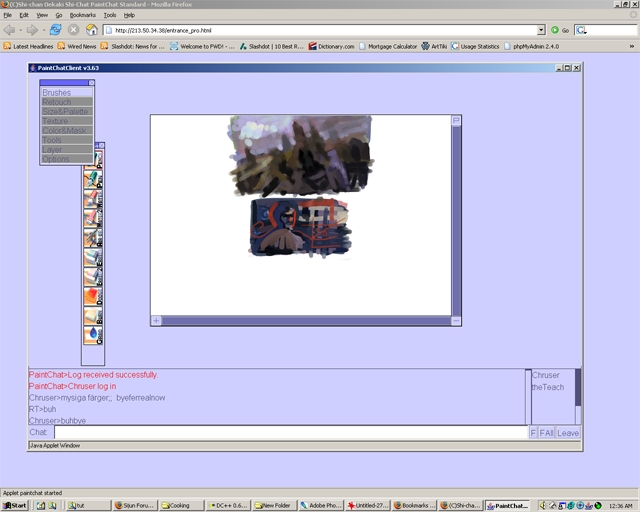
Step 56
One of the great features in this program is use of the pressure sensitivity for digital pen tablets. Before sensitivity can be used you must install JTablet. Once this is installed then the pressure sensitivity will work. Note: JTablet will not work until the browser is closed and reopened. With JTablet installed and PChat opened select "P" from the top right hand corner. A tablet dialog box will appear. There are two options alpha and size pressure sensitivity. Select the square button next to alpha to turn on alpha sensitivity. Draw a line with the tablet pen.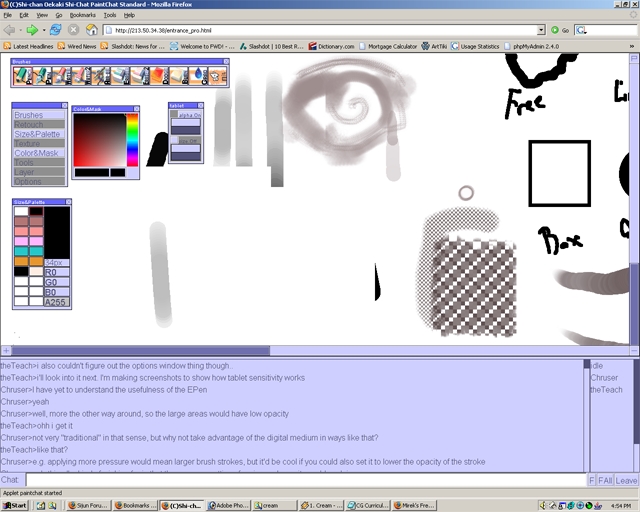
Step 57
Both the alpha and size have two horizontal bars each used for adjusting sensitivity. For alpha the top bar adjusts minimum opacity and the bottom bar maximum opacity. Move the top alpha bar to the left halfway. This has caused the minimum opacity to be less thus making the black line is darker.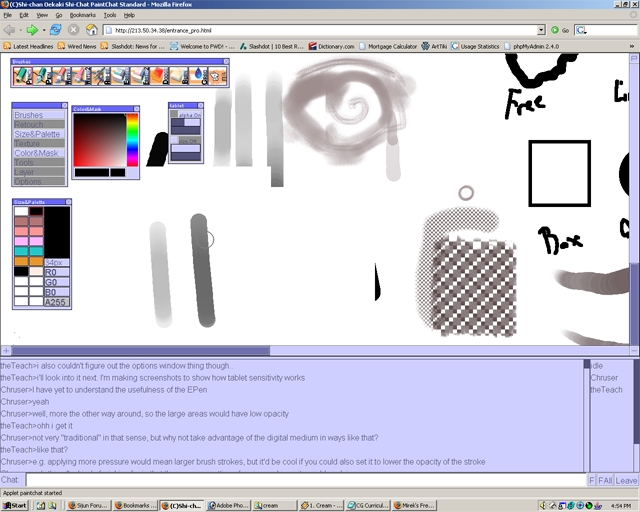
Step 58
Dragging the minimum bar to the far right will cause line to only be drawn out fully opaque.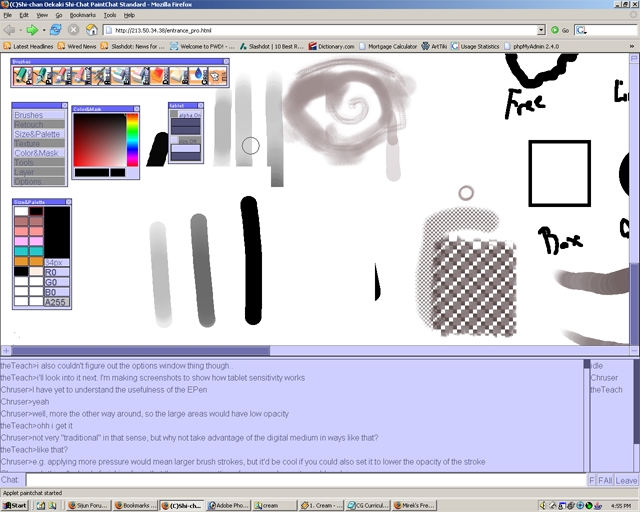
Step 59
Dragging the maximum bar to the far left will cause nothing to be drawn.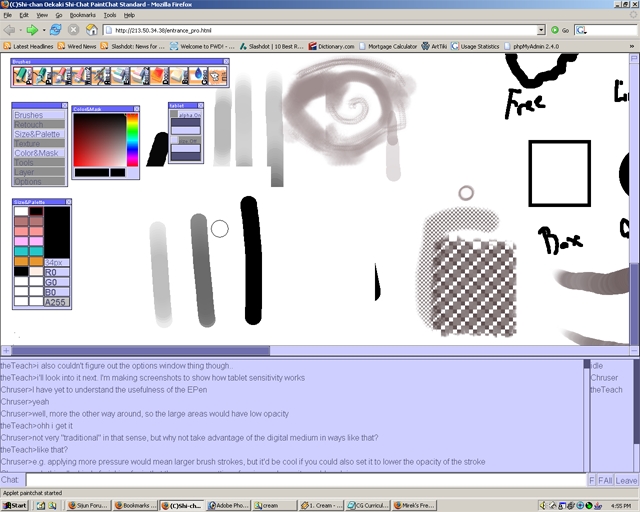
Step 60
Dragging the maximum bar to the middle will cause a range of opacity to be light to moderately opaque.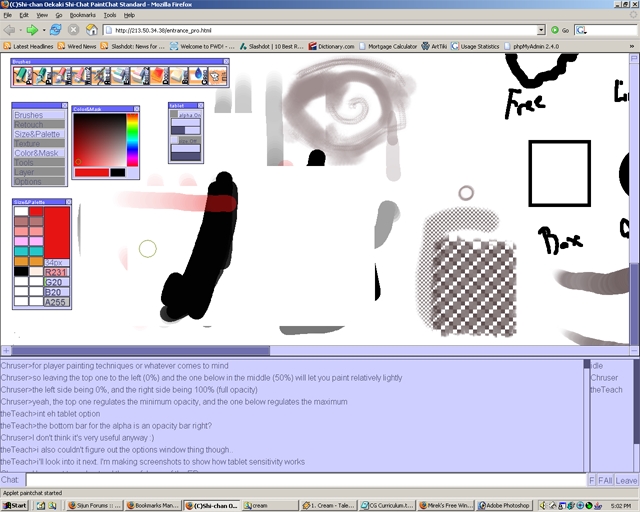
Step 61
Dragging the maximum bar to the far right will cause a range of opacity to be light to completely opaque.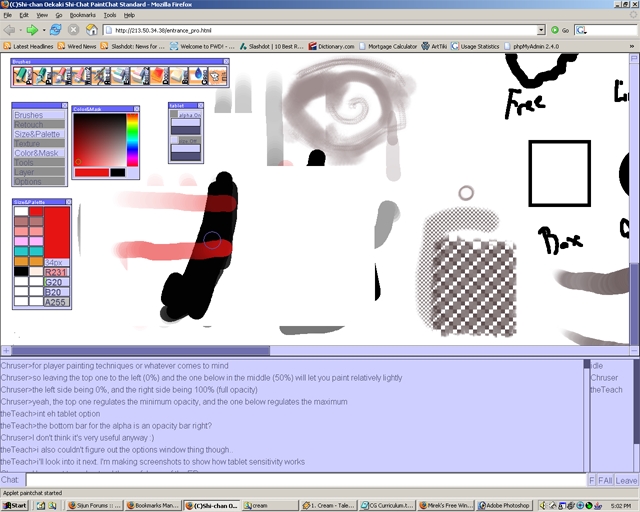
Step 62
Now turn the size pressure on. Draw a line by pressing lightlly then progressively drawing with more pressure. This is what the line will look like with the top minimum size bar being moved to the far left.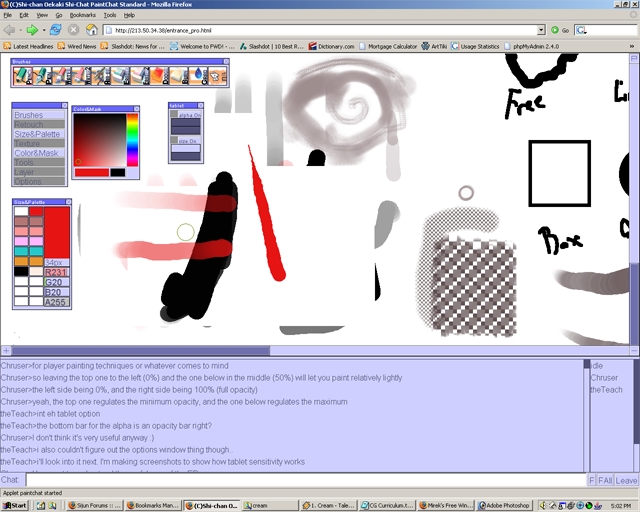
Step 63
Draw another line by pressing lightlly then progressively drawing with more pressure. This is what the line will look like with the top minimum size bar being moved to the middle.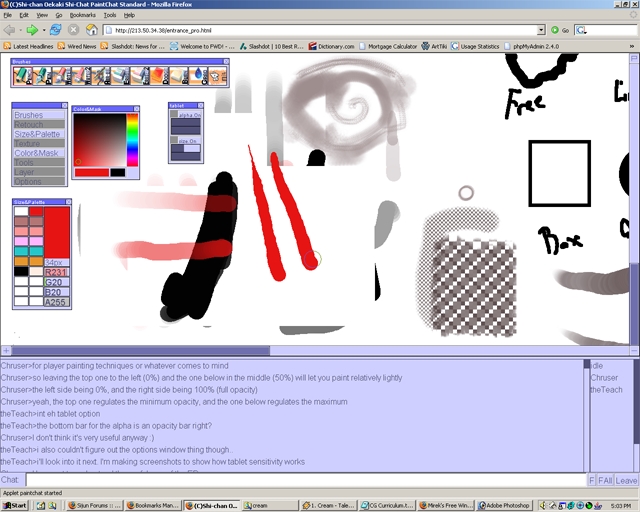
Step 64
Draw another line by pressing lightlly then progressively drawing with more pressure. This is what the line will look like with the top minimum size bar being moved to the far right.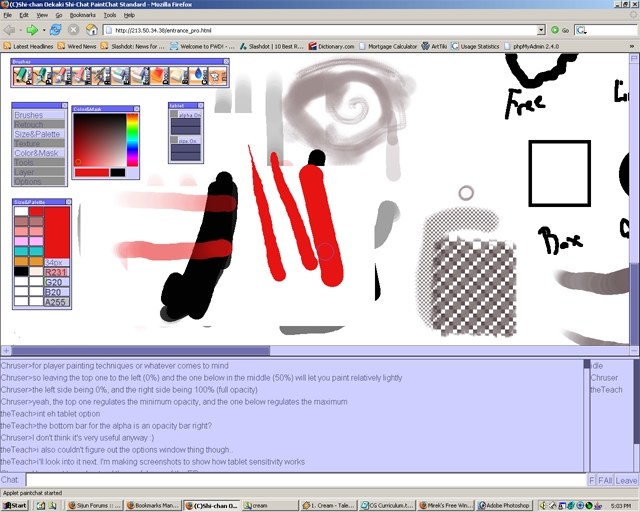
Step 65
Drag bottom maximum size bar being back to the far left. Draw another line.
Step 66
Drag bottom maximum size bar being back to the far middle. Draw another line.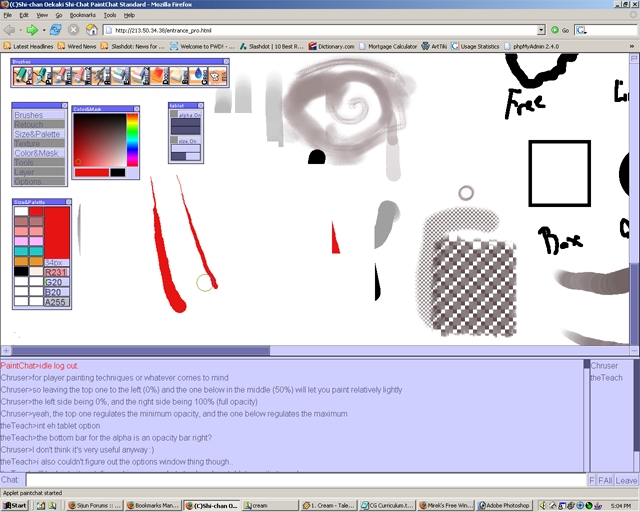
Step 67
Drag bottom maximum size bar being back to the far almost to the far left but not all the way. Draw another line.
Step 68
Now with the minimum of both the alpha and size bar moved to the far left and the maximum of both alpha and size bar moved to the far right, draw another line by pressing lightlly then progressively drawing with more pressure.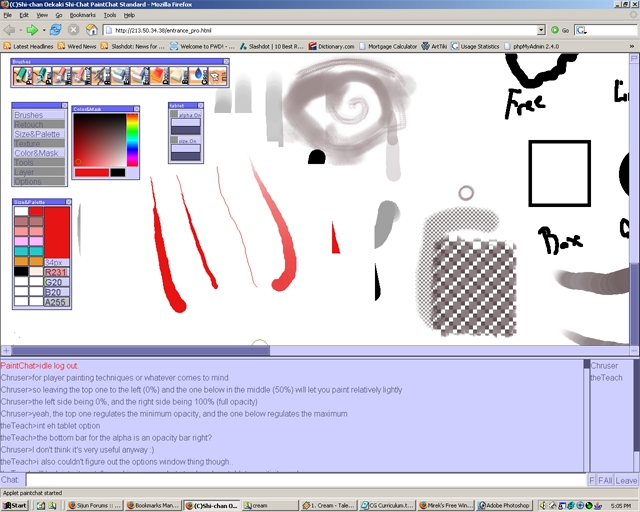
Step 69
PChat also has the ability to combine certain brushes. Select the Water2 brush. Then right mouse click on the size bar of the Size&Palette window. Four options other brush options appear that are able to be combined with the Water2 brush(or any brush for that matter). The 4 brushes are Normal, Watercolor, Air Brush, and Epen.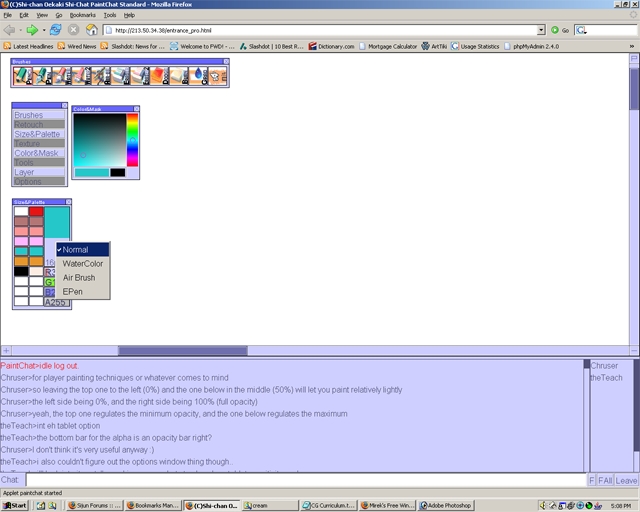
Step 70
This is a example of the Water2 Brush combined with the extra brush tools.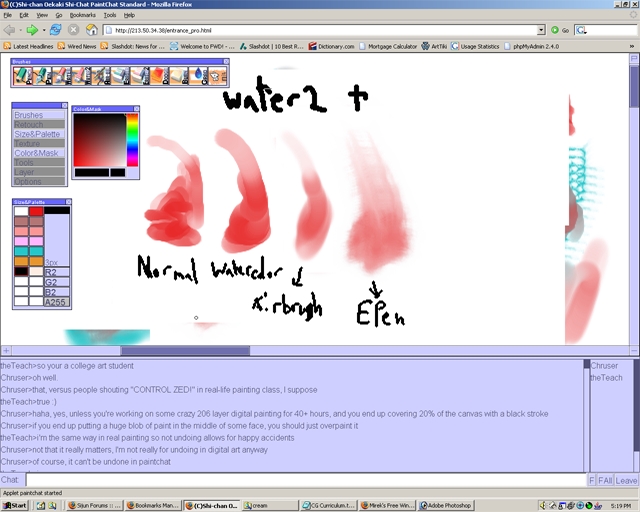
Step 71
In the Color&Mask dialog box right click the mouse button in the righthand gray corner to select different masking options. Notice that Mask is checked at the moment.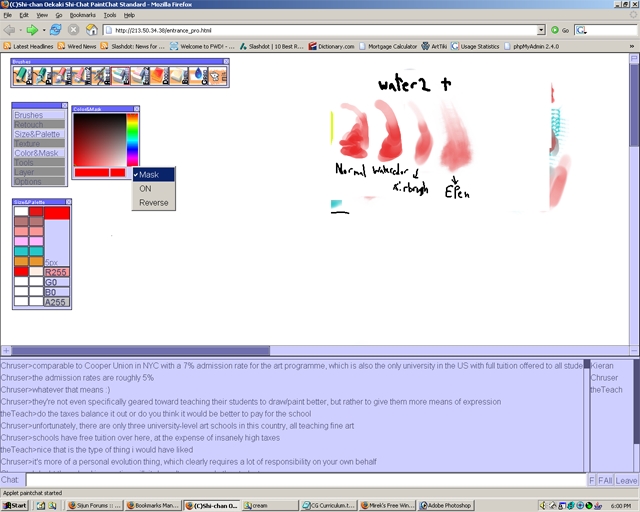
Step 72
Paint a small area with the pencil tool. In the Color&Mask dialog box right click the mouse button in the righthand gray corner and select ON.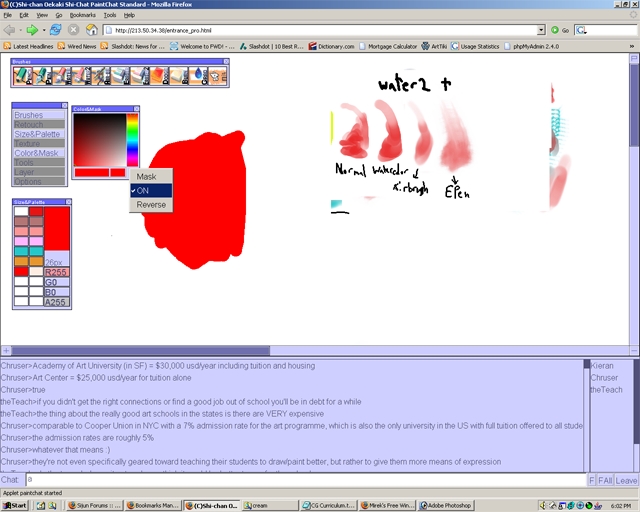
Step 73
Pick a different color and paint over and around the original color(I used red). Notice that you cannot paint over the red only around it.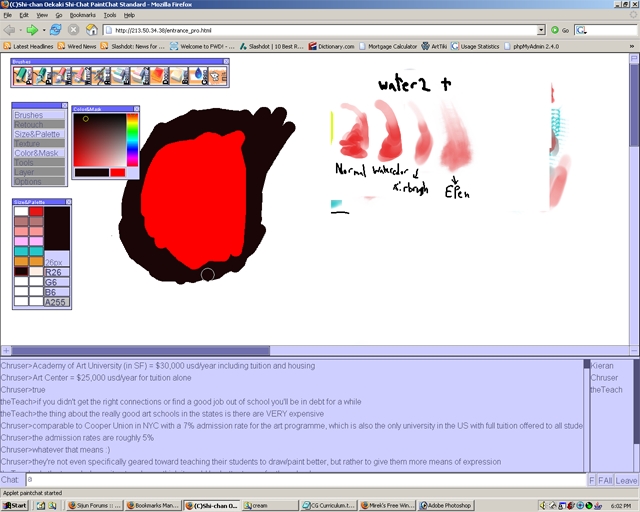
Step 74
If you choose a different color and paint with it the red is still in front of the painted color.
Step 75
Paint a small area with the pencil tool. In the Color&Mask dialog box right click the mouse button in the righthand gray corner and select Reverse.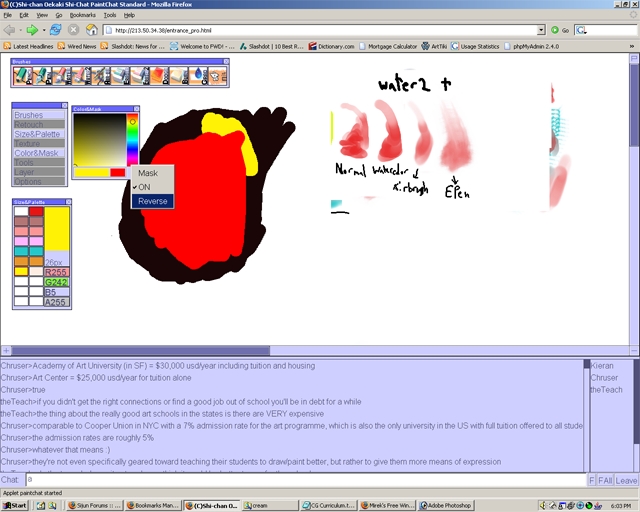
Step 76
Paint around with the same color. Notice that the originally masked painted area is not being painted.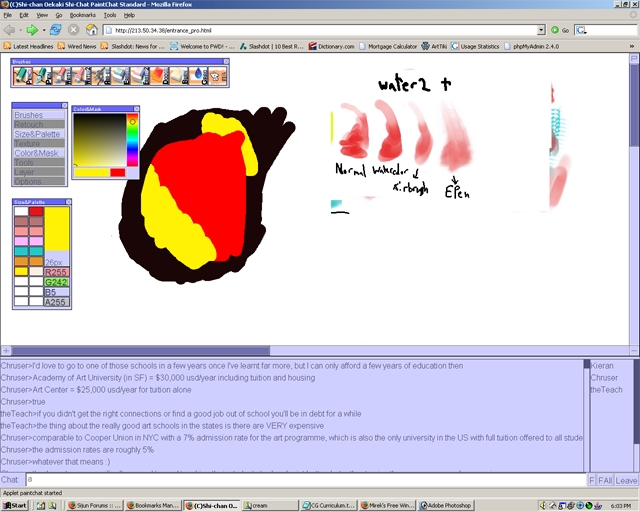
Step 77
Make sure something is painted on layer 1.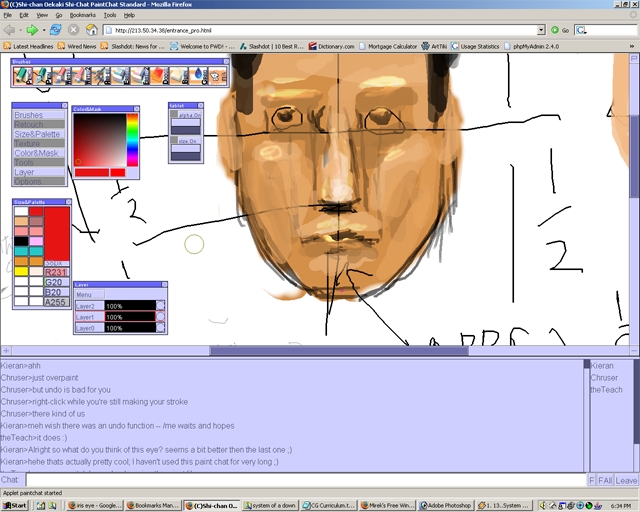
Step 78
Select layer 2 and paint over part of the object that was painted in layer 1.
Step 79
Left click the mouse button on the highlighted layer 2 in the Layers dialog box and drag it down overtop of layer 1.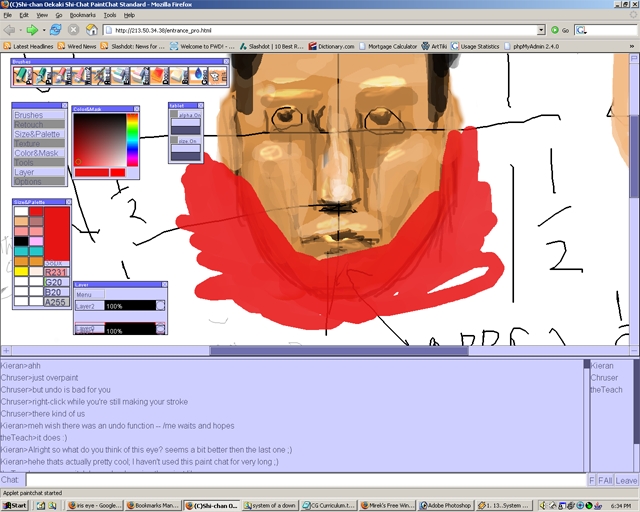
Step 80
You will be given the option of Shift or Merge. Choose Shift.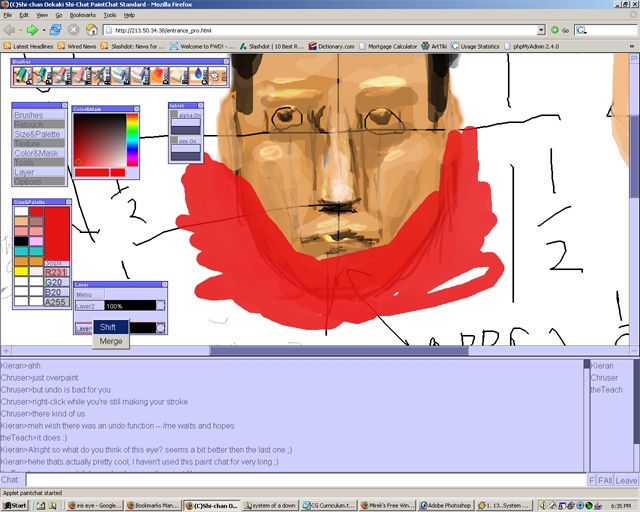
Step 81
Now the layer order has been switched and layer 2 is underneath layer 1.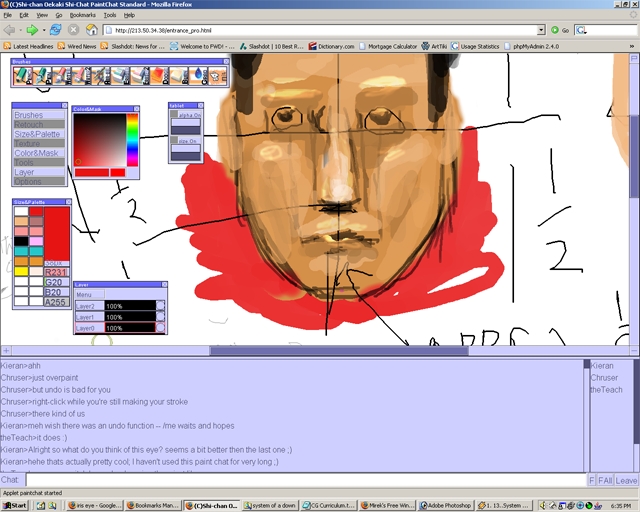
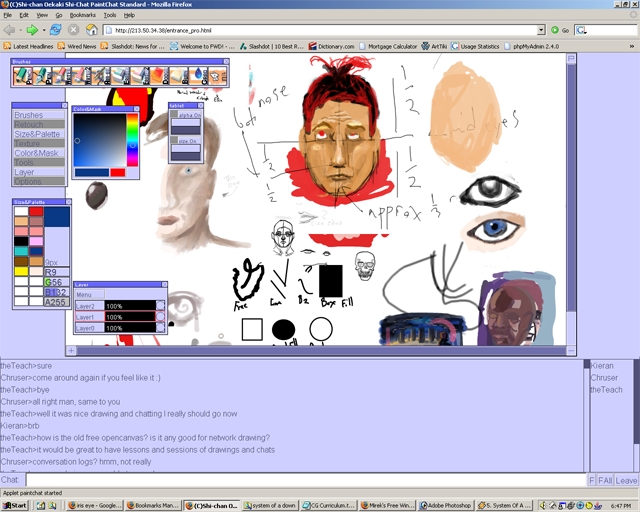
Step 82
Here is an example of some doodles a few people did together in a group chat/painting session.