Blender Rigging & Skinning
Rigging
Skinning
Step 01
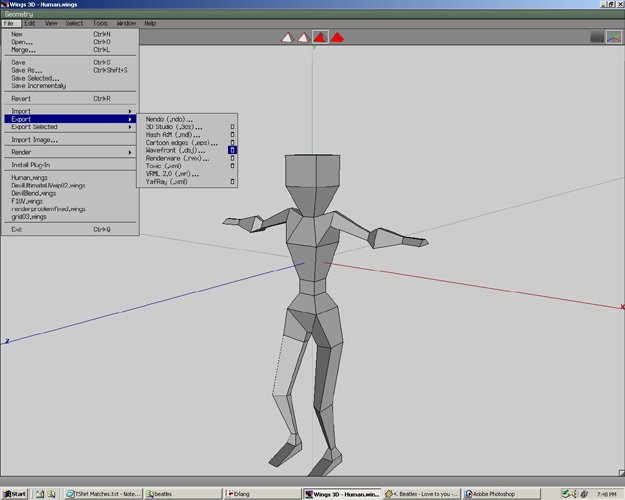
It is now time to rig, skin, and animate the human(from a previous tutorial). In Wings3D go to File>Export> and select the box to the right of the Wavefront(.obj).
Step 02
Select one Group per material, Default texture file type Jpeg file, and most importantly check the Swap Y and Z Axes. This will make the model stand right side up in Blender. Select OK.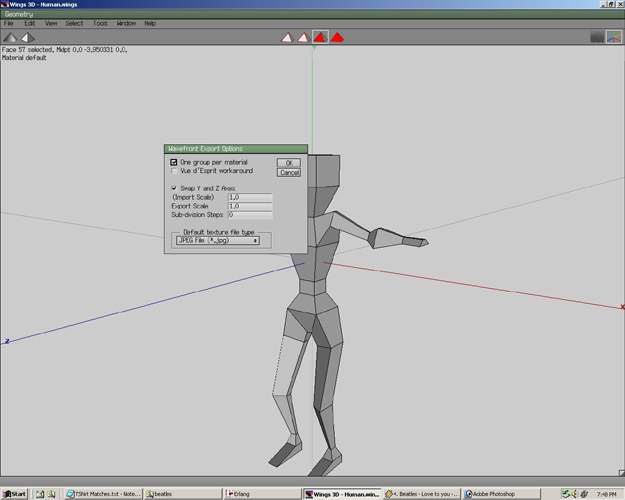
Step 03
Save the File as Human.obj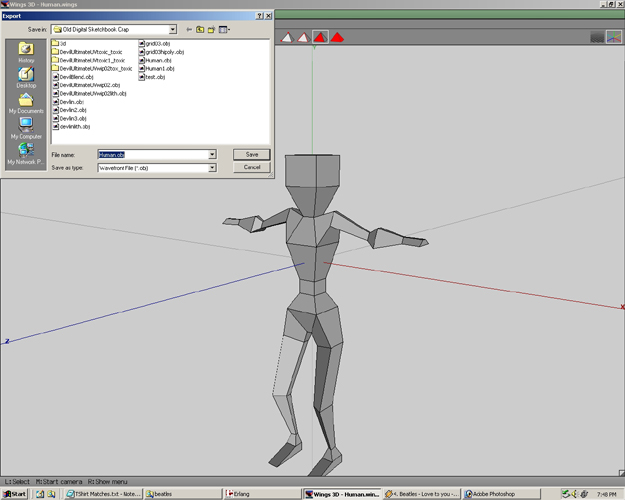
Step 04
Open Blender. The interface can look quite intimidating! (One student said it looks like a flight control panel.) Although we will not go into many aspects of blender, at the conclusion of the tutorial, Blender will not seem so intimidating. To import the Human.obj go to File>Import>Wavefront(.Obj).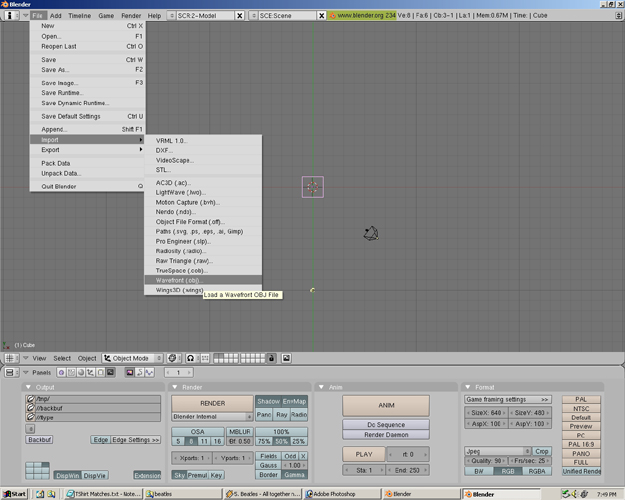
Step 05
Go to the directory where you had saved the file. Click on the file name. Select the Import Wavefront OBJ button in the upper right hand corner.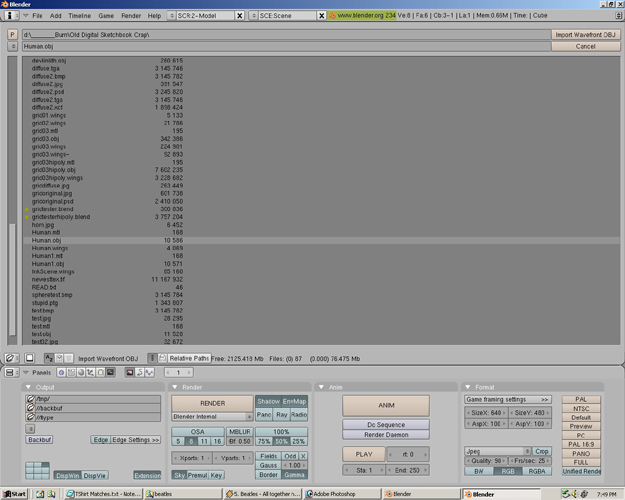
Step 06
Now the human model is in Blender. Right now we are looking at it from the top view. We will now make two view areas by splitting the screen. To do this move the mouse up to almost a centimeter below the top of the screen. Move the mouse directly on the line where the menu(that has File, Add, Timeline, etc...) and the viewpoint meet. This should change the point mouse to change to a double ended arrow which points upward and downward.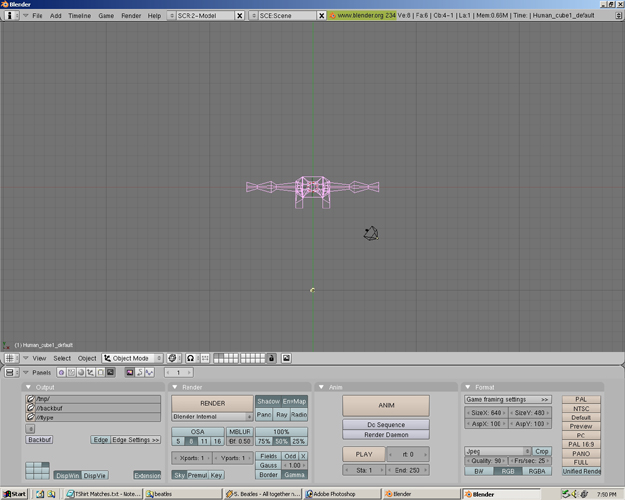
Step 07
When the mouse changes to a double ended arrow hit the middle mouse button. A menu will appear with the choices: Split Area, Join Areas, and No Header. Select Split Area with the left mouse button.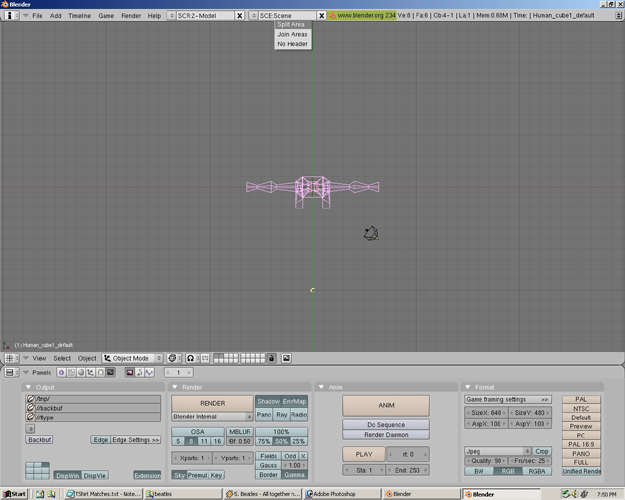
Step 08
A vertical bar will appear. Move the vertical bar so it is in the middle of the view area. Hit the left mouse button.
Step 09
Now there are two views of the human from the top.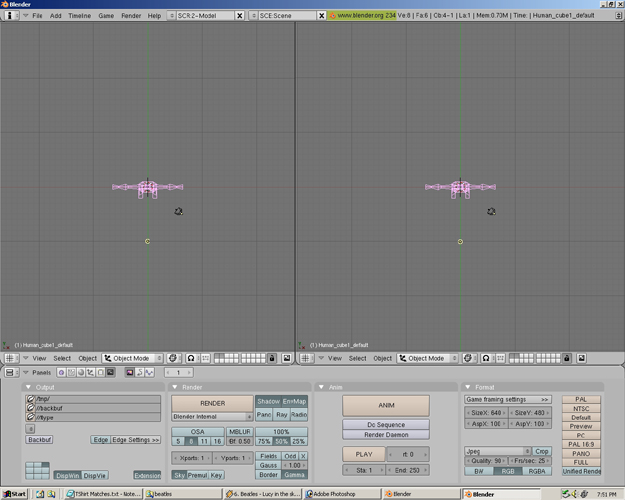
Step 10
Move the mouse pointer over the left view area. Press 1 on the NumPad. Scroll the middle mouse wheel to zoom in or out. This will change the left view area to a front view. Hit 5 to toggle between Orthogonal or Perspective view. On the right view area Press 0 on the NumPad. This will show the cameraview.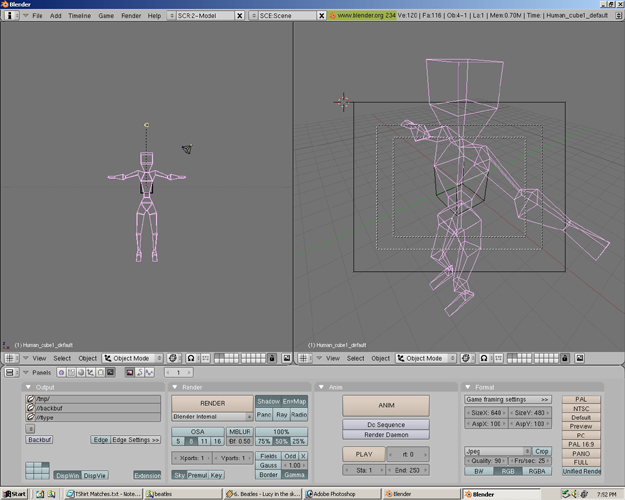
Step 11
The human model has been pink. This means that it has been selected. Deselect the human model by Pressing A. With the mouse right click on the Cube near the torso of the human. Once the cube is selected it will be pink. Press Delete.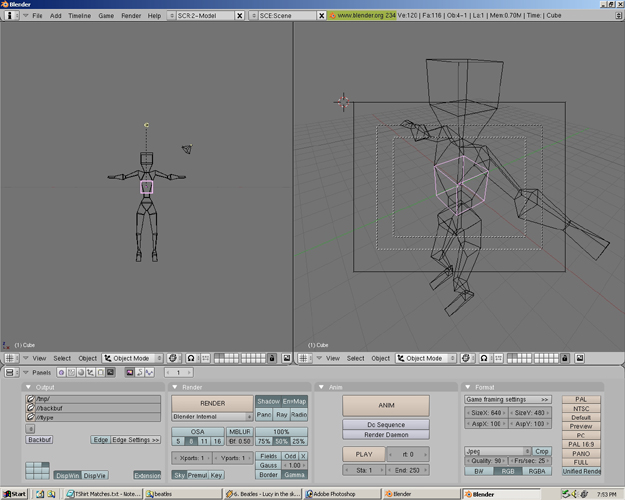
Step 12
A menu will appear. Select Erase Selected with the left mouse button. Click it.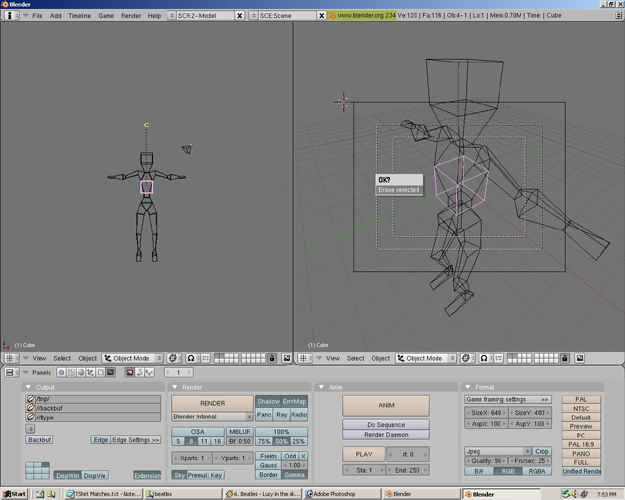
Step 13
Now the cube will be deleted.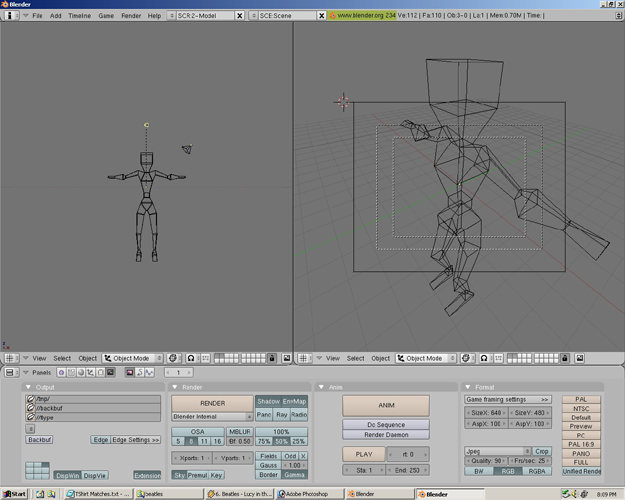
Step 14
If you would still like to move left view on the model hold Shift and the Middle Mouse Button together while moving the mouse. This pans the view. Once you have reached a satisfactory view go to File>Save As.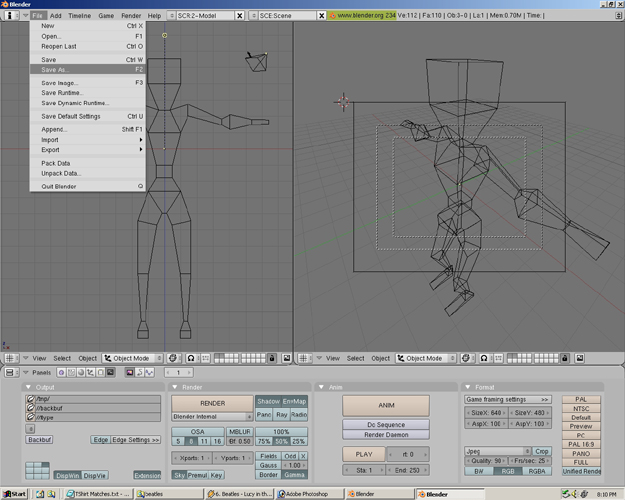
Step 15
Go to the desired directory and name the file Human.blend. Press the Save As button. Not only are the models saved but also the views. It is a good idea to save Blender files often because at the moment there is no univeral undo.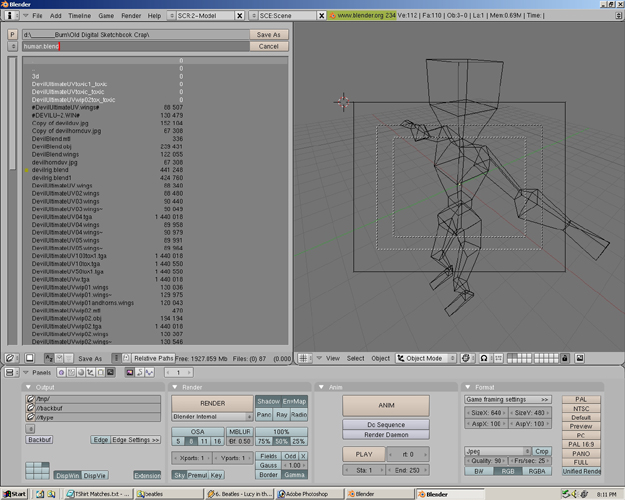
Step 16
Now we are going to start rigging. Rigging is adding an armature(or skeletal structure) to a model by adding bones(with joints)to it. Later we will attach these bones to the model to use them for animation. In the left view area use the Circular cursor target by pressing the left mouse button near the shoulder as shown in the picture. This will move the Circular cursor target to that point. Now Press Spacebar select Add>Armature.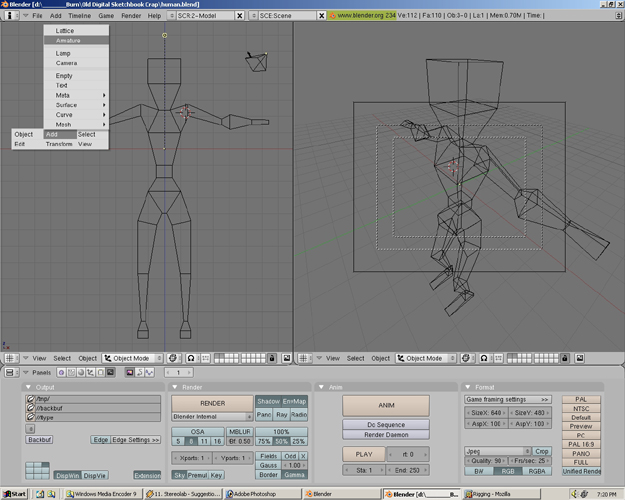
Step 17
Drag the 1st bone to the elbow area and click the left mouse button.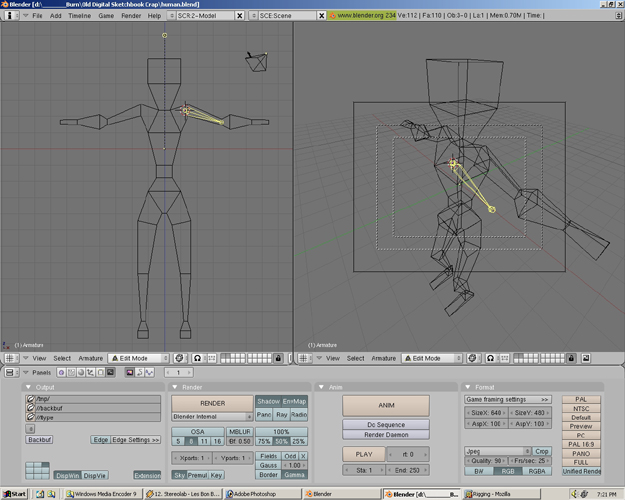
Step 18
Drag the 2nd bone to the wrist area and click the left mouse button.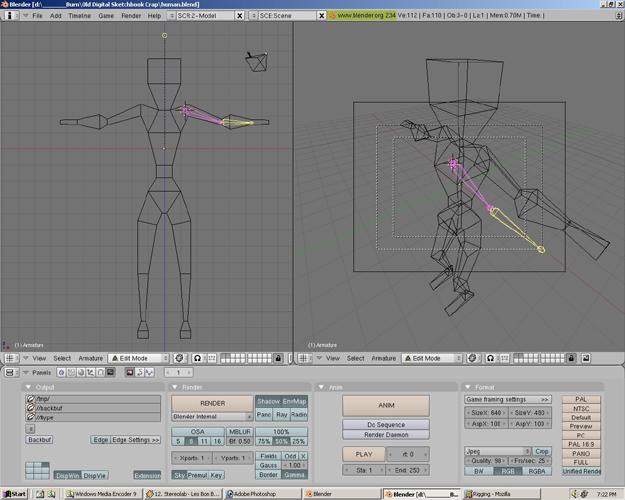
Step 19
Instead of making a 3rd bone click the right mouse button. This will stop the bone making process.
Step 20
Select the thigh area with the Circular cursor target and press spacebar Add>Bones
Step 21
Drag the 1st bone to the knee area and click the left mouse button.
Step 22
Drag the 2nd bone to the ankle area and click the left mouse button.
Step 23
Instead of making a 3rd bone click the right mouse button to stop the bone making process.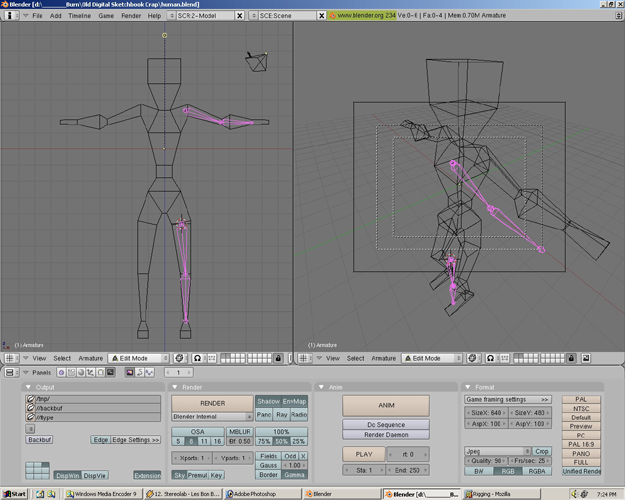
Step 24
In the right view area Press 3 on the NumPad to get a side view. Notice the bones are not completely lined up with the model. Press 5 to get into Ortho view. Then zoom and pan the model until the full figure is in view.
Step 25
Right click on the shoulder joint so that a yellow circle is highlighted. In the right view area while holding the left mouse button down, drag the mouse horizontally. This will make a horizontal line.
Step 26
Now move the joint freely and line it up with the shoulder.
Step 27
While still moving the joint freely hit the middle mouse button and a green line will appear. The joint will only move on the green line--a perfectly parrallel line from where the joint originated. Select the left mouse button to put the joint in place.
Step 28
Select the elbow joint with the right mouse button.
Step 29
Hold Shift and select the wrist joint with the right mouse button. This will select the entire bone.
Step 30
Again in the right view area drag mouse while right clicking to make a horizontal line.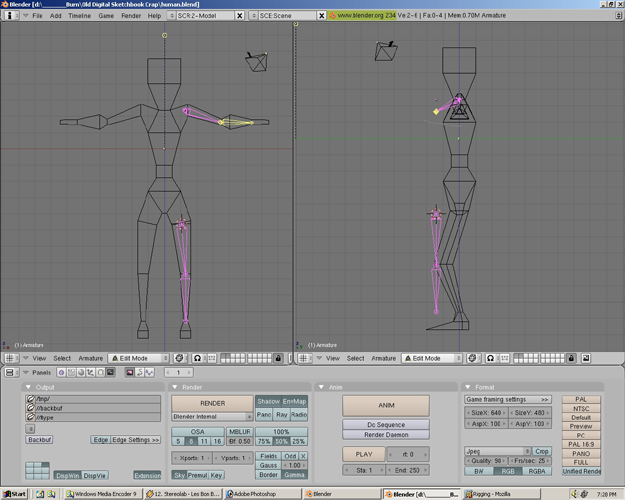
Step 31
Use the middle mouse button to align perfectly the bone with the middle of the arm.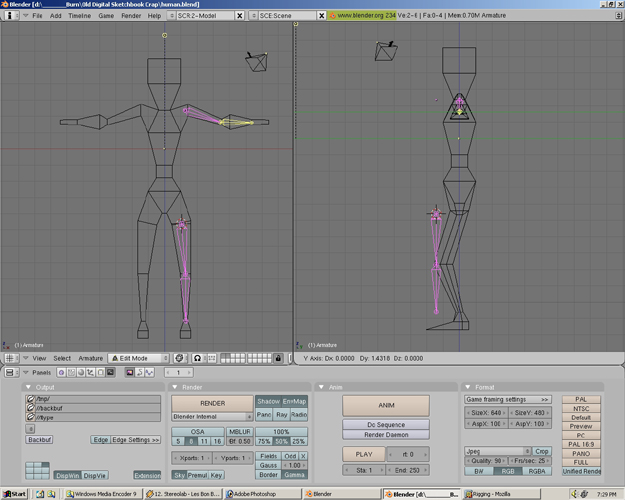
Step 32
Right click on the thigh joint.
Step 33
Repeat the process decribed before to perfectly align the joint as shown in the picture.
Step 34
Right click on the knee joint and repeat the process to perfectly align the joint as shown in the picture.
Step 35
Right click on the ankle joint and repeat the process to perfectly align the joint as shown in the picture.
Step 36
Press A to deselect the bone joint.
Step 37
Press A again to select all the bone joints. Hold Shift and Press D to duplicate the bones.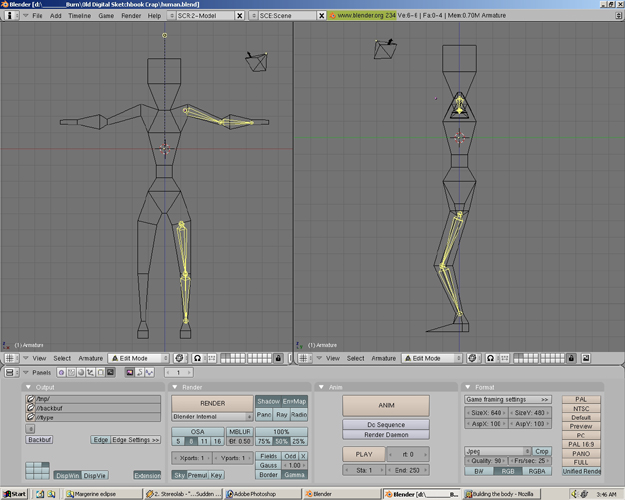
Step 38
Move the new duplicated bones by dragging them horizontally and press the middle mouse button. Line the shoulder joint up so that it is symetrical with the other shoulder joint. Click the left mouse button to set the bones in place.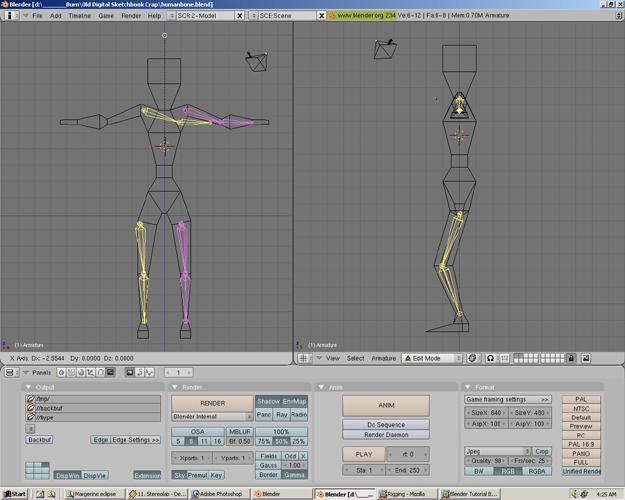
Step 39
Right click on the elbow joint and drag it(using the middle mouse lineup trick) to the elbow.
Step 40
Right click on the wrist joint and drag it(using the middle mouse lineup trick) to the wrist.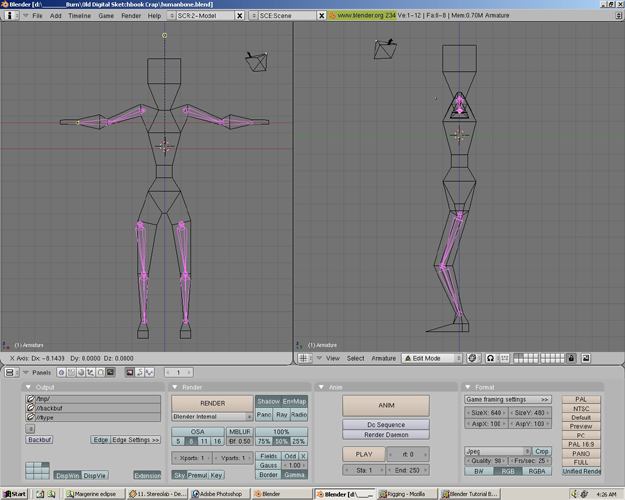
Step 41
Right click on the thigh joint and drag it(using the middle mouse lineup trick) to the thigh.
Step 42
Right click on the ankle joint and drag it(using the middle mouse lineup trick) to the ankle.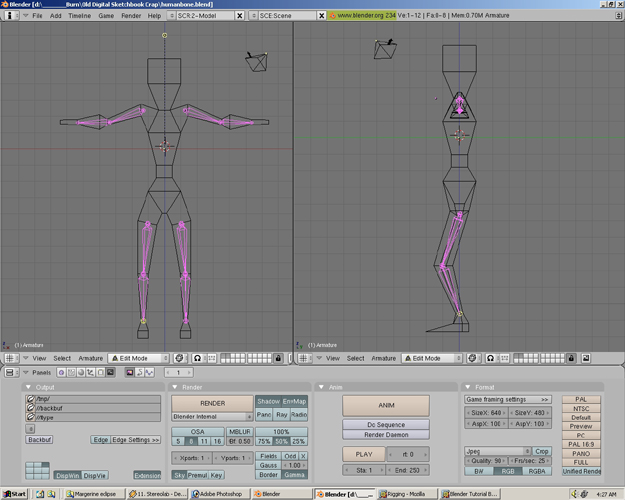
Step 43
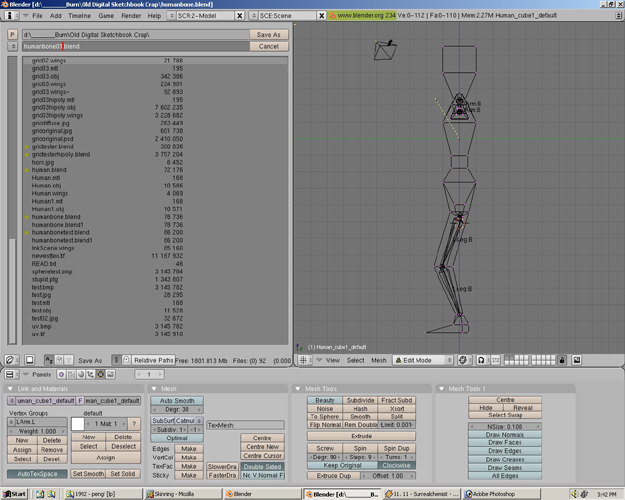
Now that all the joints are in place go to File>Save AS. Save the file as Humanbone.blend.
Step 44
Press A to select all of the bones. In the lowest panel there is a area name "Panels" Directly to the right of this word is 6 icons each in a square. Right now we were looking at the Scene Button(F10). Directly to the left of the Scene icon is the Editing Button(F9). The Editing Button's icon looks like a square outline with dots at each corner. Select the Editing Button icon with the left mouse button. New panels should appear for the Editing Button.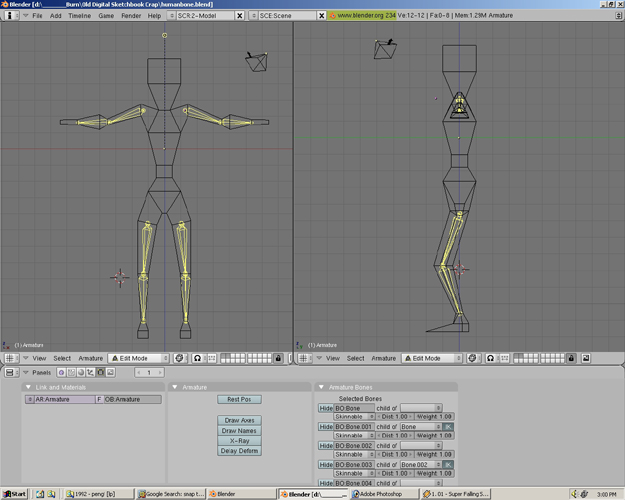
Step 45
Under the Armature panel select Draw Names. All the bones will have name and appear on the armature.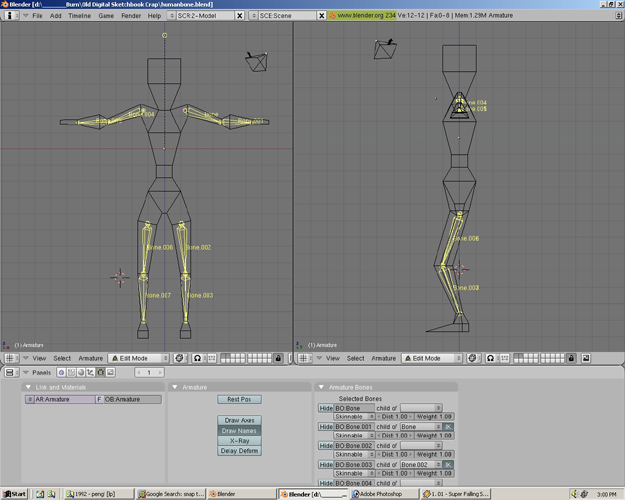
Step 46
In the Armature Bones panel rename each bone to a name that will help you understand where each bone is located(For example I named upper left arm as UArm.L). Make sure to put a .L or .R at the end of each name to indicate which side each of the bones are at.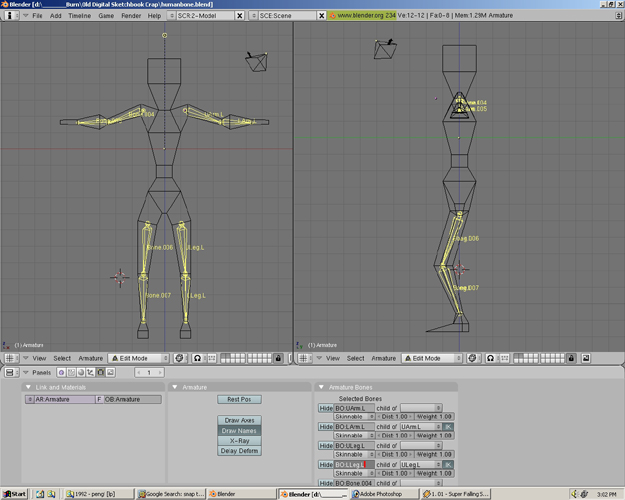
Step 47
To view the rest of the bones for renaming move the cursor to the top of the Panel area. Make sure the curson is also below the Right view area(directly below the word "View"). The mouse cursor should change to a double sided arrow. Hold down the left mouse button and drag the Panel area up to the area shown in the picture.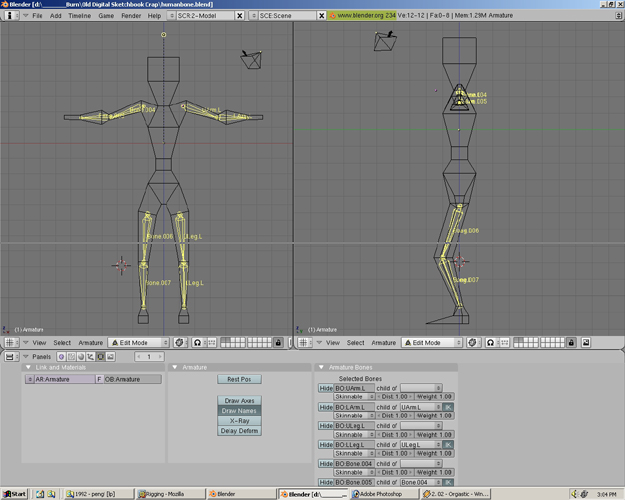
Step 48
Now all the bones' names should be viewable.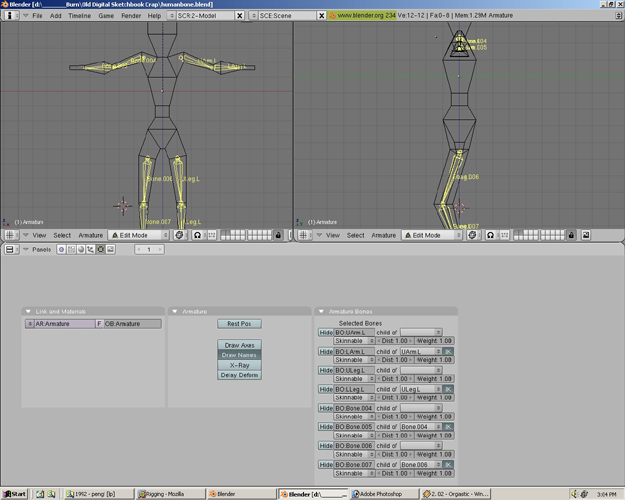
Step 49
Rename the rest of the bones.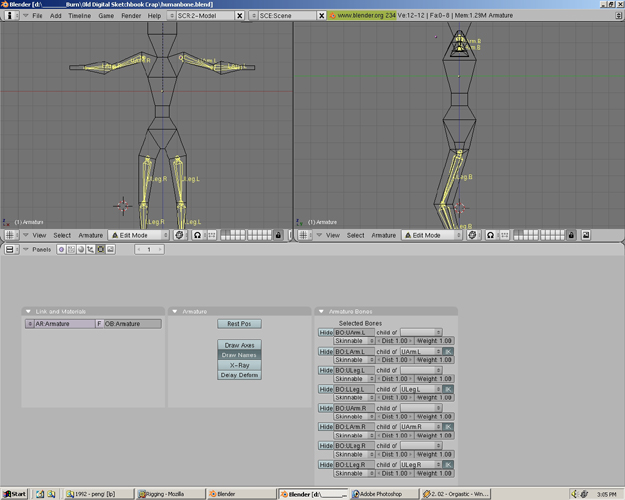
Step 50
After renaming, drag the panel area back down.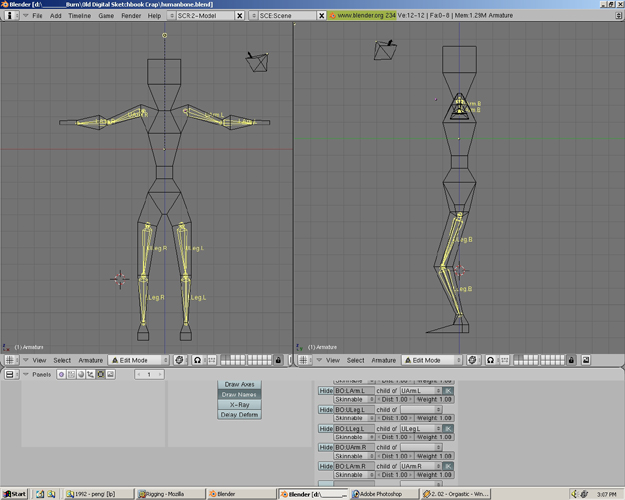
Step 51
Now is a good time to save. Select File>Save. It will indicate that the file will be saved over. Select the file to Save it.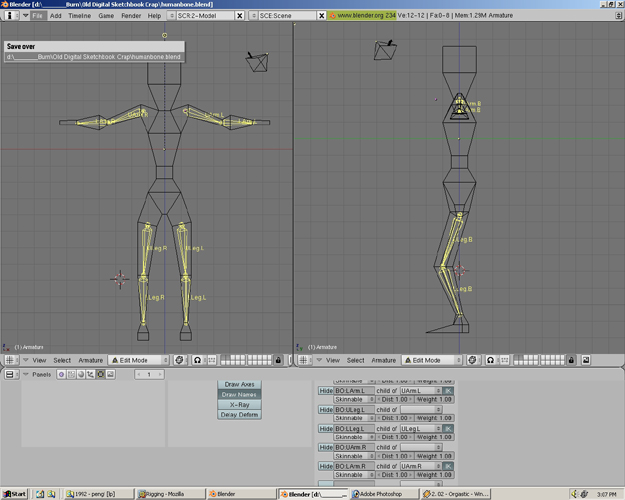
Step 52
In the panel area right click. Select Horizontal.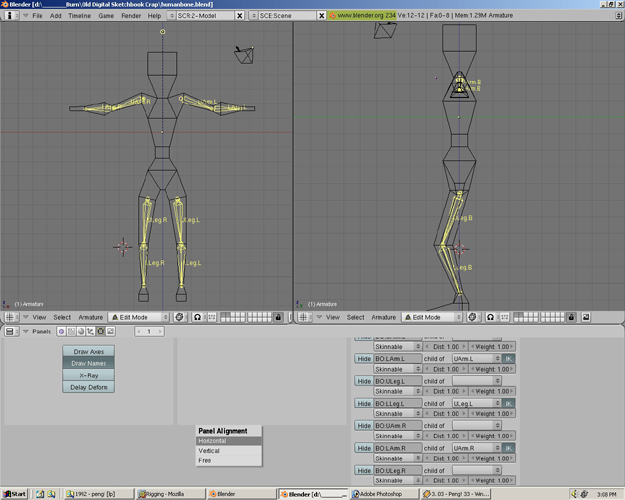
Step 53
Now the panels are realigned.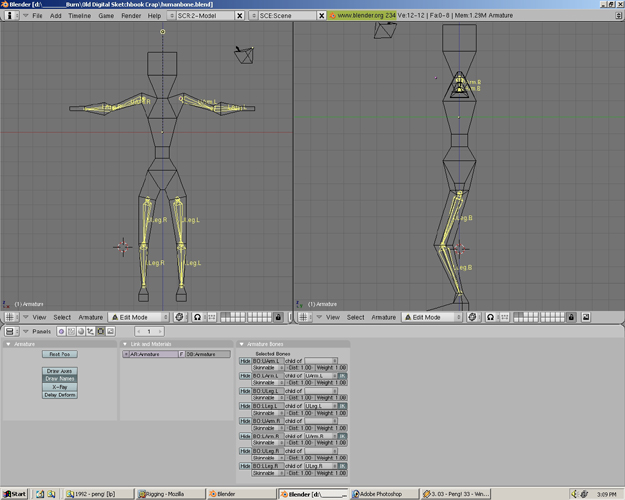
Step 54
At the bottom of the left view panel there is a drop down menu that says Edit Mode. Change it to Object Mode. Press A to deselect. Right click on the model. To resize the panel again right click the panel area . Select Horizontal.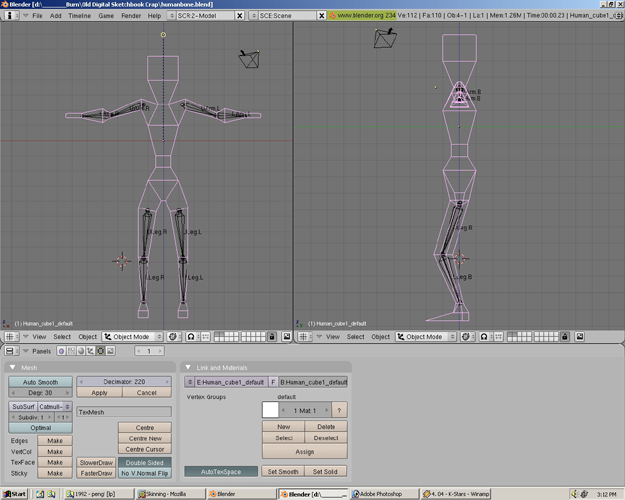
Step 55
Hold shift and right click on the armature. Both model and armature should be pink(the armature should be lighter pink).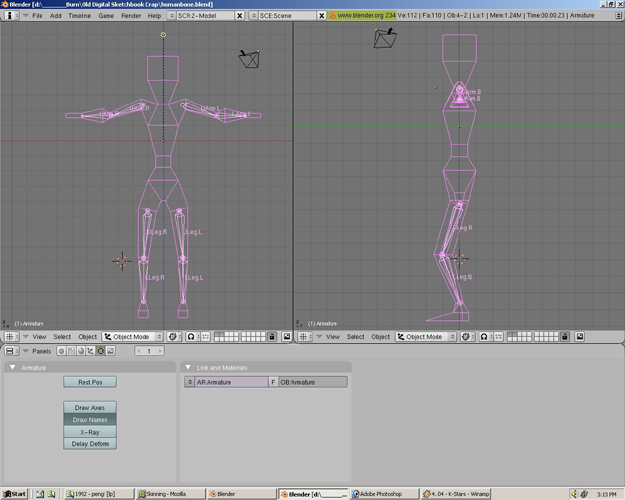
Step 56
Hold Crtl and press P. Make Parent to the Armature.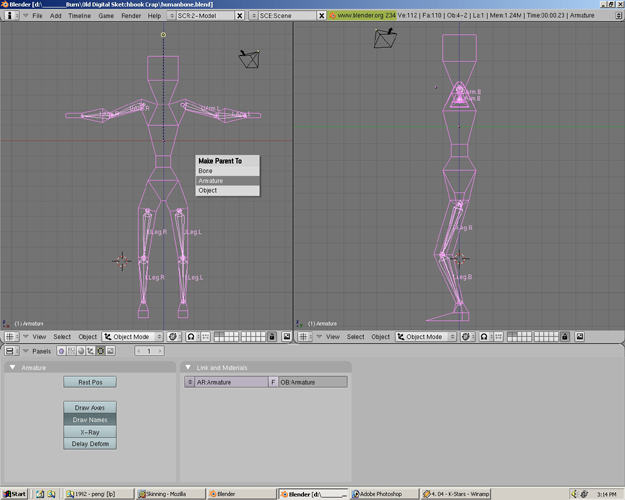
Step 57
Select Create From Closest Bones. Press A to deselect everything and then right click to select the body.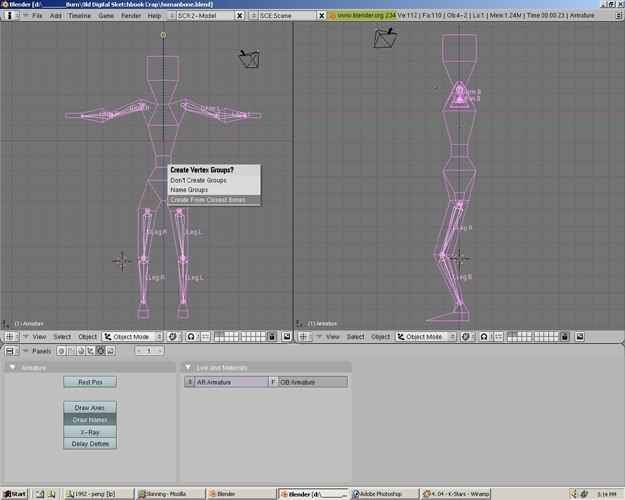
Step 58
At the bottom of the left view panel change the drop down menu back to Edit Mode.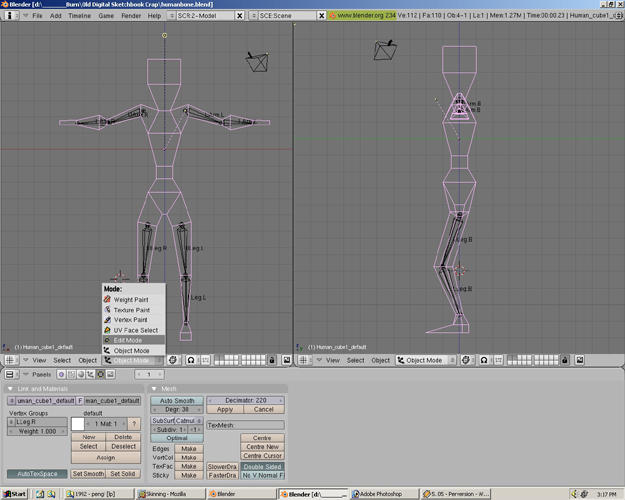
Step 59
Now the panels in the panel area should look different. The specific panel we will be concerned about is the Link and Materials panel located on the far lefthand side. Notice under the Vertex Groups Category the Bone Named ULeg.R is listed. If the upper right leg bone is not listed. Select the up and down arrow button directly to the left of the Bone name(under Vertex Groups). A dropdown list of bones should appear. Select the upper right leg bone. Mine is called ULeg.R. Press the Select button.
Step 60
Notice some vertices in the model are yellow. This means these vertices are attached to that specific bone. We are now getting into the art of Skinning. Skinning is the process of attaching the model to the bones. Once a model has been skinned, the bones will deform the body.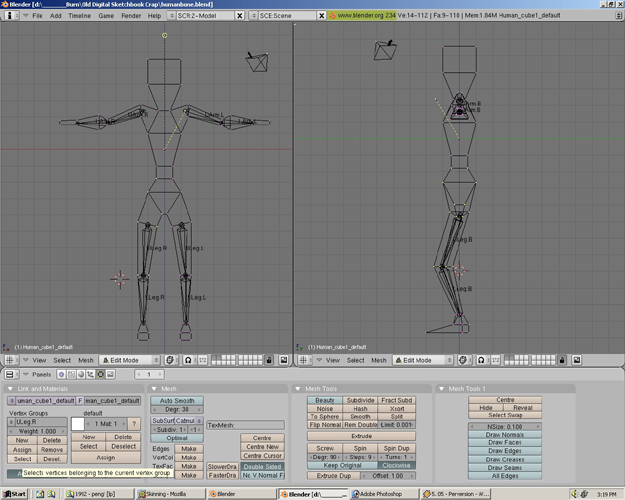
Step 61
Move the mouse cursor in the same location as marked by the crosshairs in the picture. Press B to make a selection.
Step 62
Drag the crosshairs with the middle mouse button to deselect the vertices shown in the picture.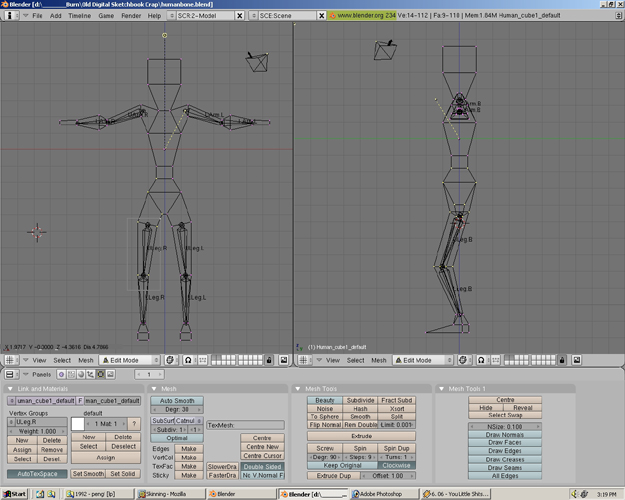
Step 63
Now only the vertices we DON'T WANT are shown. These will be the vertices we detach from that Bone.
Step 64
Select the Remove button. Those unwanted vertices will be detached from the upper right leg bone.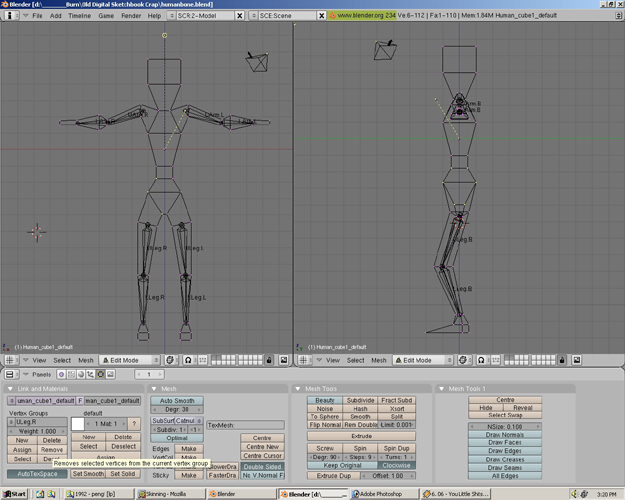
Step 65
Hit A to deselect all the vertices.
Step 66
Press Select in the Vertex Groups subpanel like before to see what vertices are assigned(or attached) to the upper right leg bone.
Step 67
Notice the vertices we originally deselected are there. All the other vertices we removed are gone. Press A to deselect all the vertices again.
Step 68
Select the lower right leg bone from the Vertex Groups drop down list.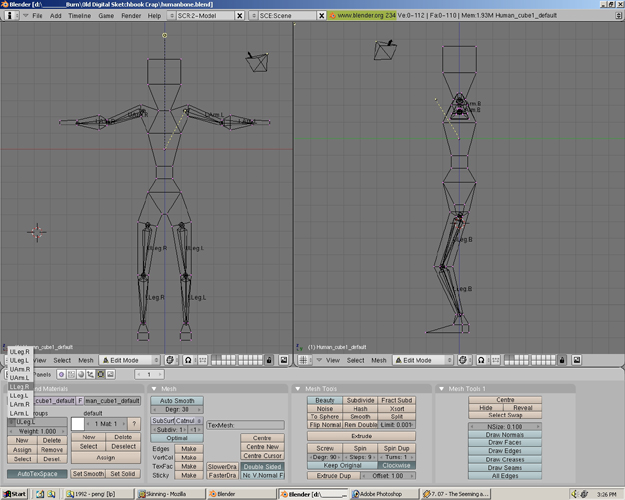
Step 69
Press Select to see the attached vertices.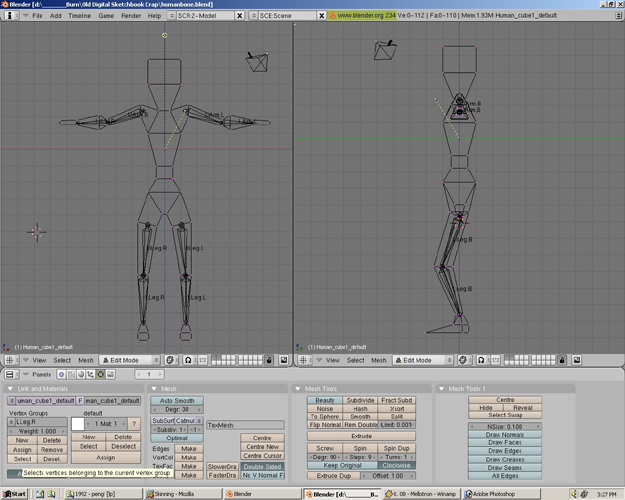
Step 70
All the attached vertices look fine. They need no adjustment. Press A to deselect the vertices.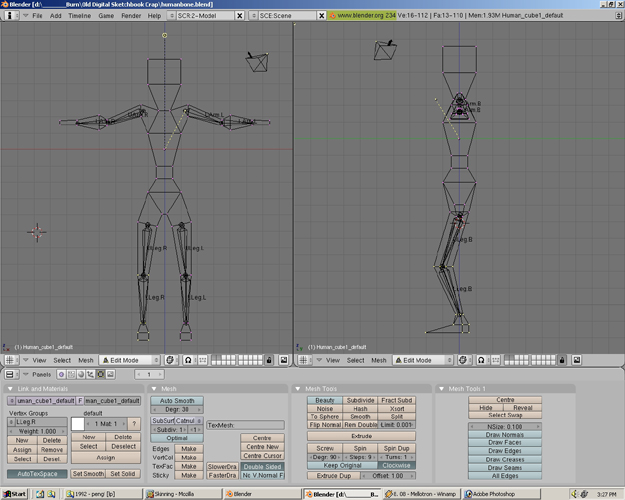
Step 71
Select the upper right arm bone from the drop down list.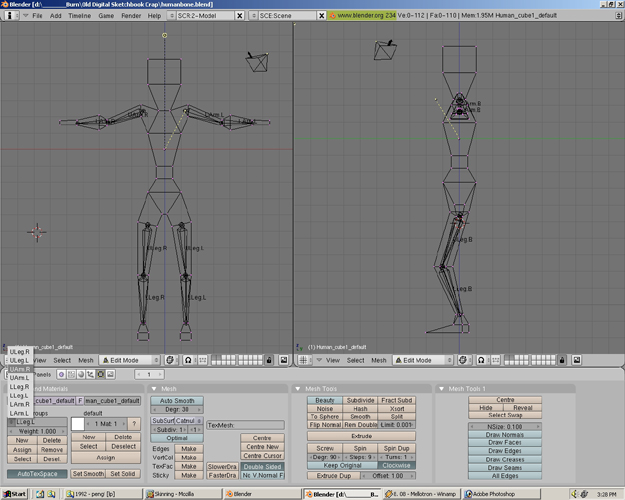
Step 72
Press Select to see the attached vertices.
Step 73
Some of the attached vertices need to be removed and also some new vertices need to be attached.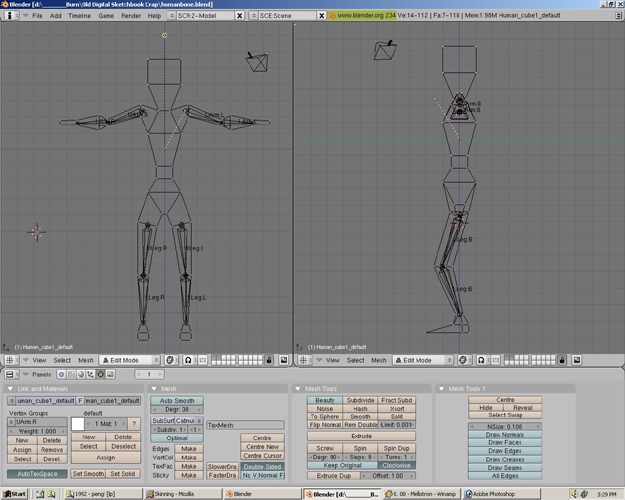
Step 74
Move the mouse curson above the shoulder area and Press B.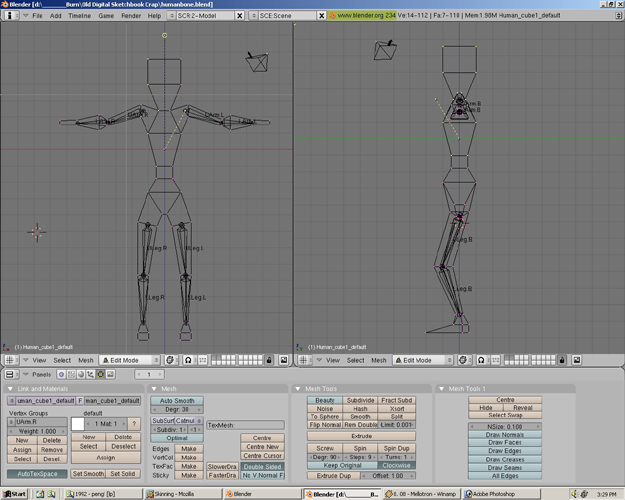
Step 75
Drag the crosshairs with the middle mouse button to deselect the vertices shown in the picture.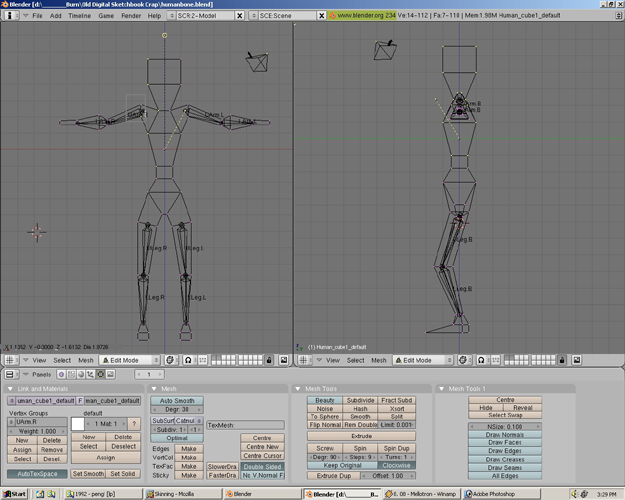
Step 76
Now only the vertices we DON'T WANT are showing.
Step 77
Select the Remove button. Now those unwanted vertices will be detached from the upper right arm bone.
Step 78
Press A to deselect the vertices.
Step 79
Press Select to see the attached vertices.
Step 80
Now only the vertices we DO WANT are showing.
Step 81
Press B and drag the cursor using the middle mouse button on the vertices shown in the picture.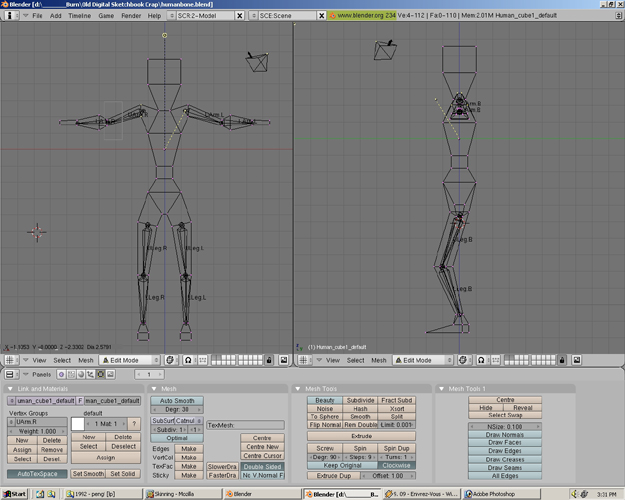
Step 82
This time press Assign. This will attach more vertices to the bone.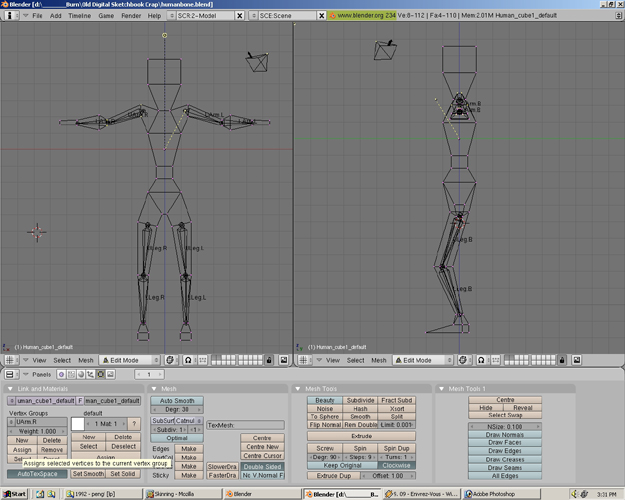
Step 83
Press A to deselect the vertices.
Step 84
Press Select to see the attached vertices. Press A again.
Step 85
Select the lower right arm.
Step 86
All the attached vertices look fine. They need no adjustment. Press A to deselect the vertices.
Step 87
Repeat the above process for the arm and leg bones on the left side. Press A. Now you have successfully Skinned the model.
Step 88
It is now time to once again save. Go to File>Save As. Save the files as Humanbone01.blend.